[Warning: The following article contains spoilers for Baldur’s Gate 3.]
One of the best ways to find new weird and wonderful quests in Baldur’s Gate 3 is to explore every corner of the map and chat with NPCs. This might sound obvious, but there are plenty of unmarked side quests that are triggered in hidden areas or by simple conversations that are very rewarding and fun. From naughty children to gathering unexpected allies for the final battle, there are lots of surprisingly easy-to-miss quests that even veteran players might not know about.
Get Musical Instrument Proficiency
Act 1: Emerald Grove
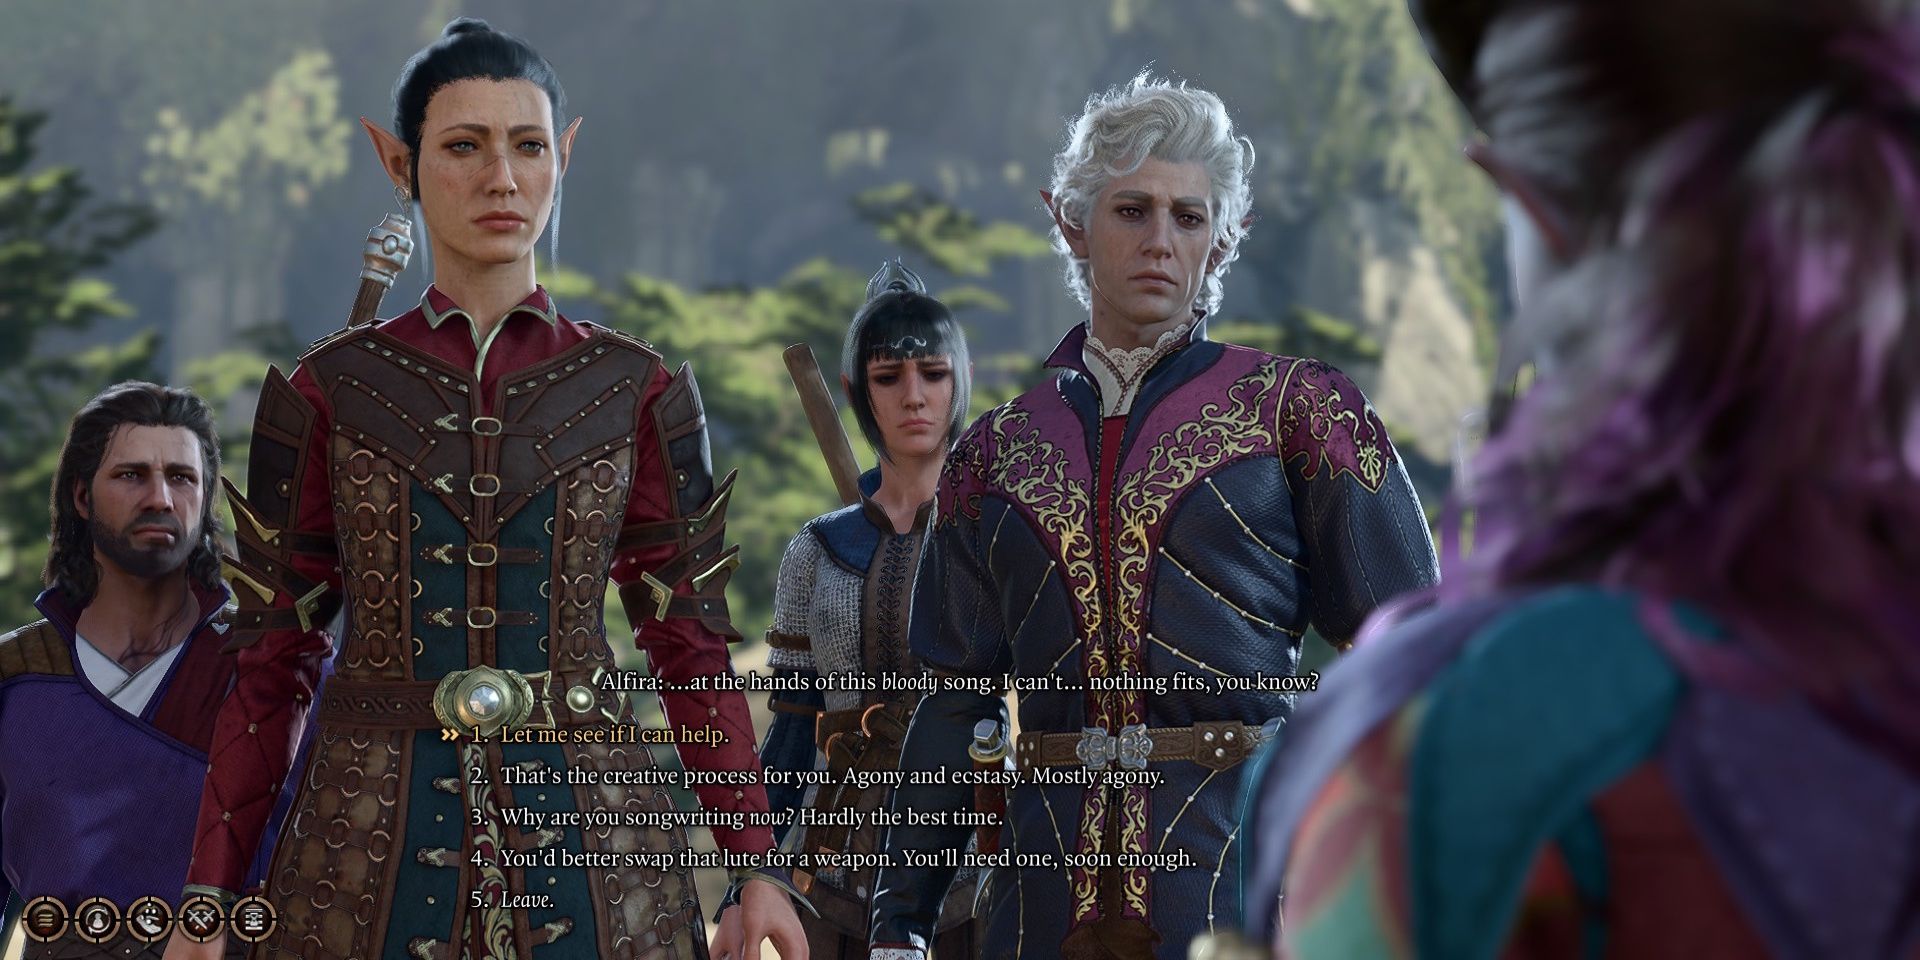
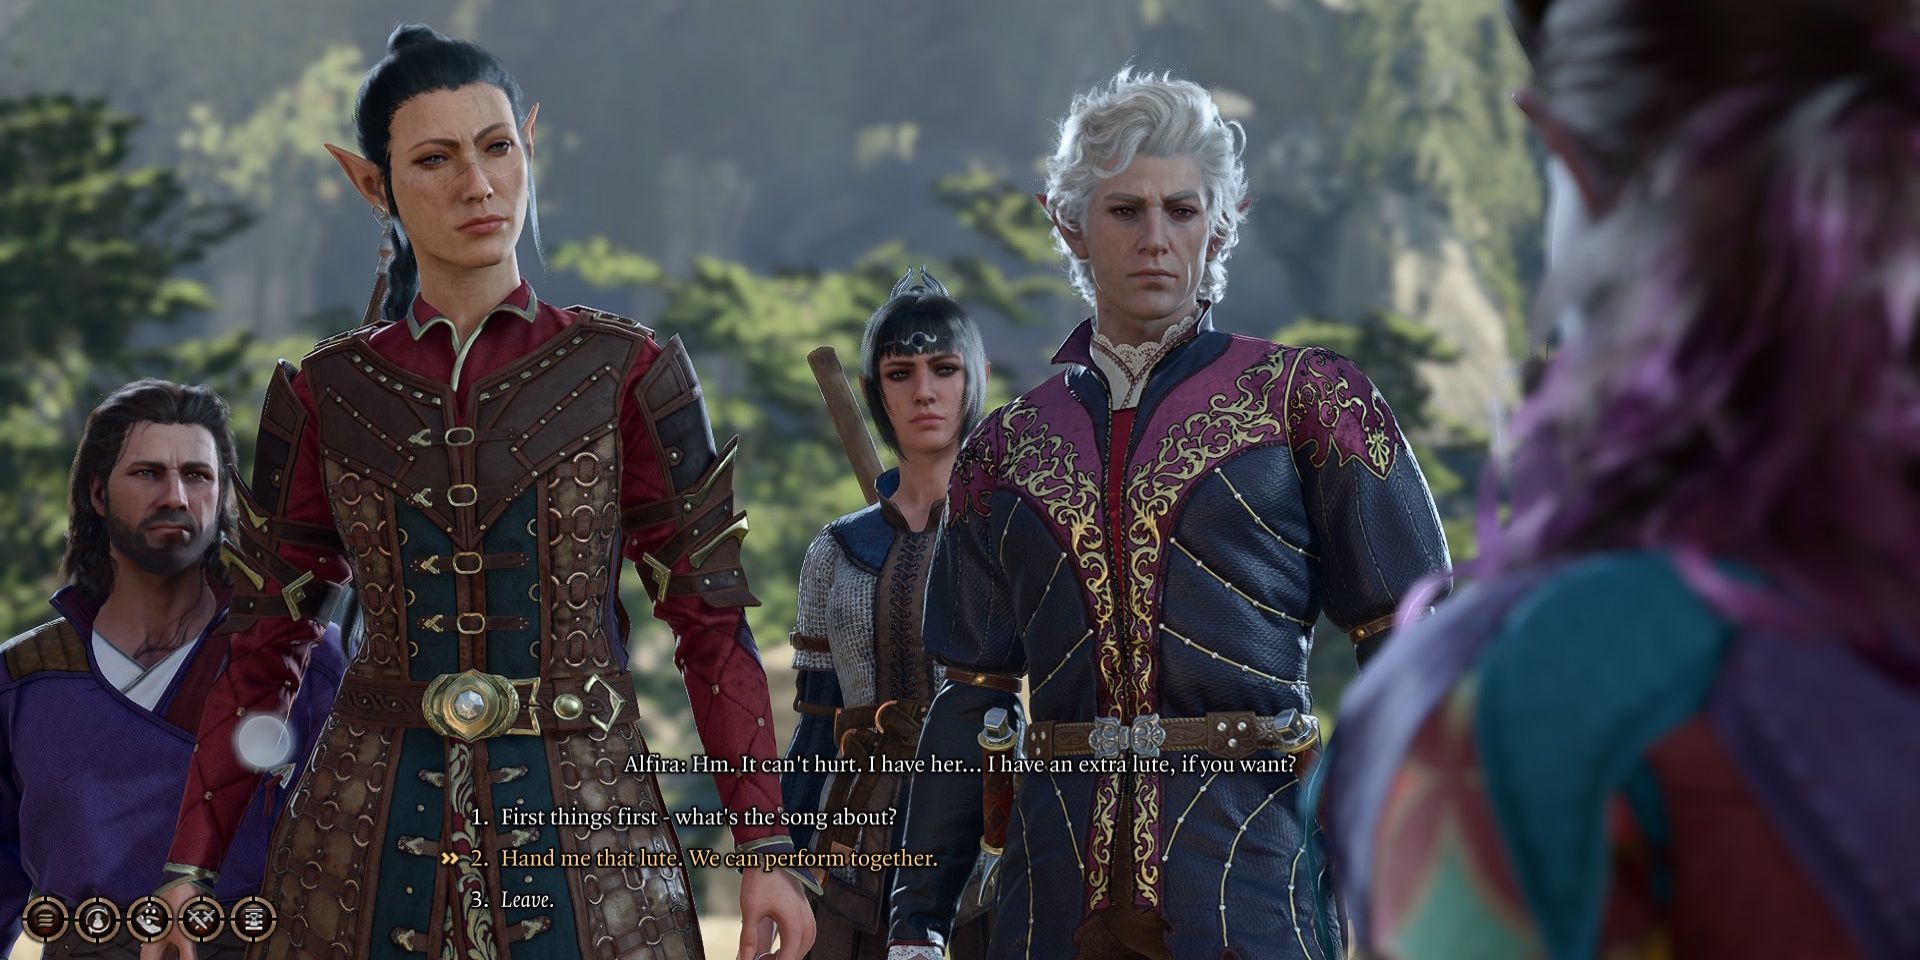
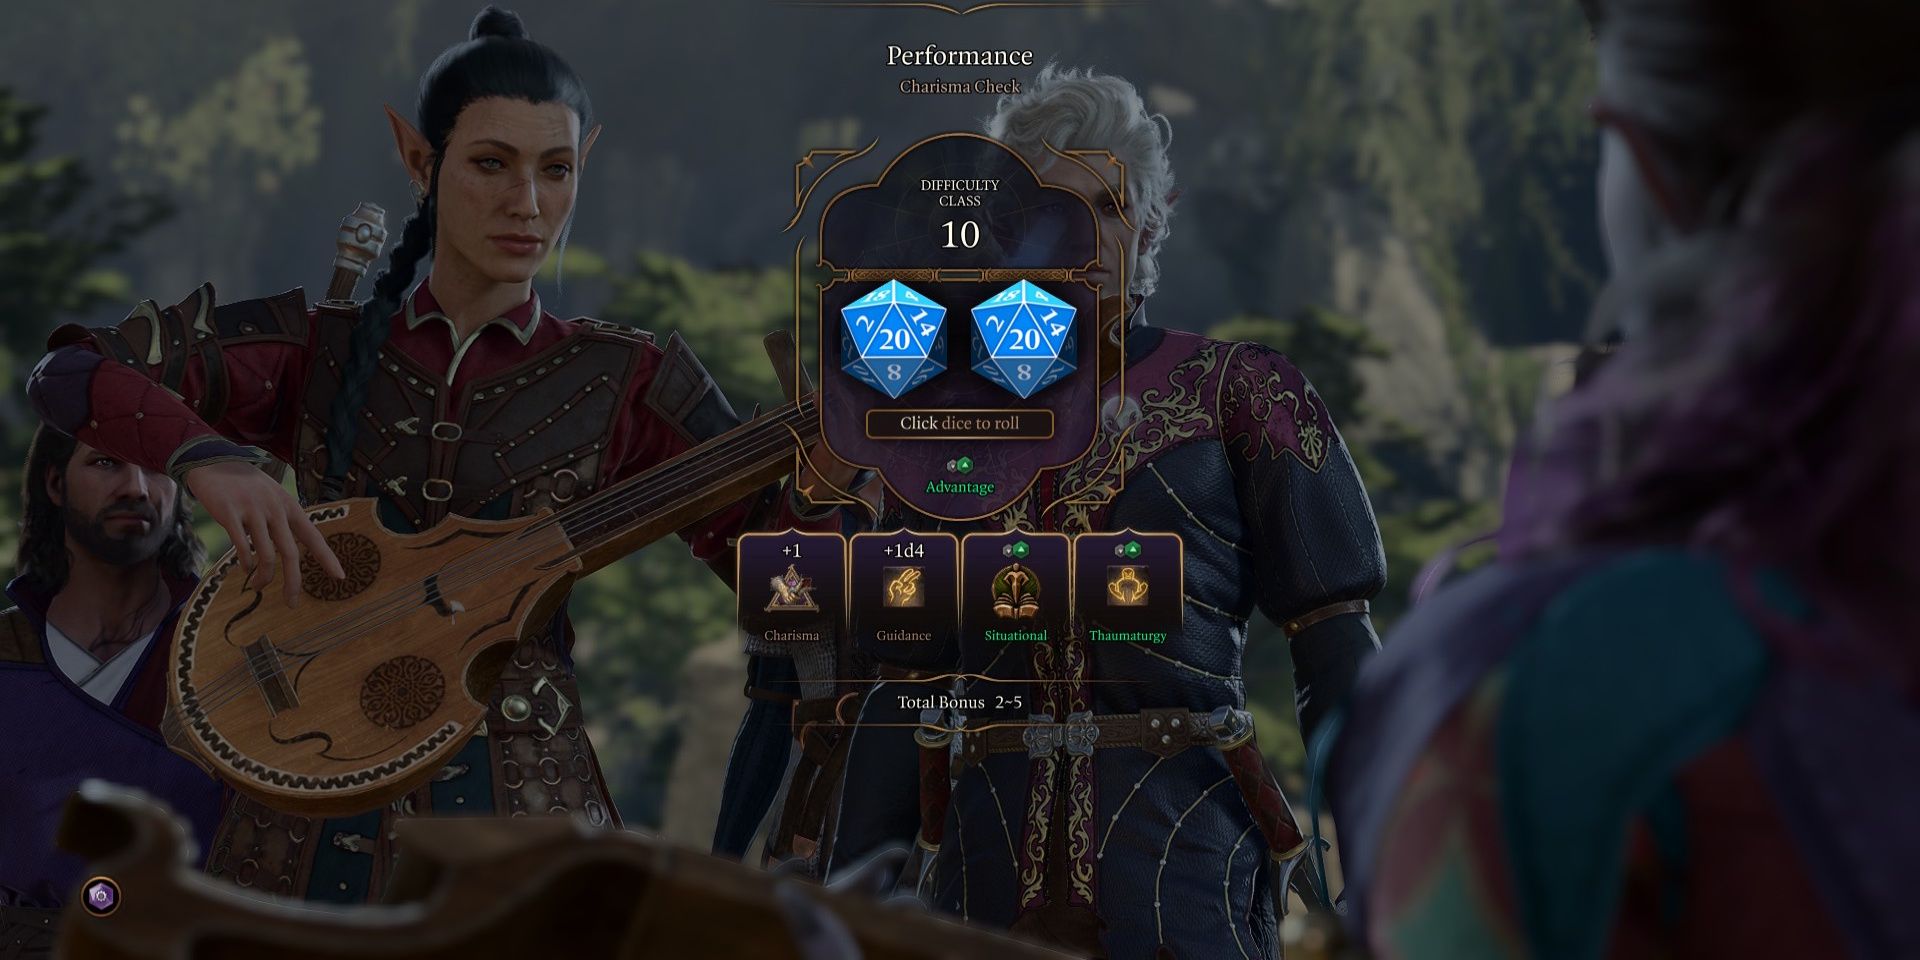
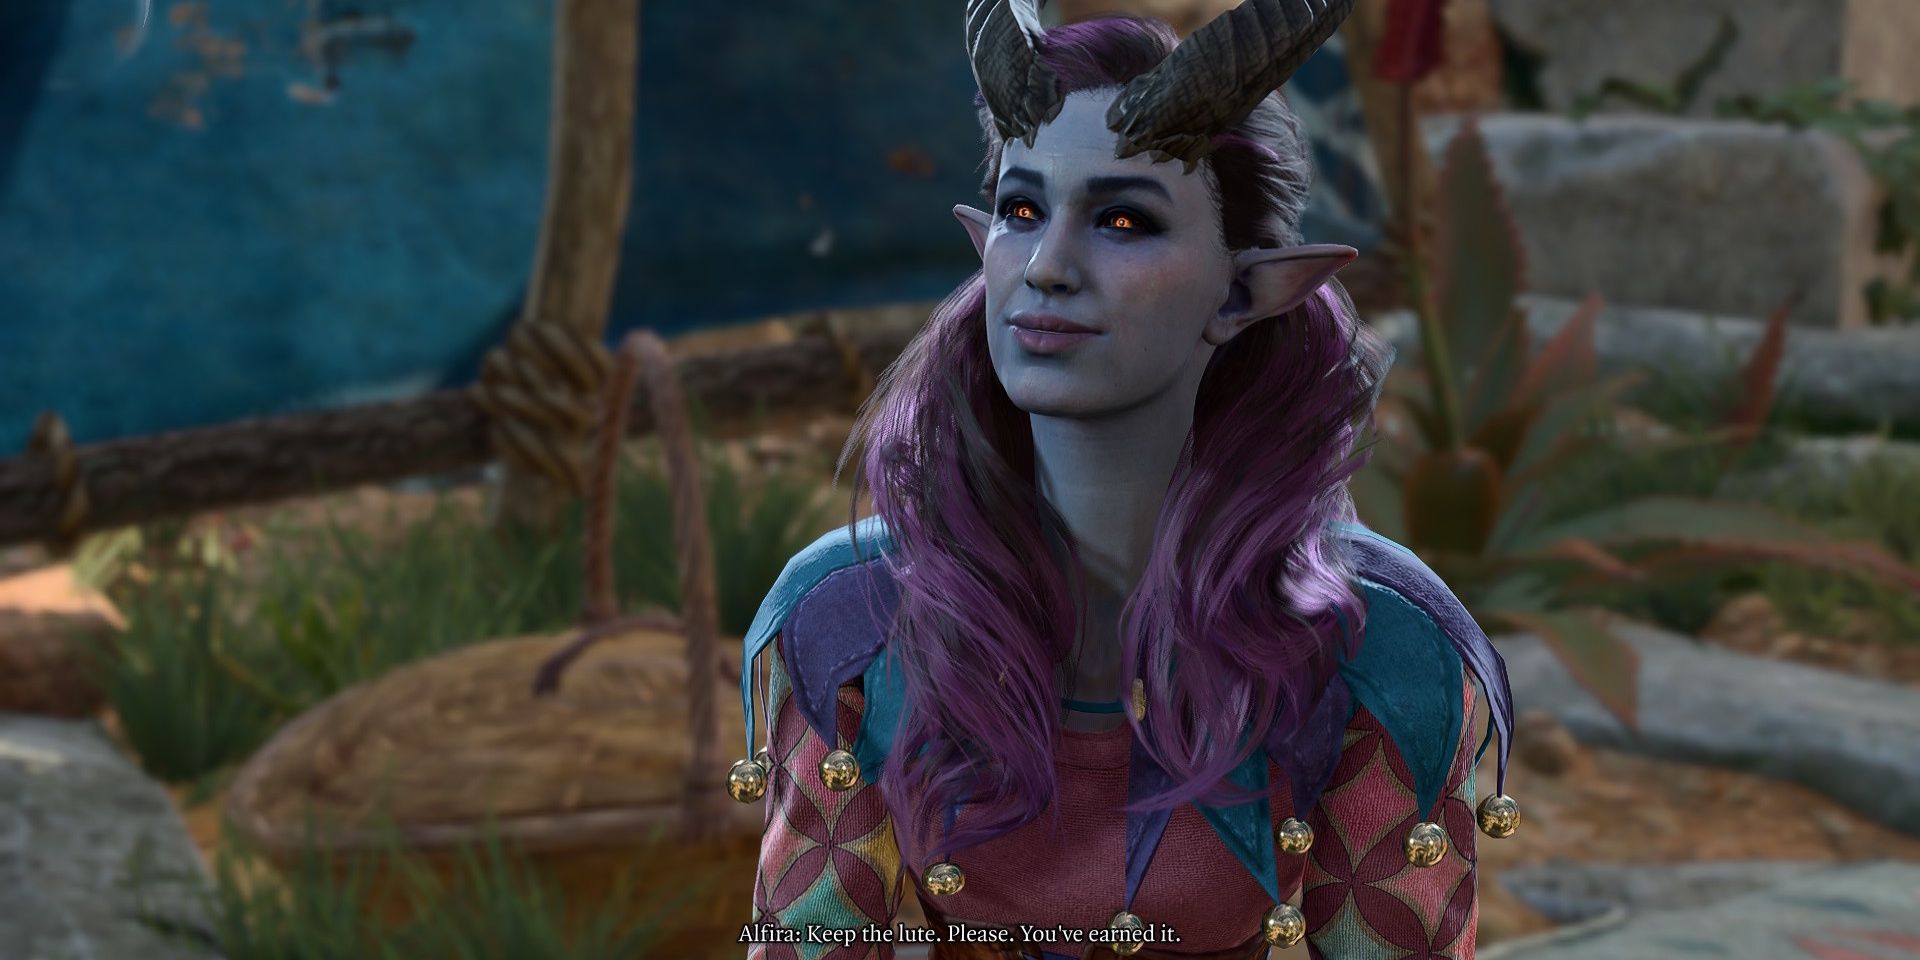


While most parties will be familiar with the sweet tiefling bard Alfira, especially if playing as the Dark Urge, many might not realize she has an early game unmarked quest available. Alfira can be found in the Emerald Grove, strumming her lute, overlooking the Sacred Pool area where the druids are conducting their ritual. When spoken to, Alfira will confess she is struggling to finish a song she is writing to honor her mentor Lihala, and the party will have the option to offer to help her finish it.
Bards will not have to complete any Performance checks to gain the lute as a reward.
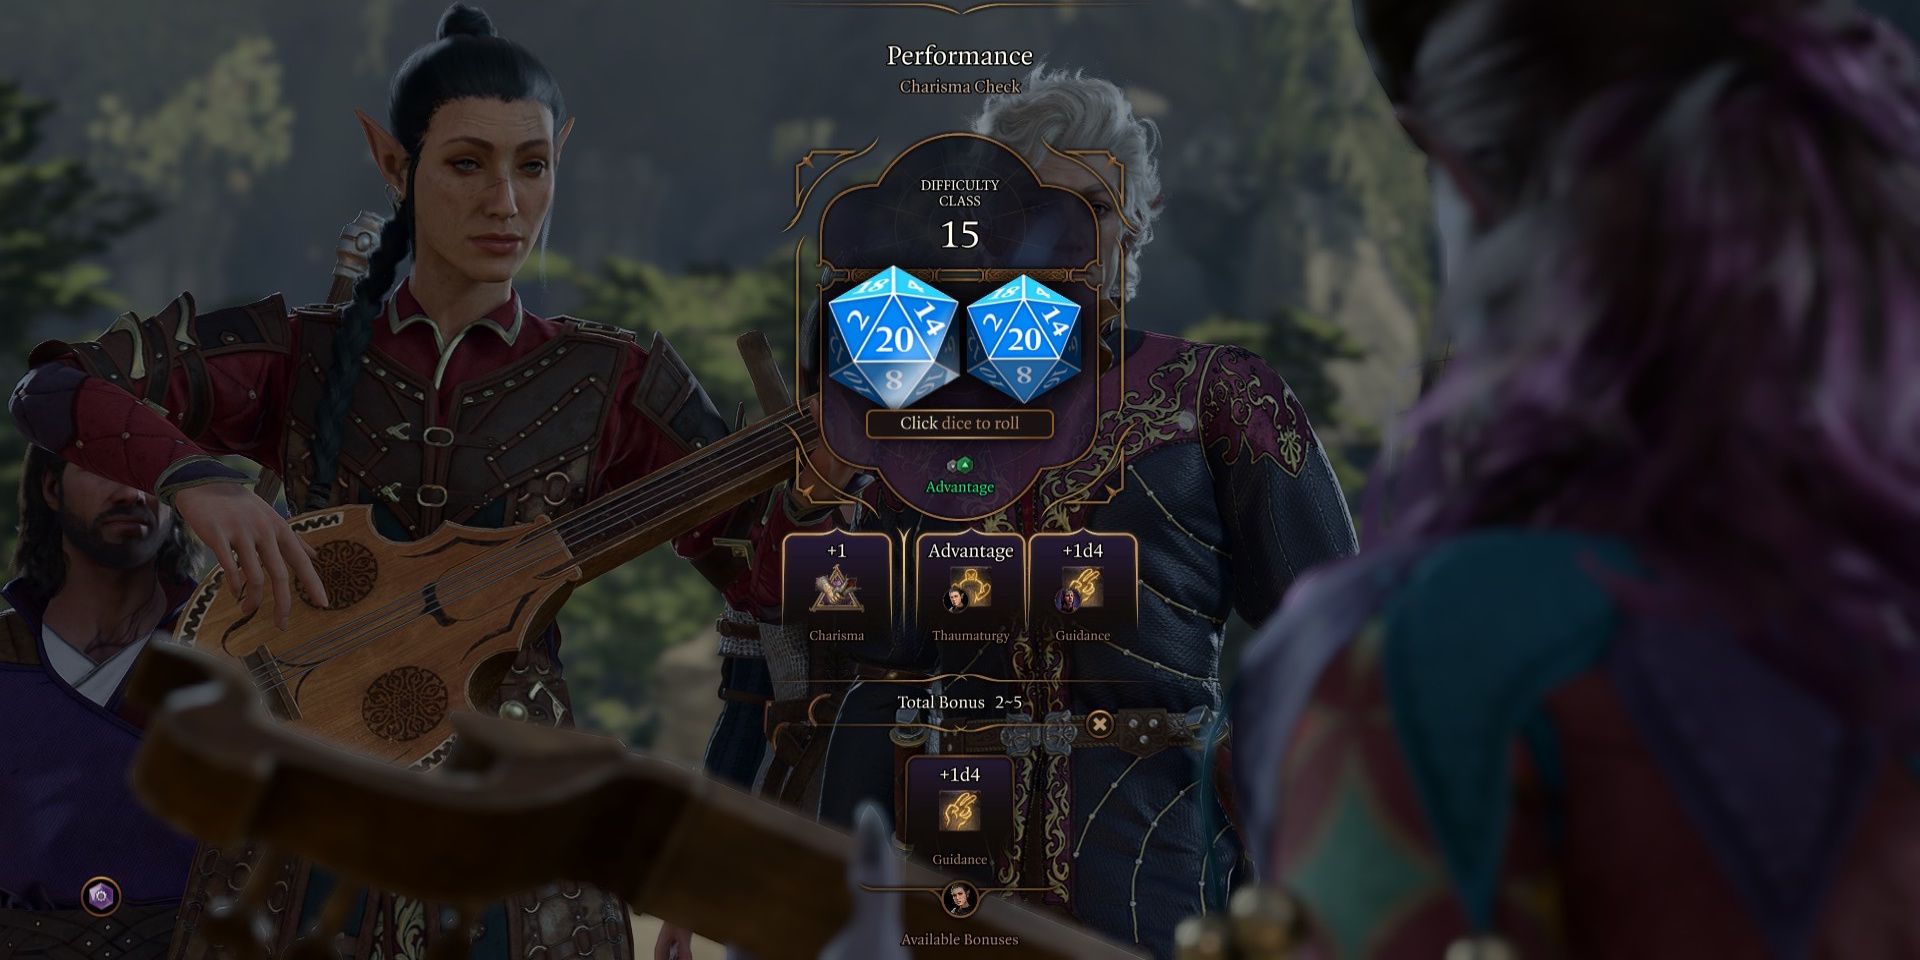
To fully complete the quest, the character speaking with Alfira will need to offer to perform with her. They will then have to complete two Performance checks, the first DC 15 and the second DC 10, to play along with Alfira as she sings. The reward for this short quest is Lihala’s Lute and proficiency with musical instruments for the character who completes the quest, allowing them to perform well for crowds to gain gold.
Return The Locket
Act 1: Emerald Grove
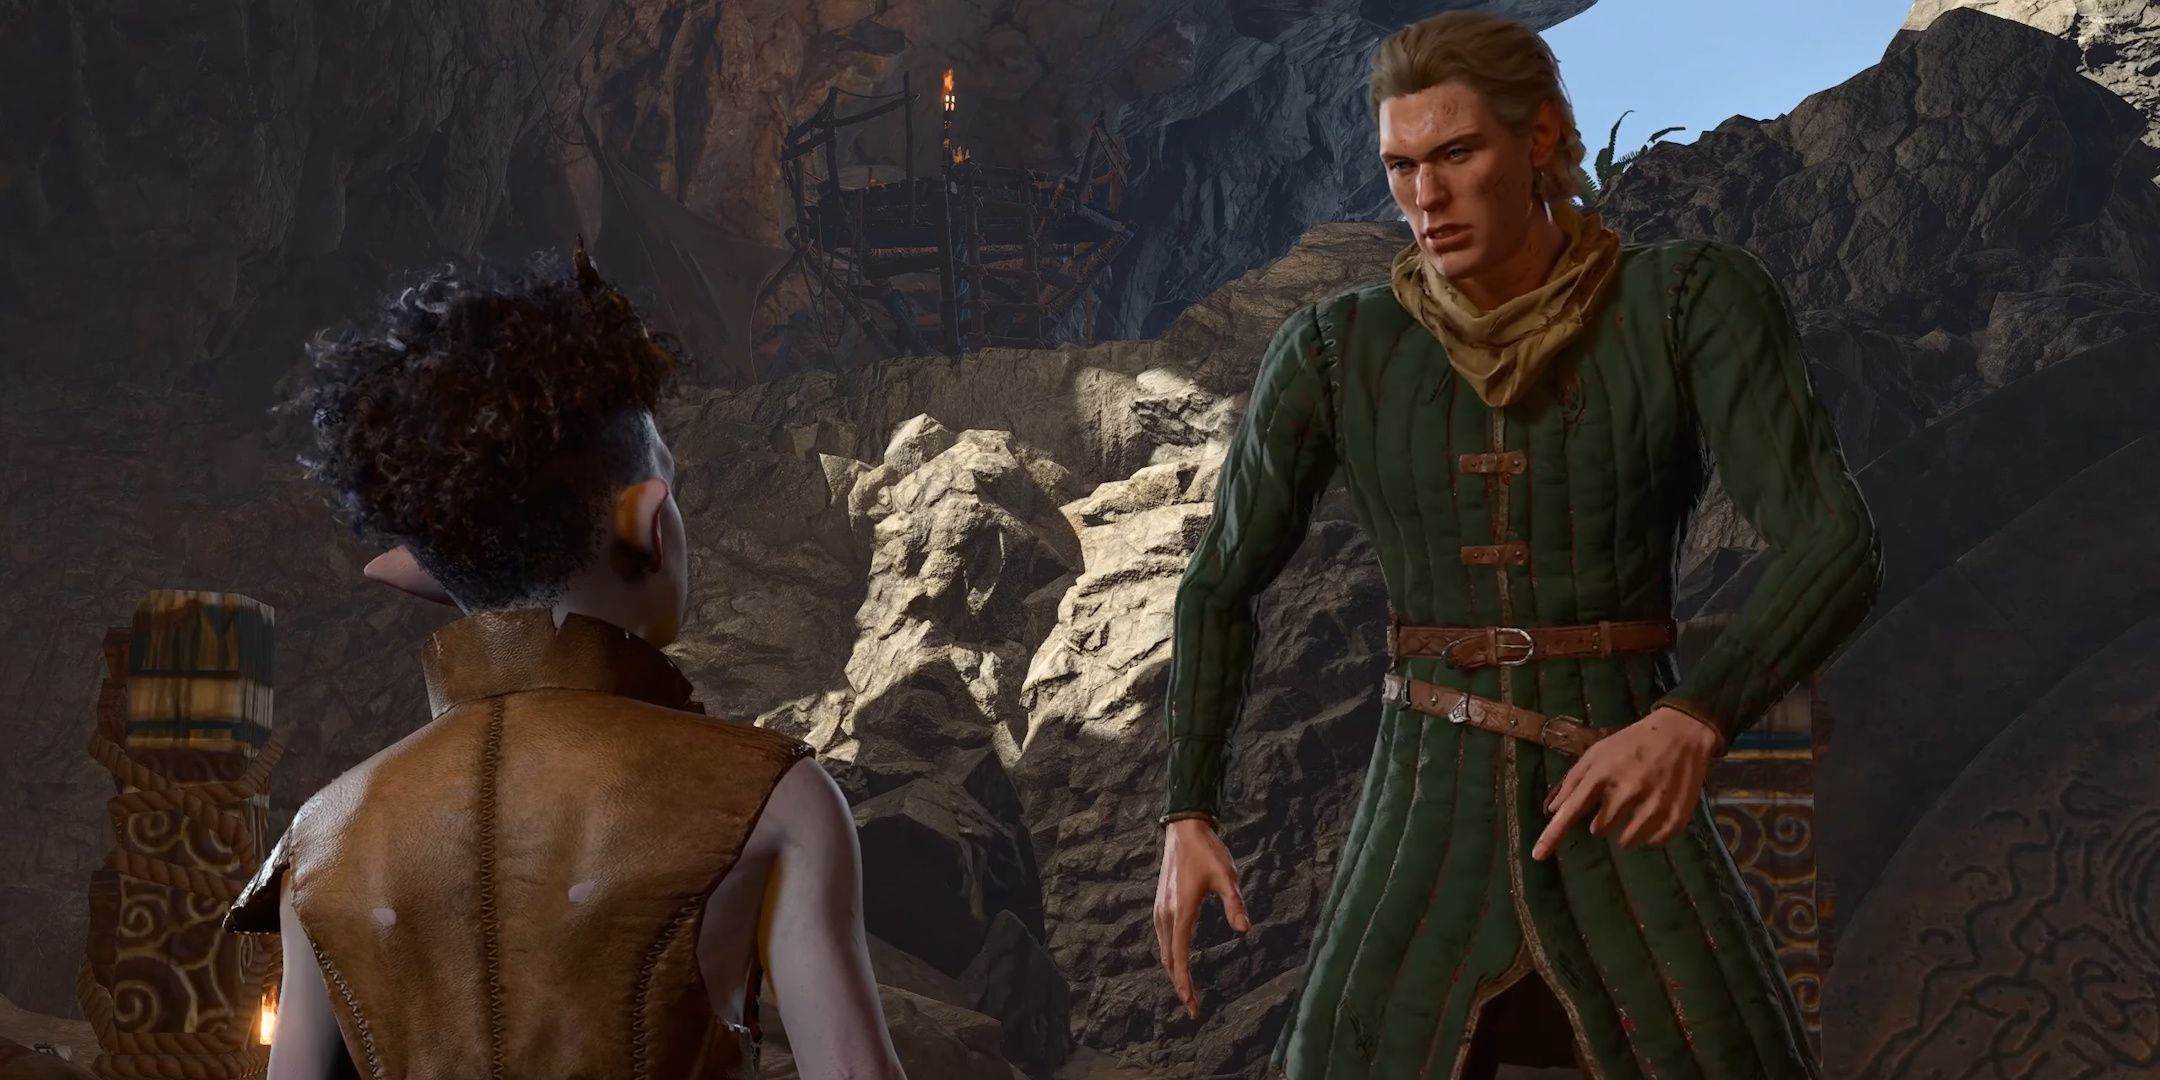
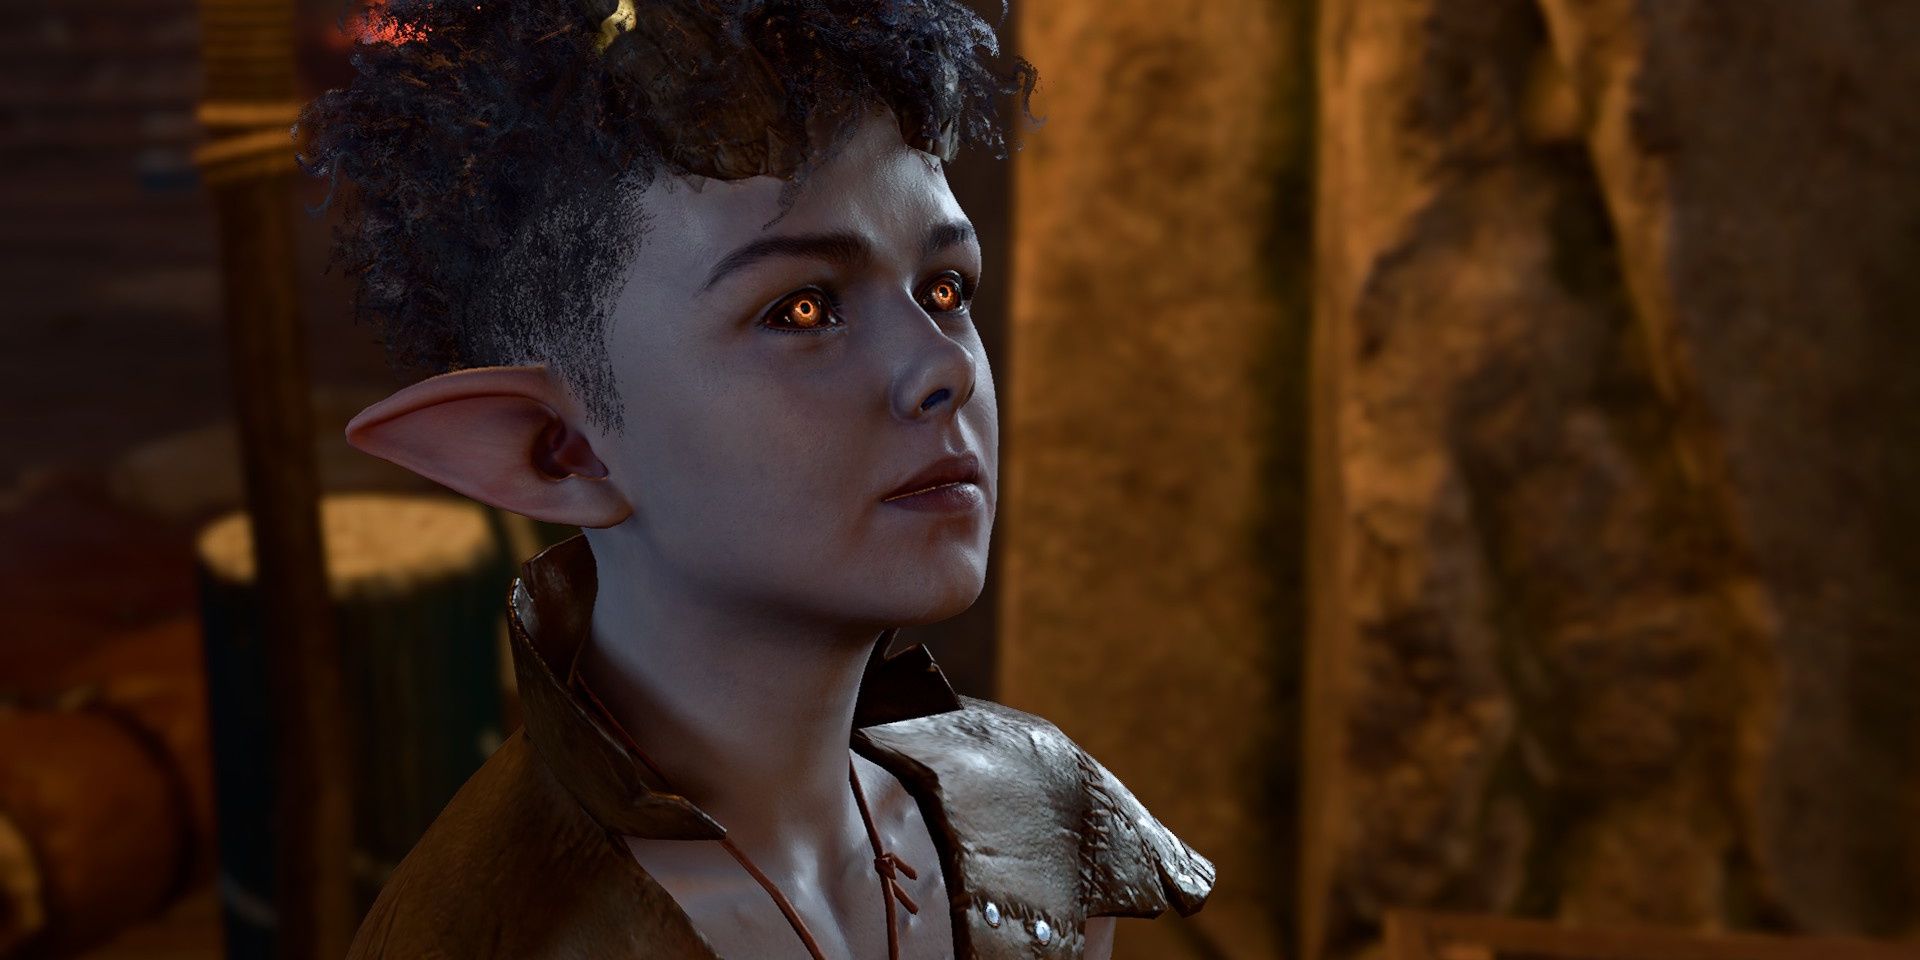
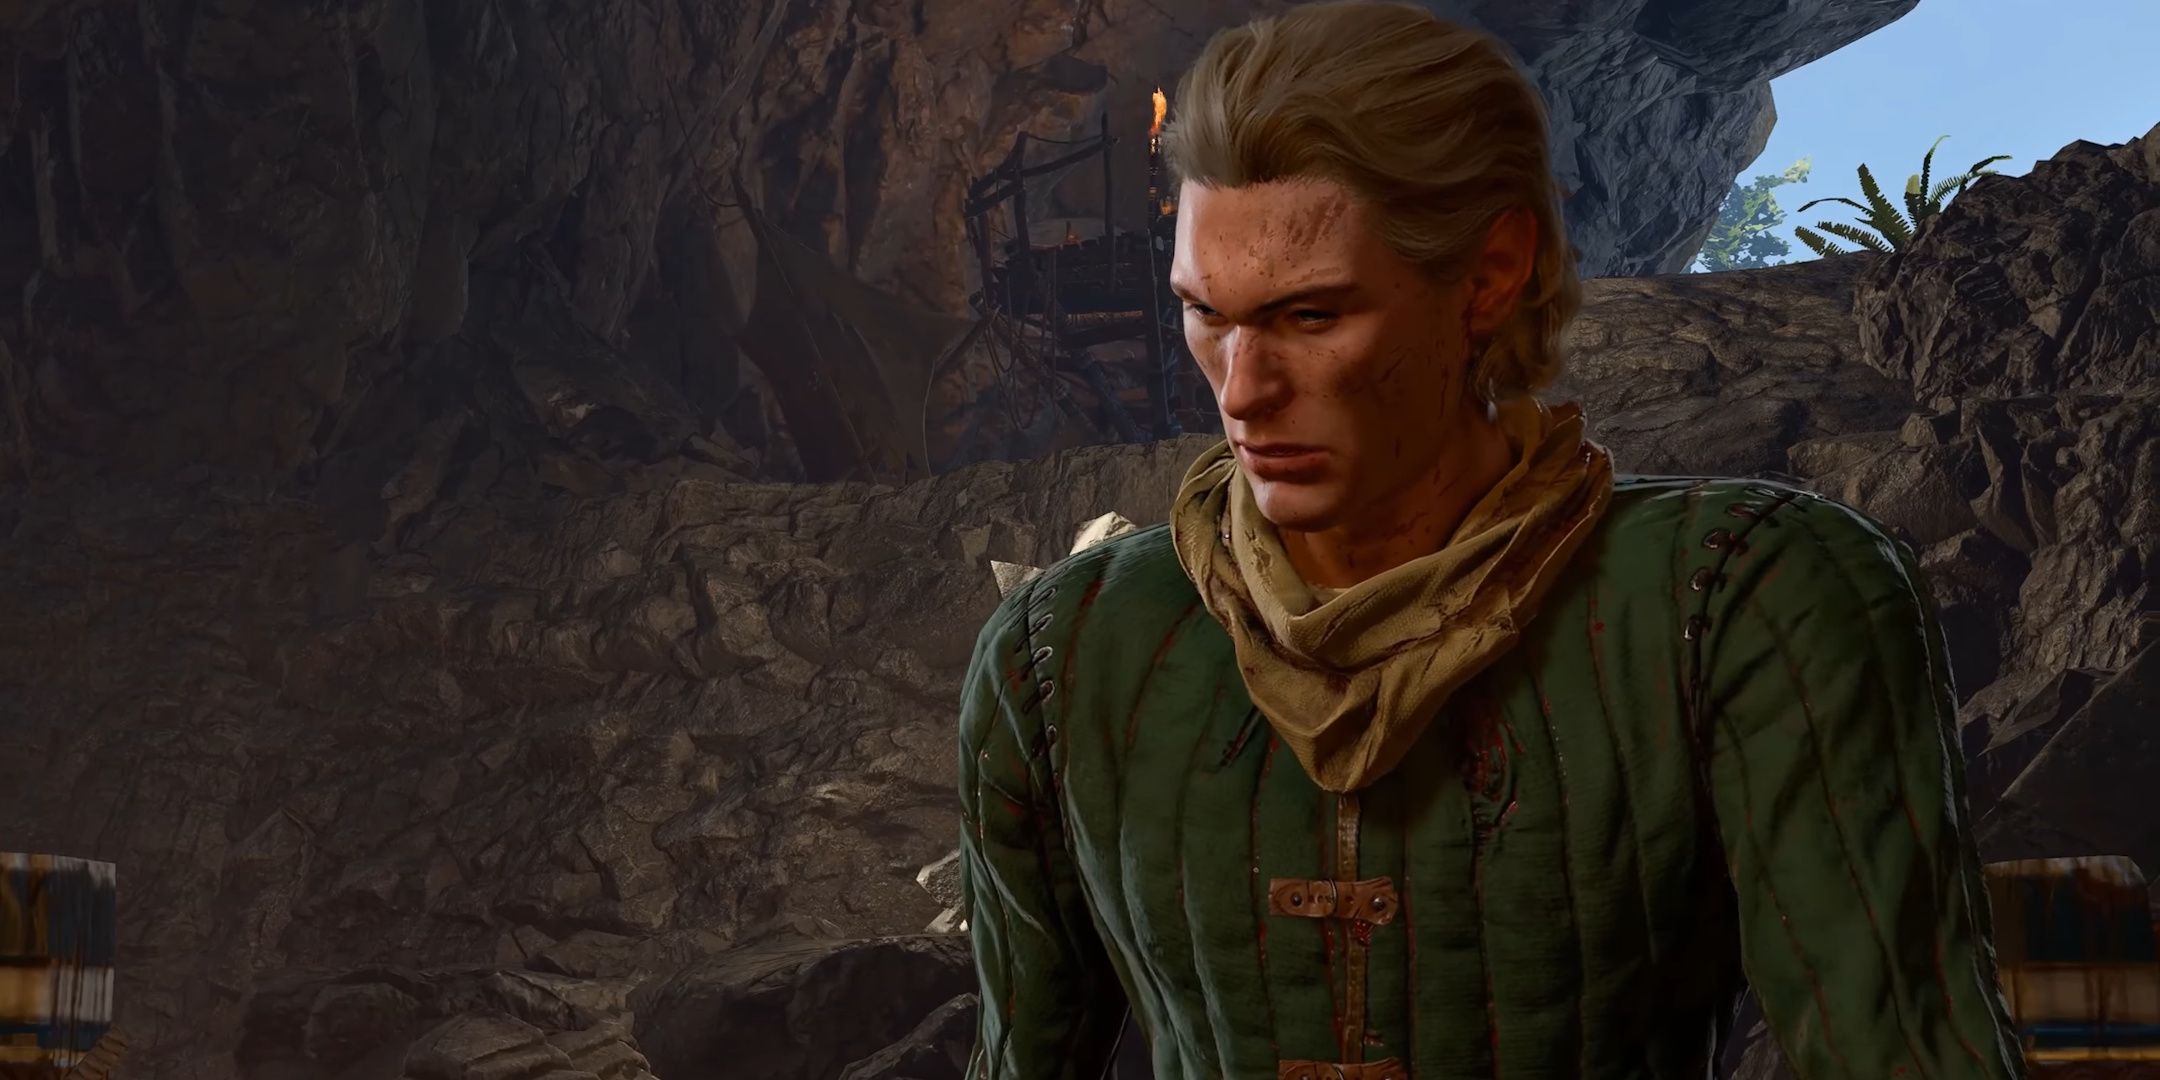


There are more than a few quests in BG3 that rely on previous actions of the party to trigger, and the short quest “Return the Locket” is one of these. For the quest to trigger, Aradin and his group need to return to the Emerald Grove and, after speaking with Zevlor, not immediately leave. This will allow Barth to reenter the Grove and discover that his belongings have been gone through.
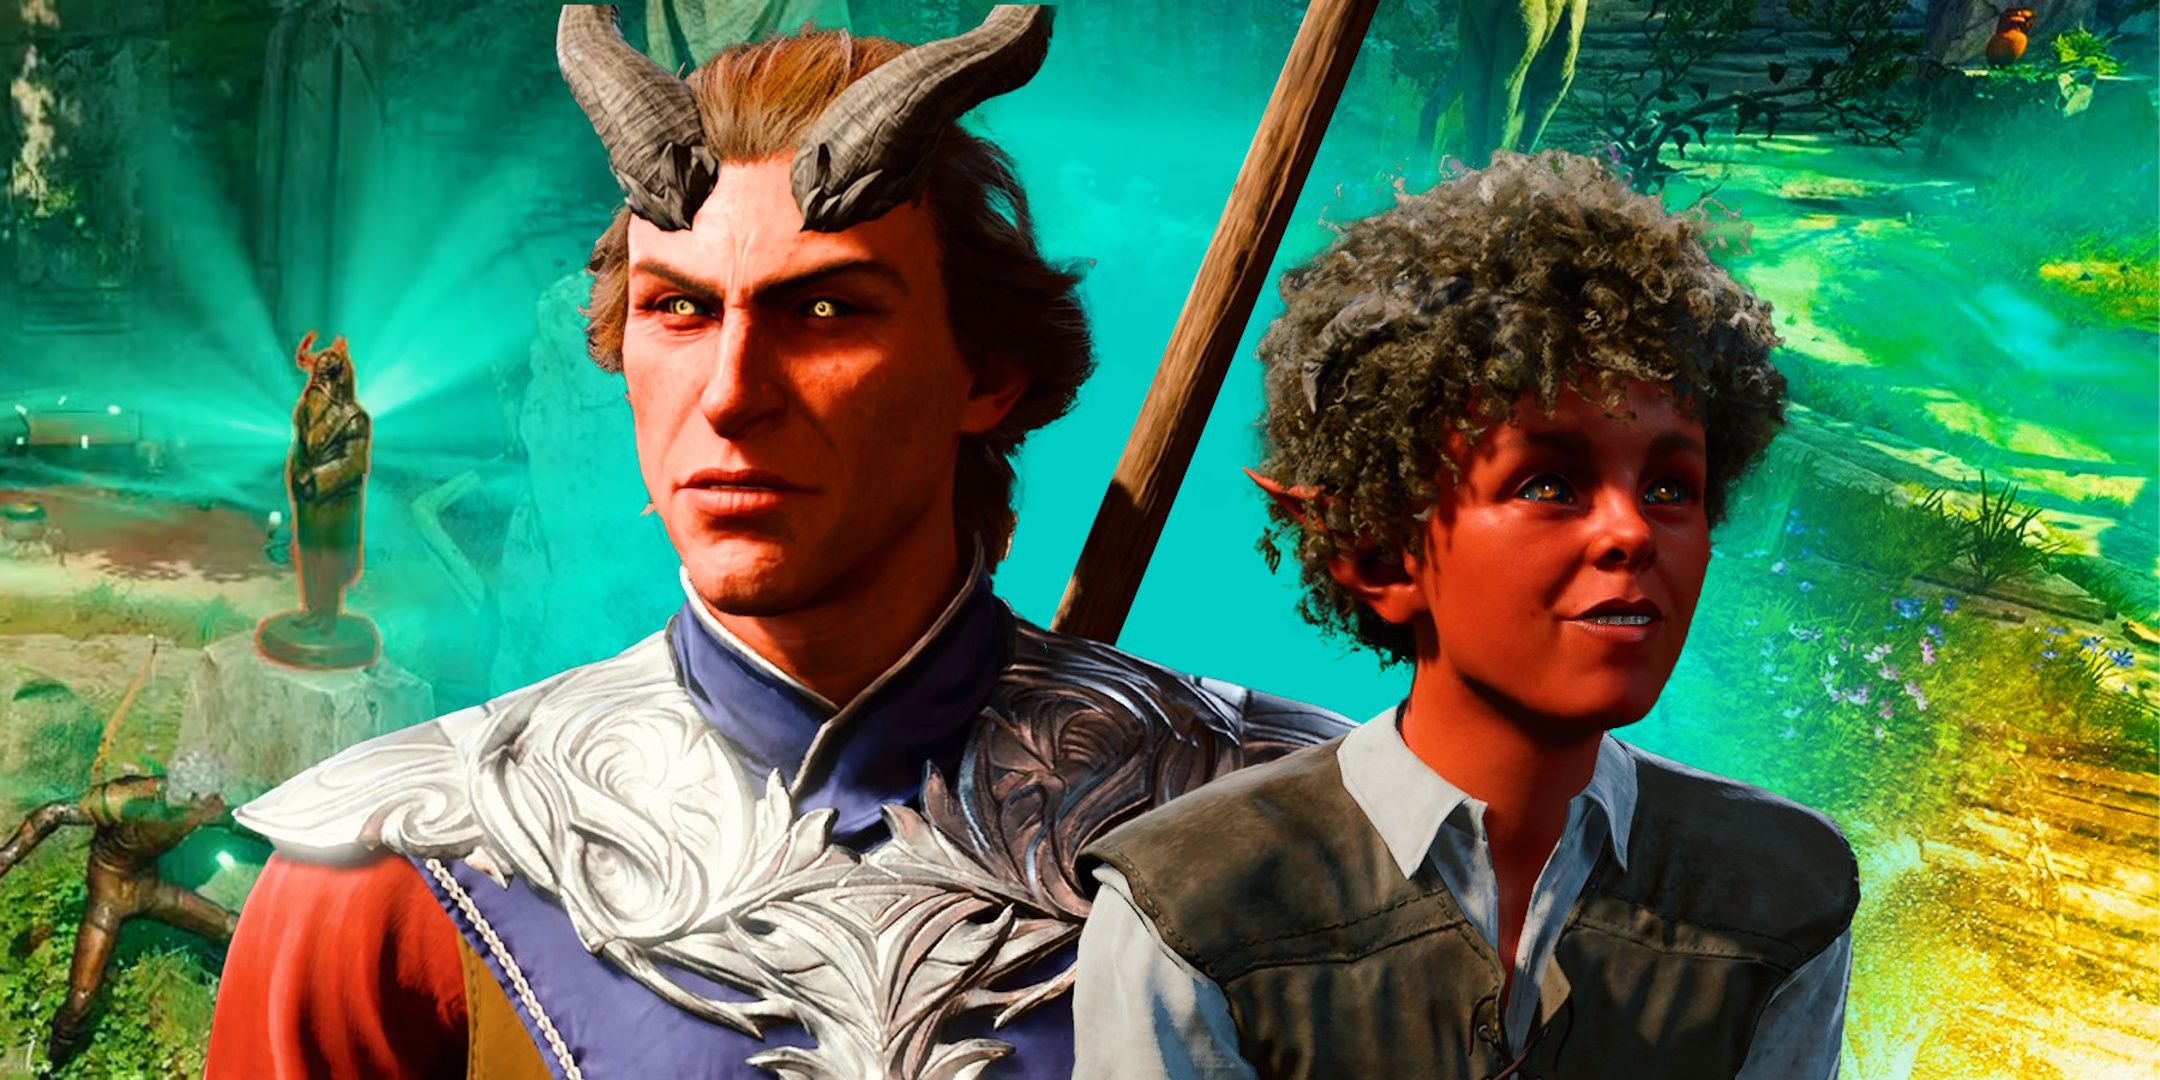
The party can pick up the quest from either Barth or Meli once the pair begin to argue, up on a raised area opposite Dammon’s forge. Barth is furious that the young tiefling has stolen the  Brass Locket from him and the party can intervene to stop Barth from hurting Meli. There are tons of options with this fun little quest, and it’s a great opportunity for roleplay. I always like to persuade Meli to tell Barth why he stole the locket, as it’s quite touching and leads to Barth letting Meli keep it.
Steal The Sacred Idol
Act 1: Emerald Grove
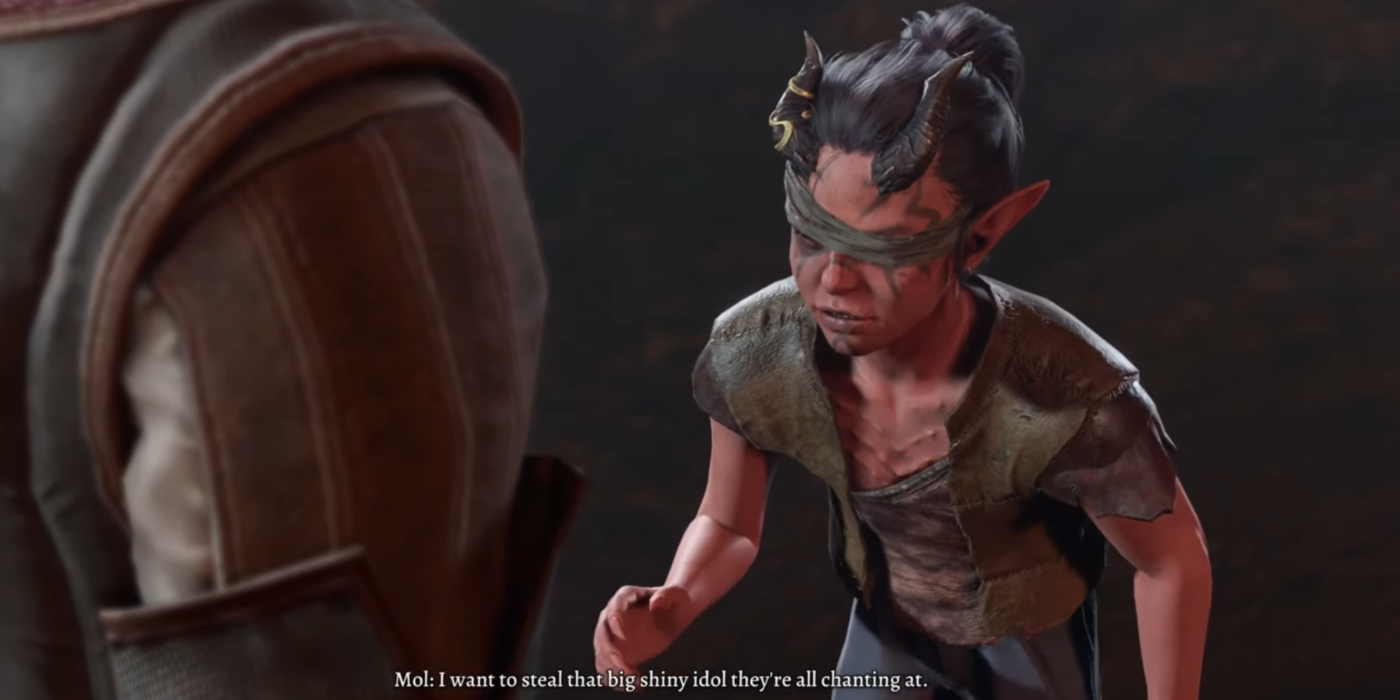
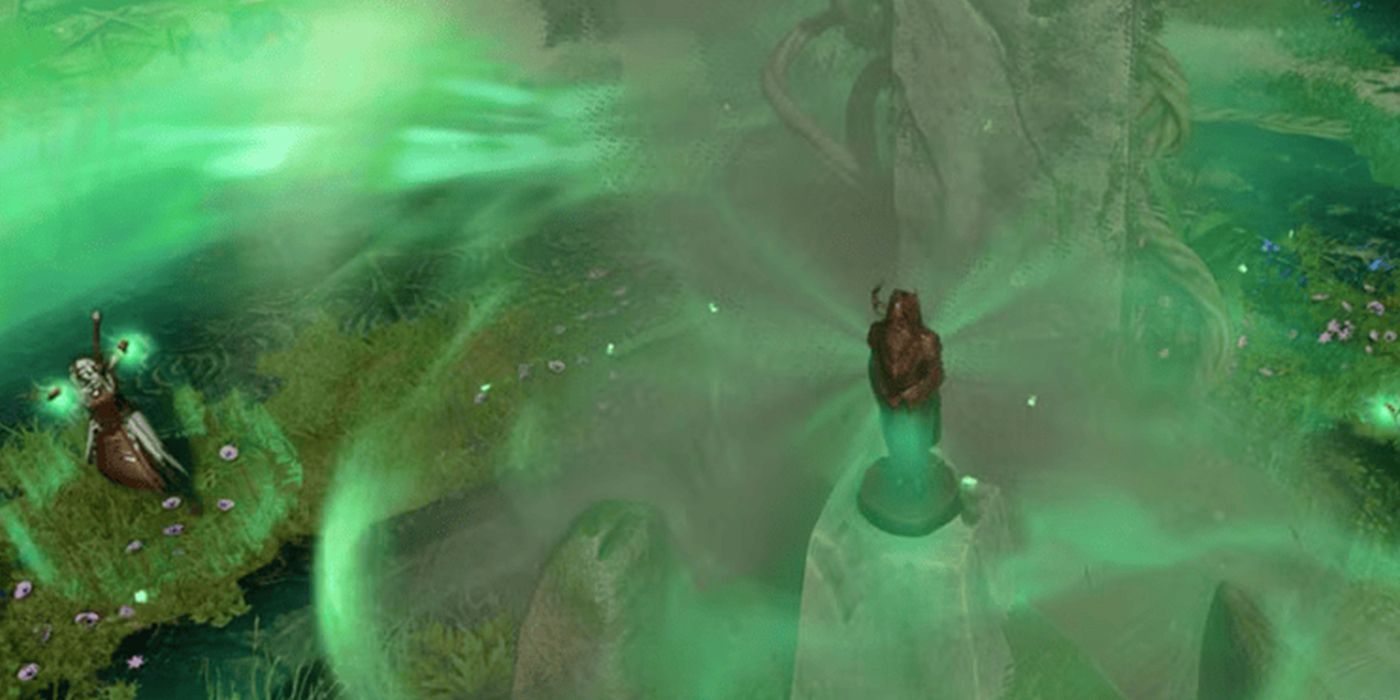
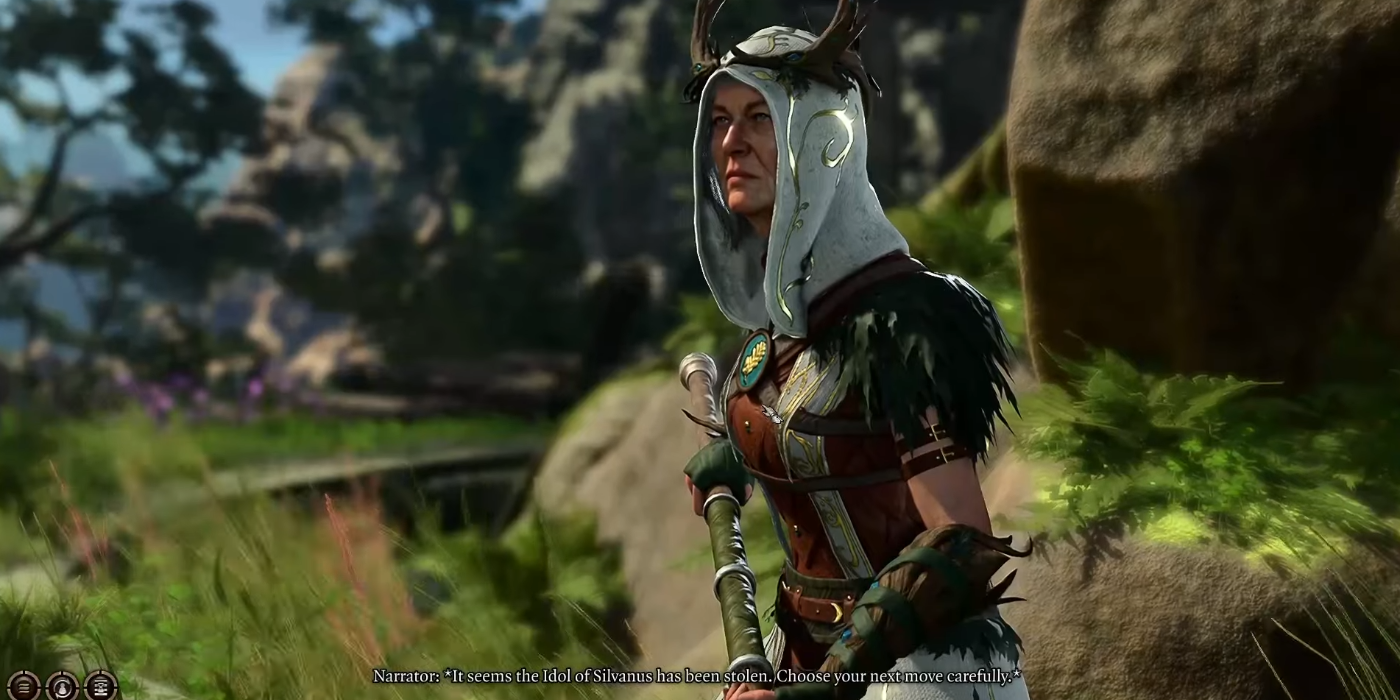


Staying in the Grove and another quest that requires the party to make particular choices is “Steal the Sacred Idol.” Mol is the cunning leader of the group of tiefling children, and if the party gets on her good side, she will ask them to help her steal the Idol of Silvanus from the Sacred Pool in the Grove. This is a tricky quest to pull off while the druids are still focused on the ritual, so I often wait until completing the quest to investigate Kagha and the Shadow Druids.
The quest will not be offered by Mol if the Rite of Thorns has already been stopped, so make sure to pick up the quest first before dealing with Kagha.
Free The Artist
Act 1: Zhentarim Basement
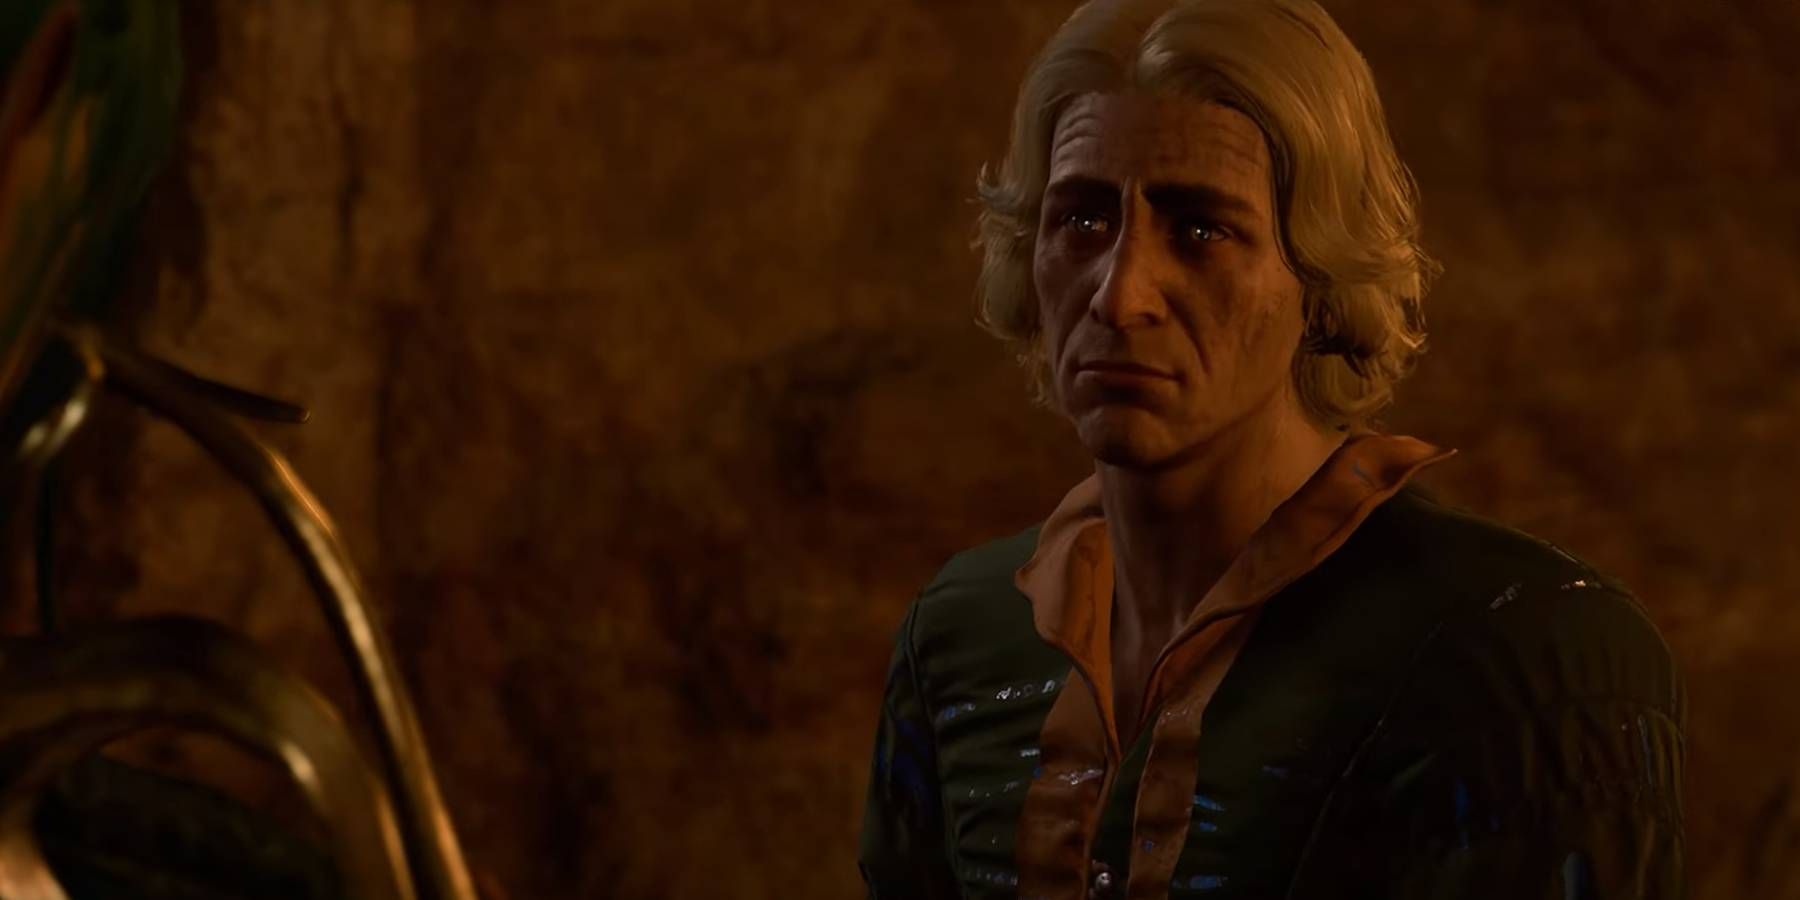
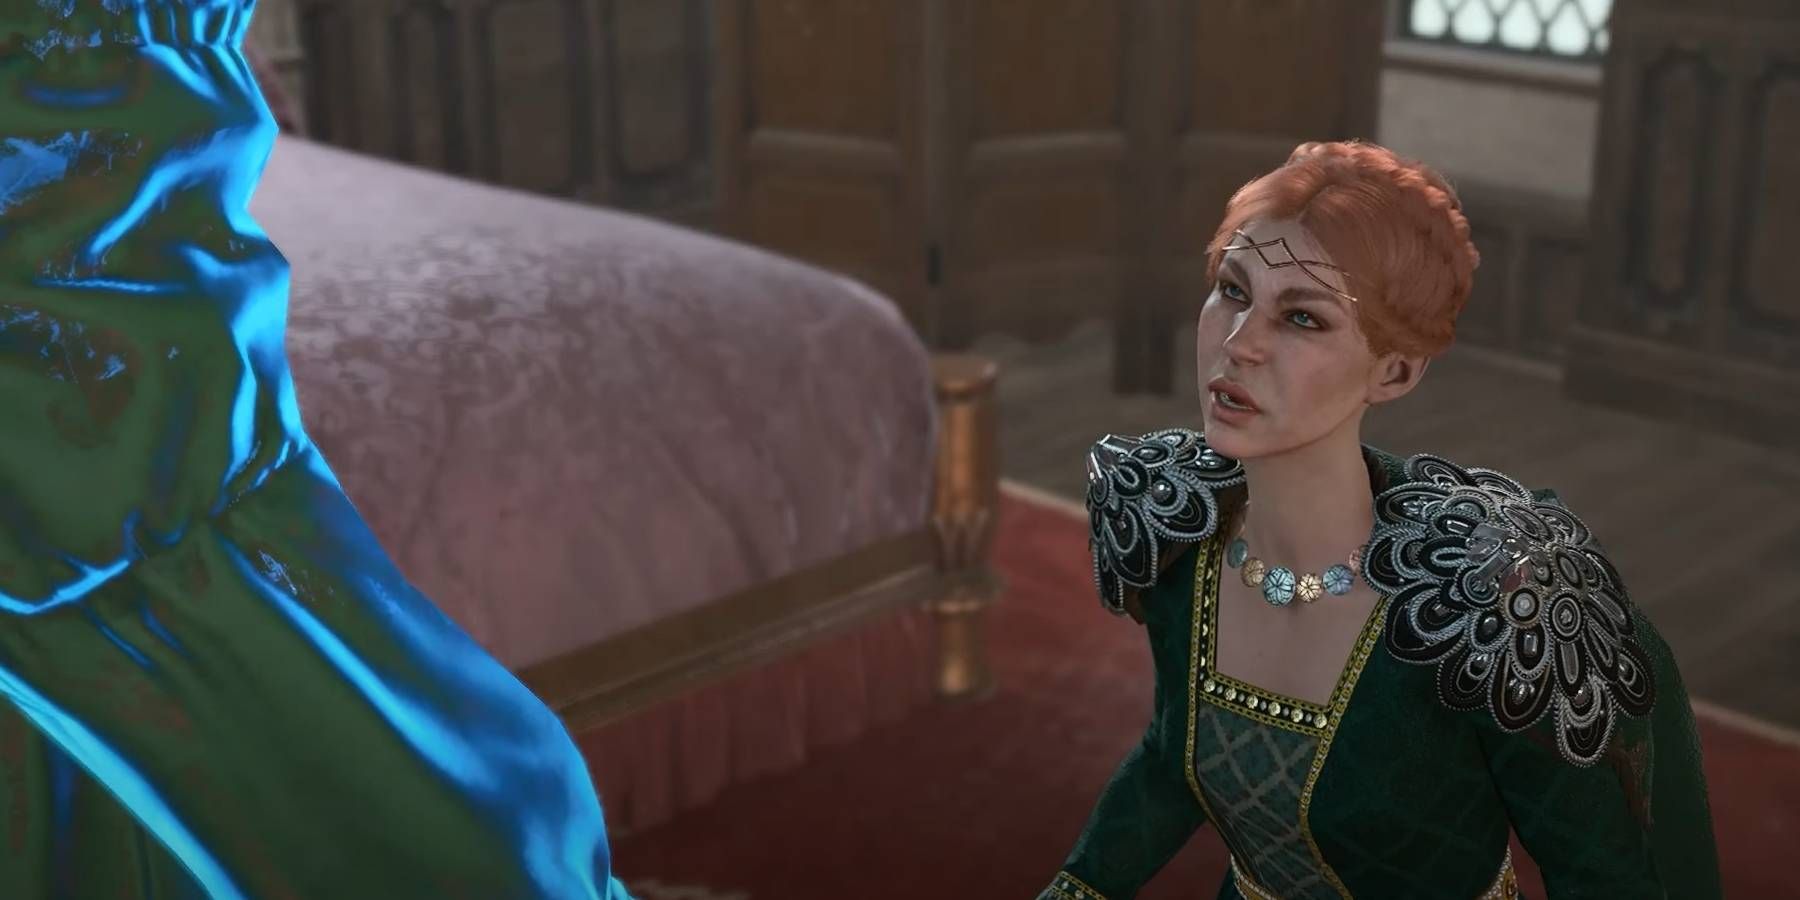



Fully exploring the northern area of the map in Act 1 will reveal the ruined inn of Waukeen’s Rest, along with the hidden area underneath that acts as a hideout for the local Zhentarim agents. Venturing down into this basement, the party can meet Zarys, who will not be pleased to see intruders. However, if the party can gain access to the hideout peacefully, then they will be able to meet Oskar Fevras, an artist captured by the Zhentarim.
Helping Rugan and Olly with “Find the Missing Shipment” will make gaining access to the Zhentarim Basement much easier.
The Zhentarim trader Brem can be persuaded to part with Oskar either using a variety of Intimidation or Persuasion checks or bought outright for 600 to 1,000 gold. Oskar can then be met again in Act 3 at Lady Jannath’s Estate, where the party will have to deal with ghosts and Oskar’s possession to complete the quest. This quest has multiple endings depending on how the situation is resolved, including gaining the rare rings Till Death Do Us Part and After Death Do Us Part.
Lift The Shadow Curse
Act 2: Shadow-Cursed Lands
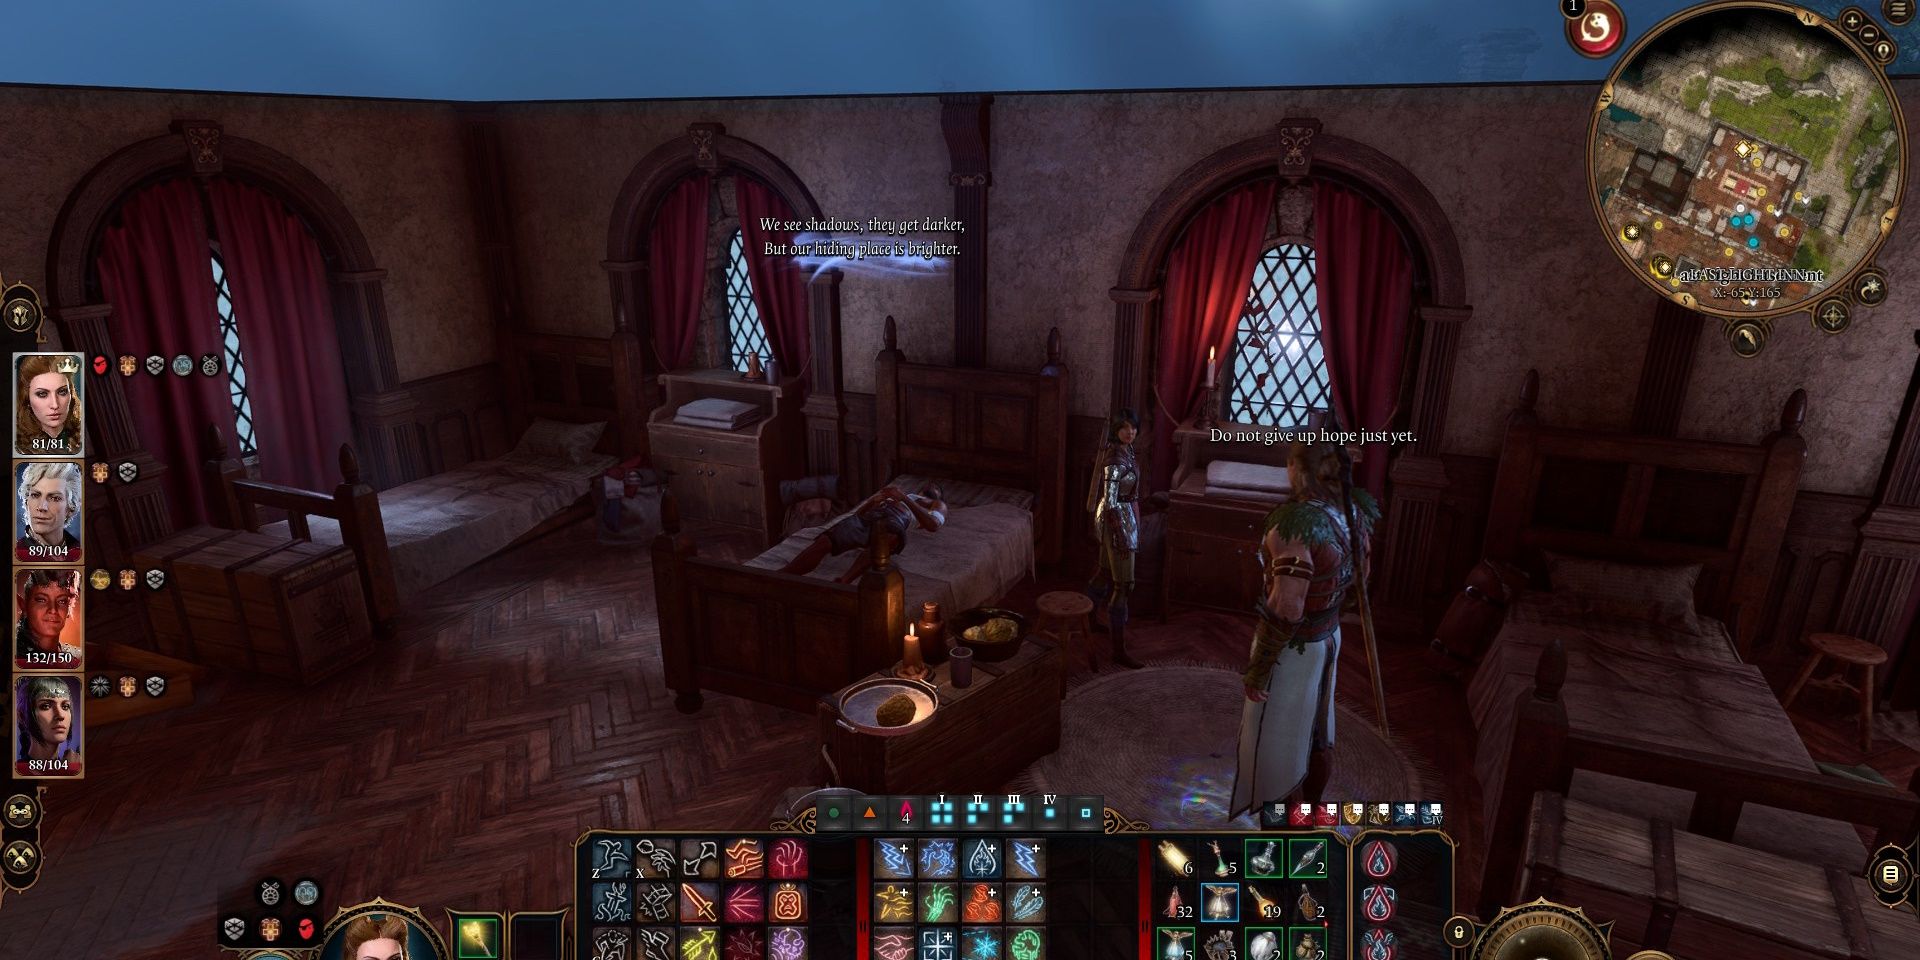
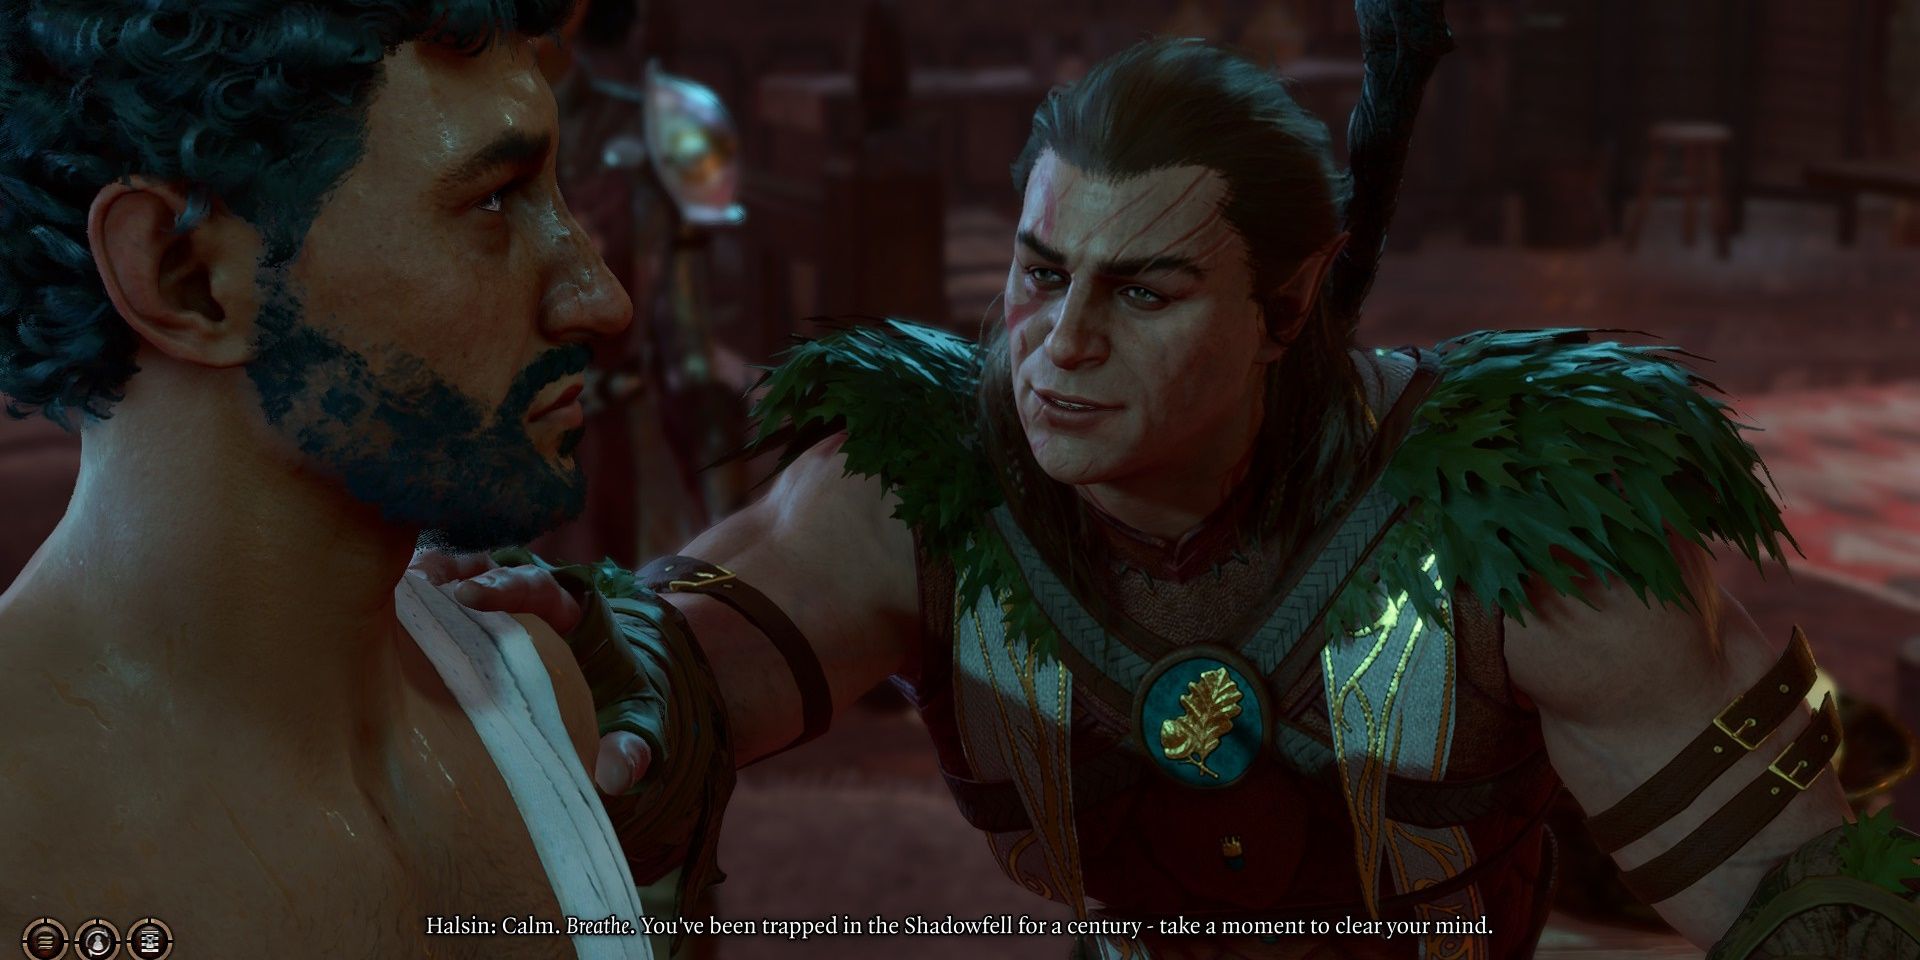
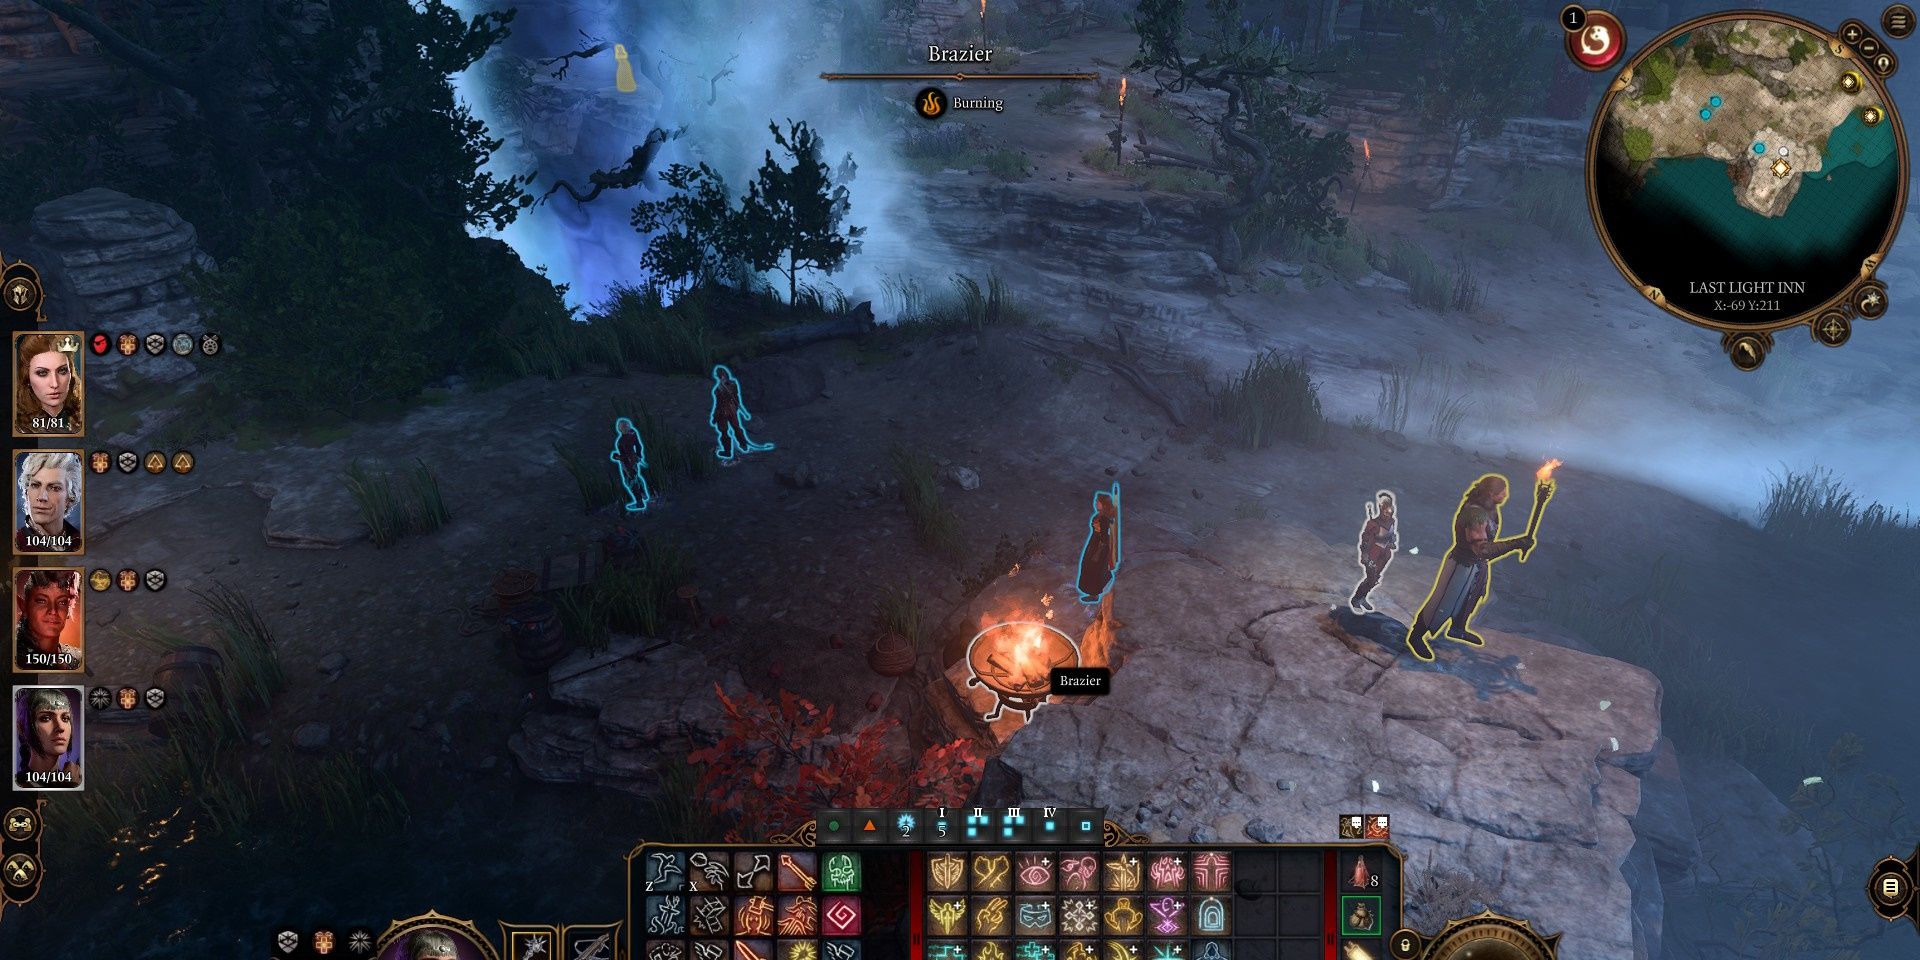
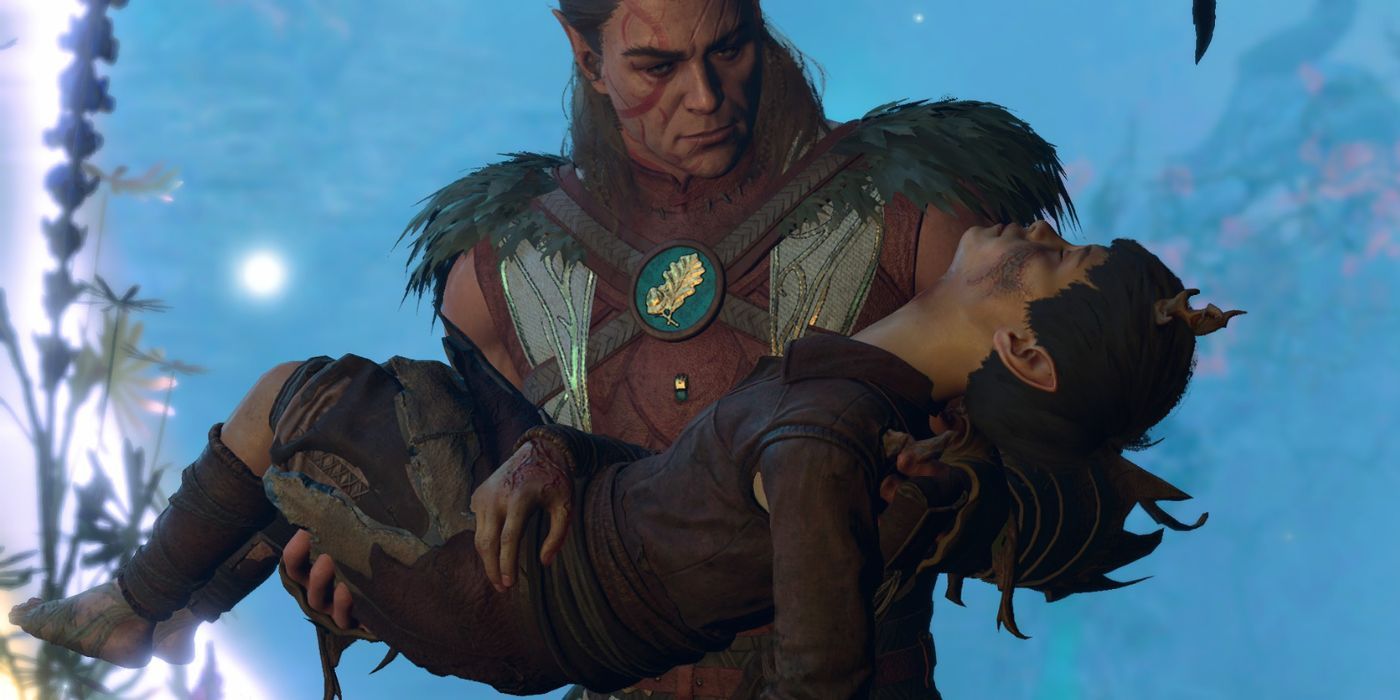
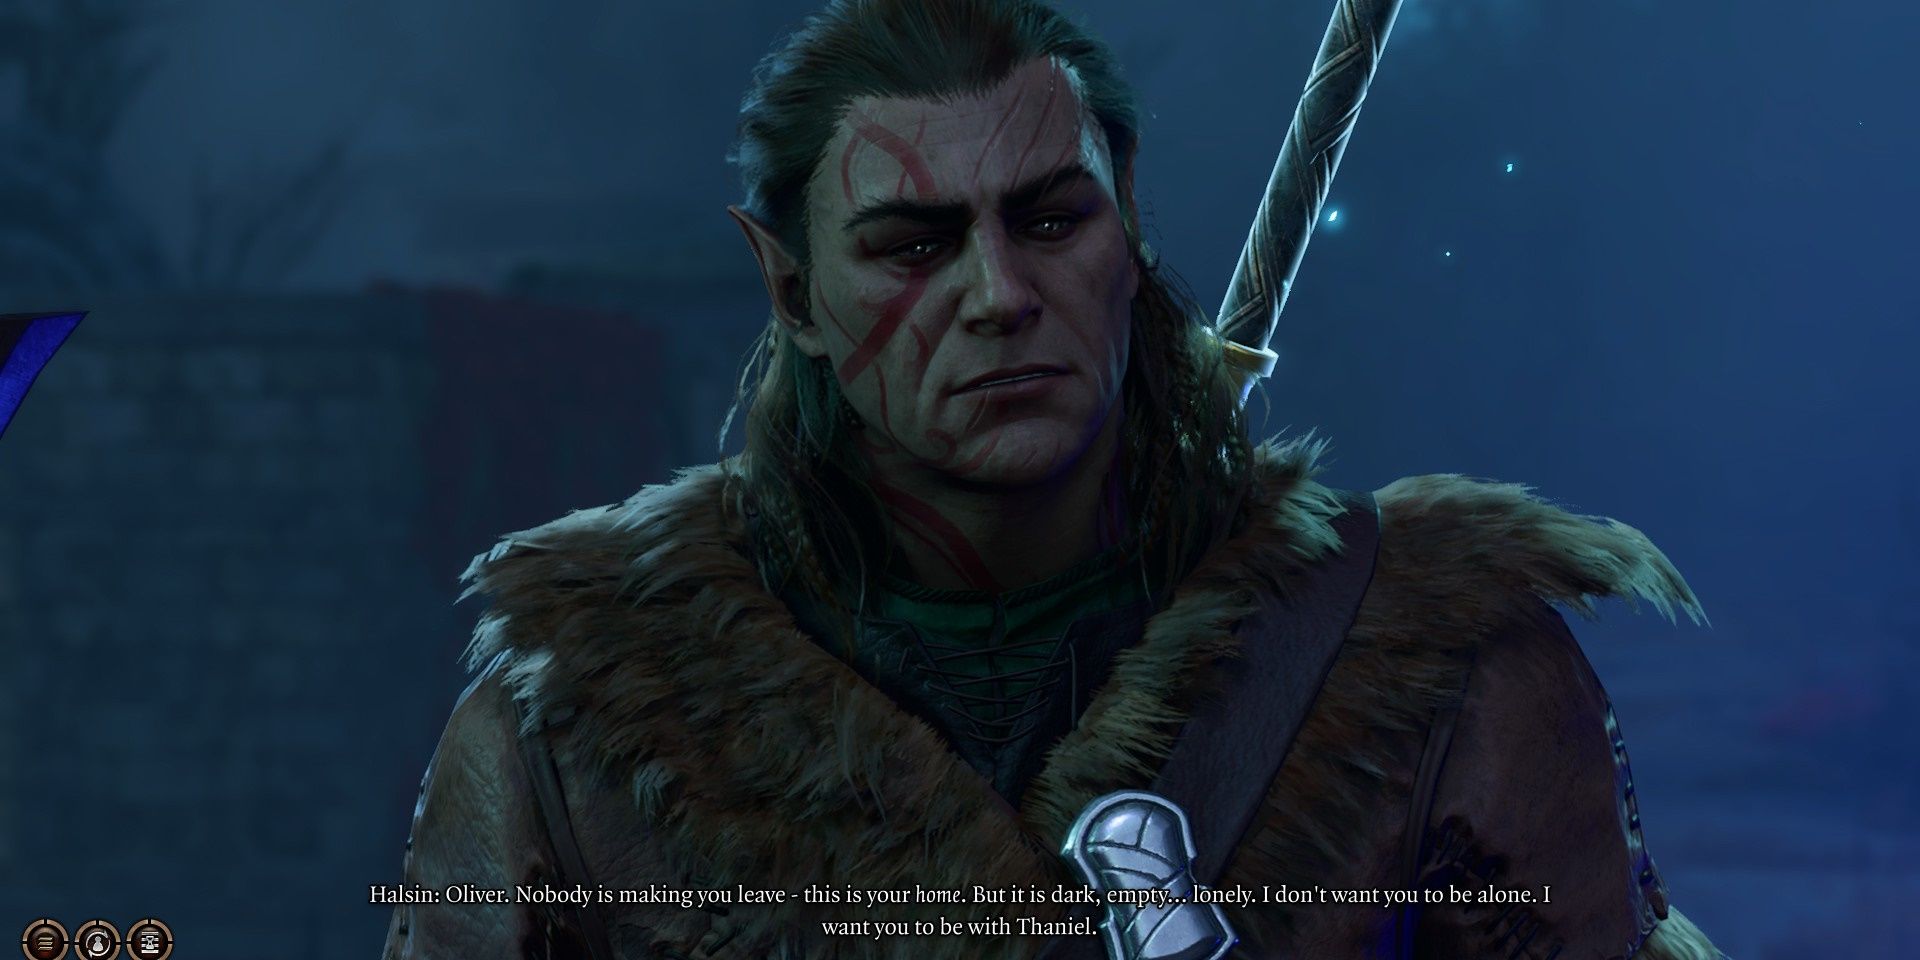


Sometimes important quests can be missed by not speaking to the right NPC or missing an important detail in character dialogue. “Lift the Shadow Curse” is a perfect example of this, and I’ve seen so many people confused about how to lift the curse or why Halsin won’t join them in Act 3. The quest can be started by speaking with Halsin as soon as the party reaches Act 2 and directly asking him how to lift the curse.
To wake Art from his coma, the Battered Lute will need to be picked up from Malus Thorm, who can be found in Reithwin’s House of Healing.
Halsin will explain that the spirit of the land named Thaniel needs to be rescued, but he isn’t sure how to find him. The answer is inside the Last Light Inn, as a man named Art Cullagh will provide the next clue. From there, the quest is much more straightforward, and Halsin will explain what the party needs to do at each step, from guarding the portal to finding Oliver.
Reclaim The Blue Jay’s Nest
Act 1: Rosymorn Monastery Trail
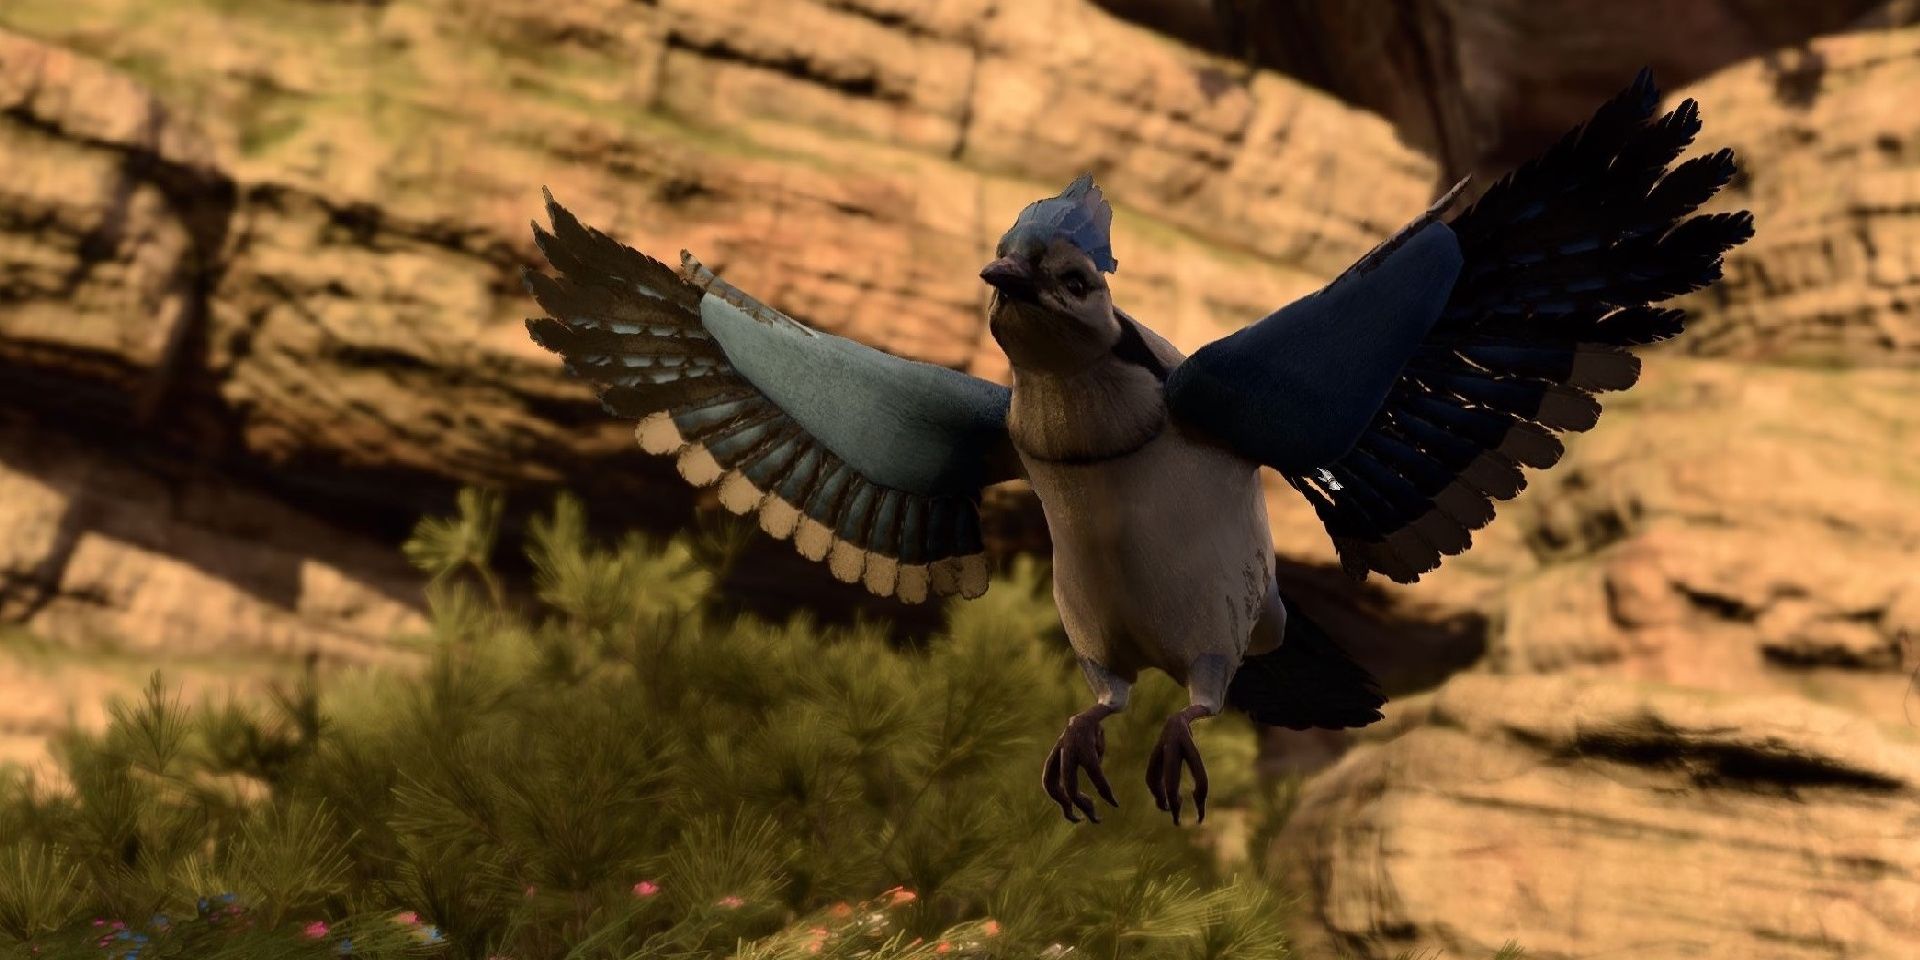
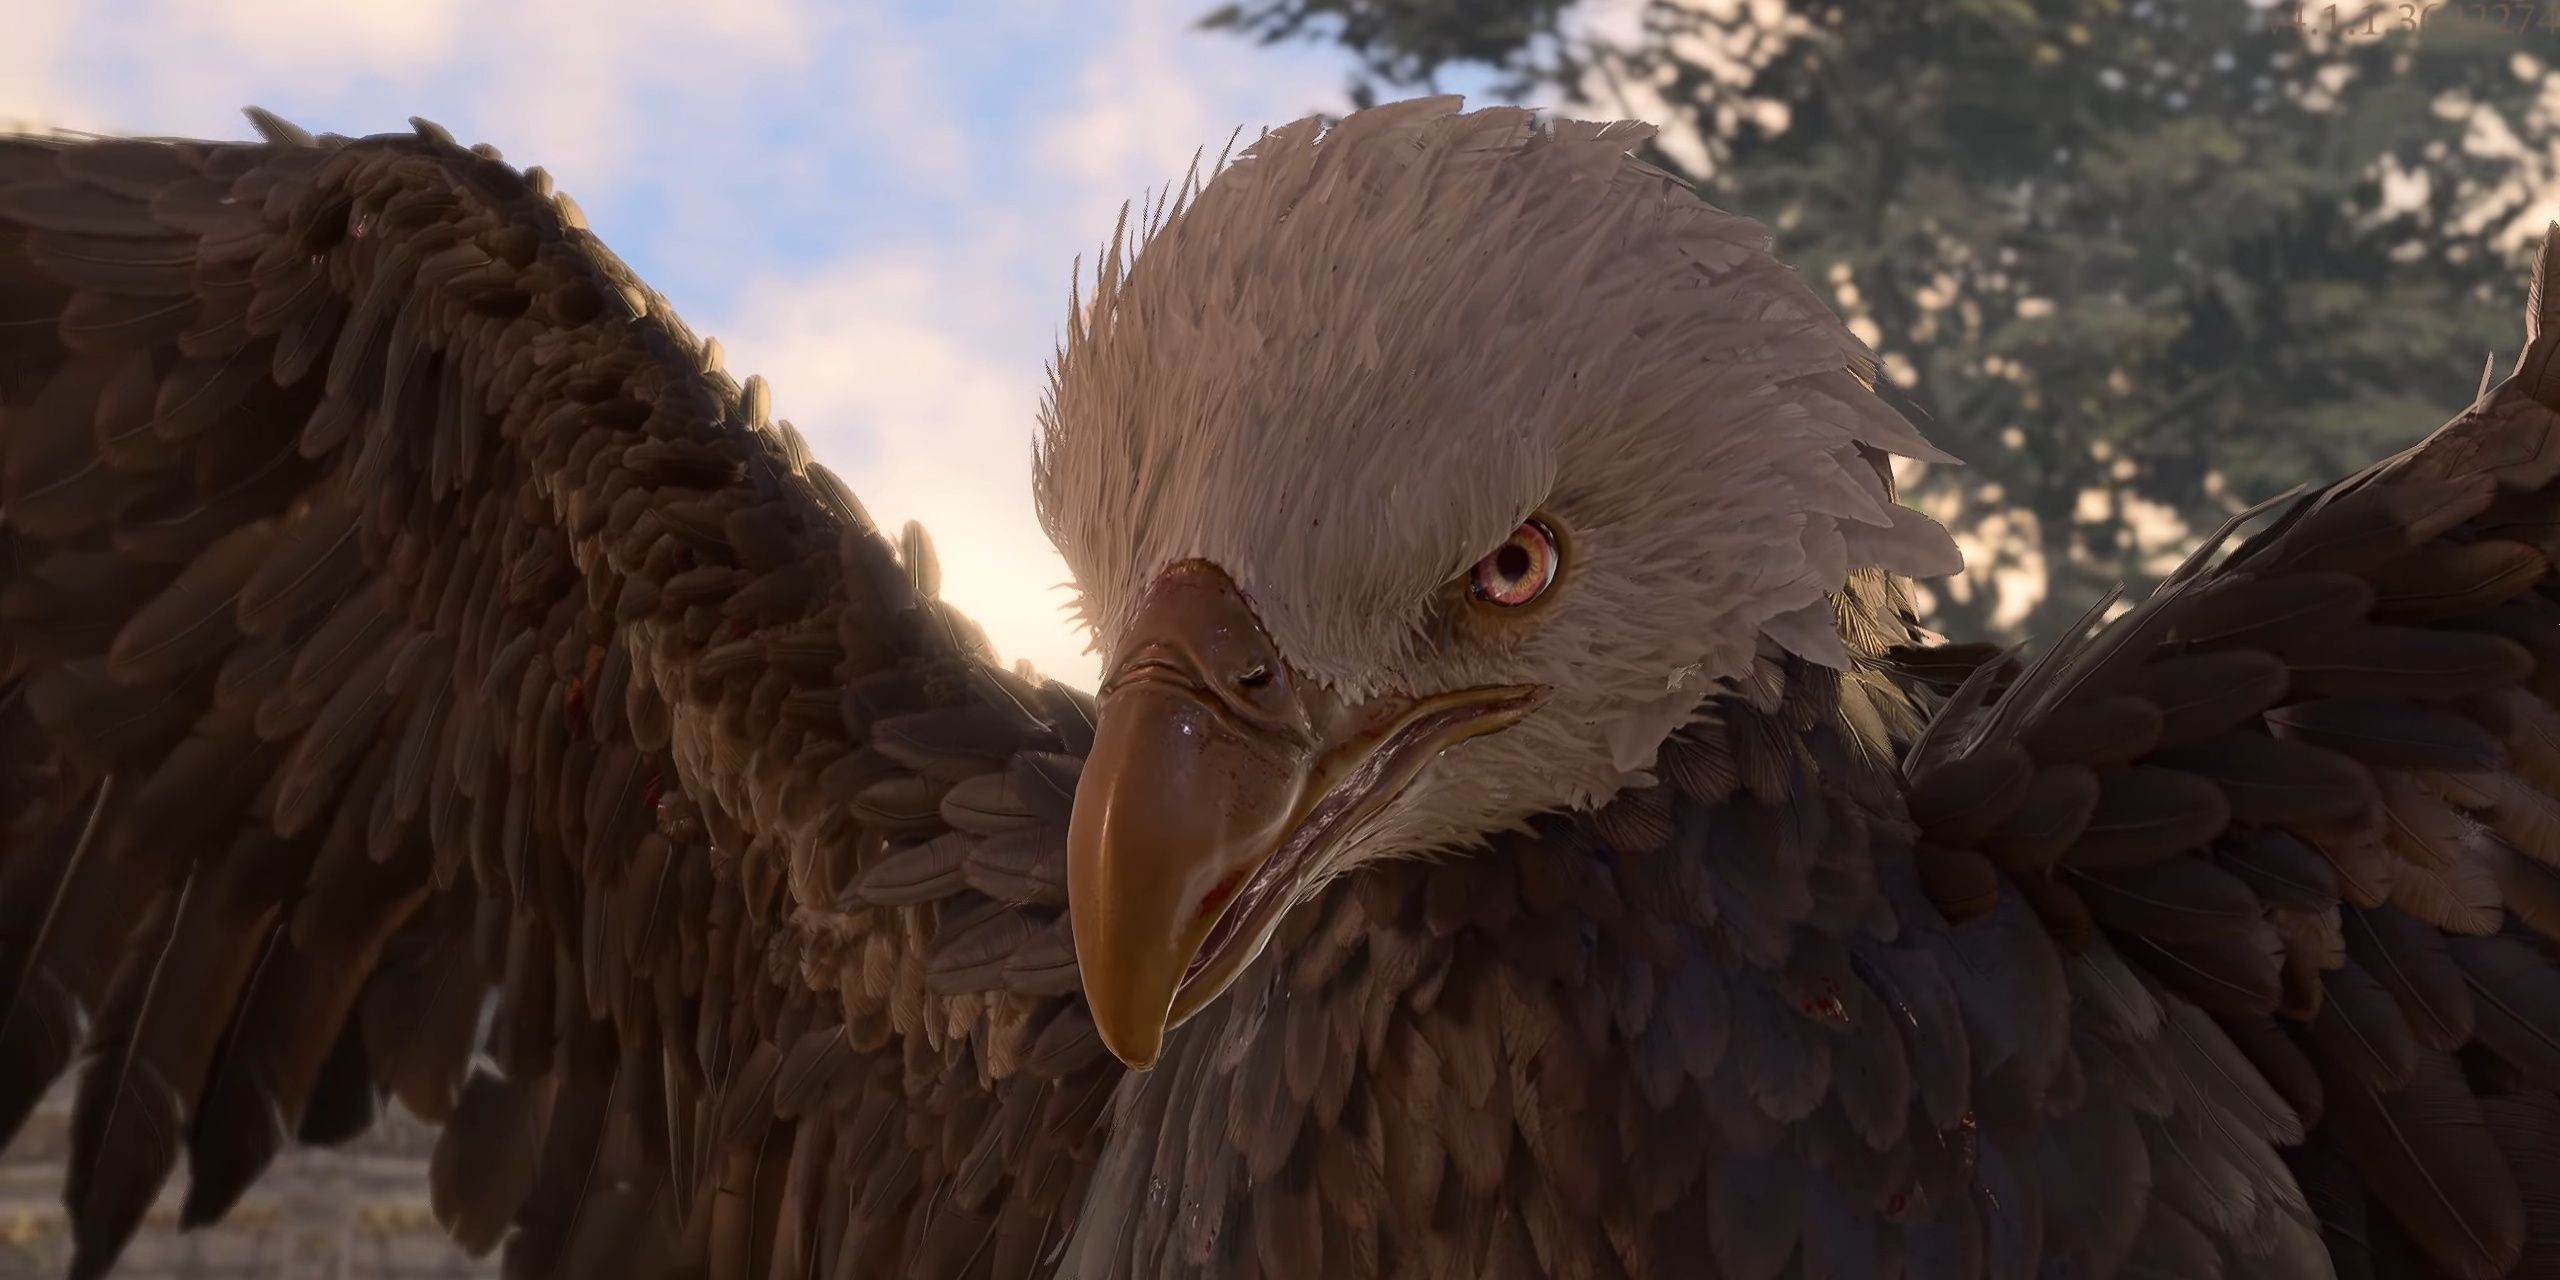
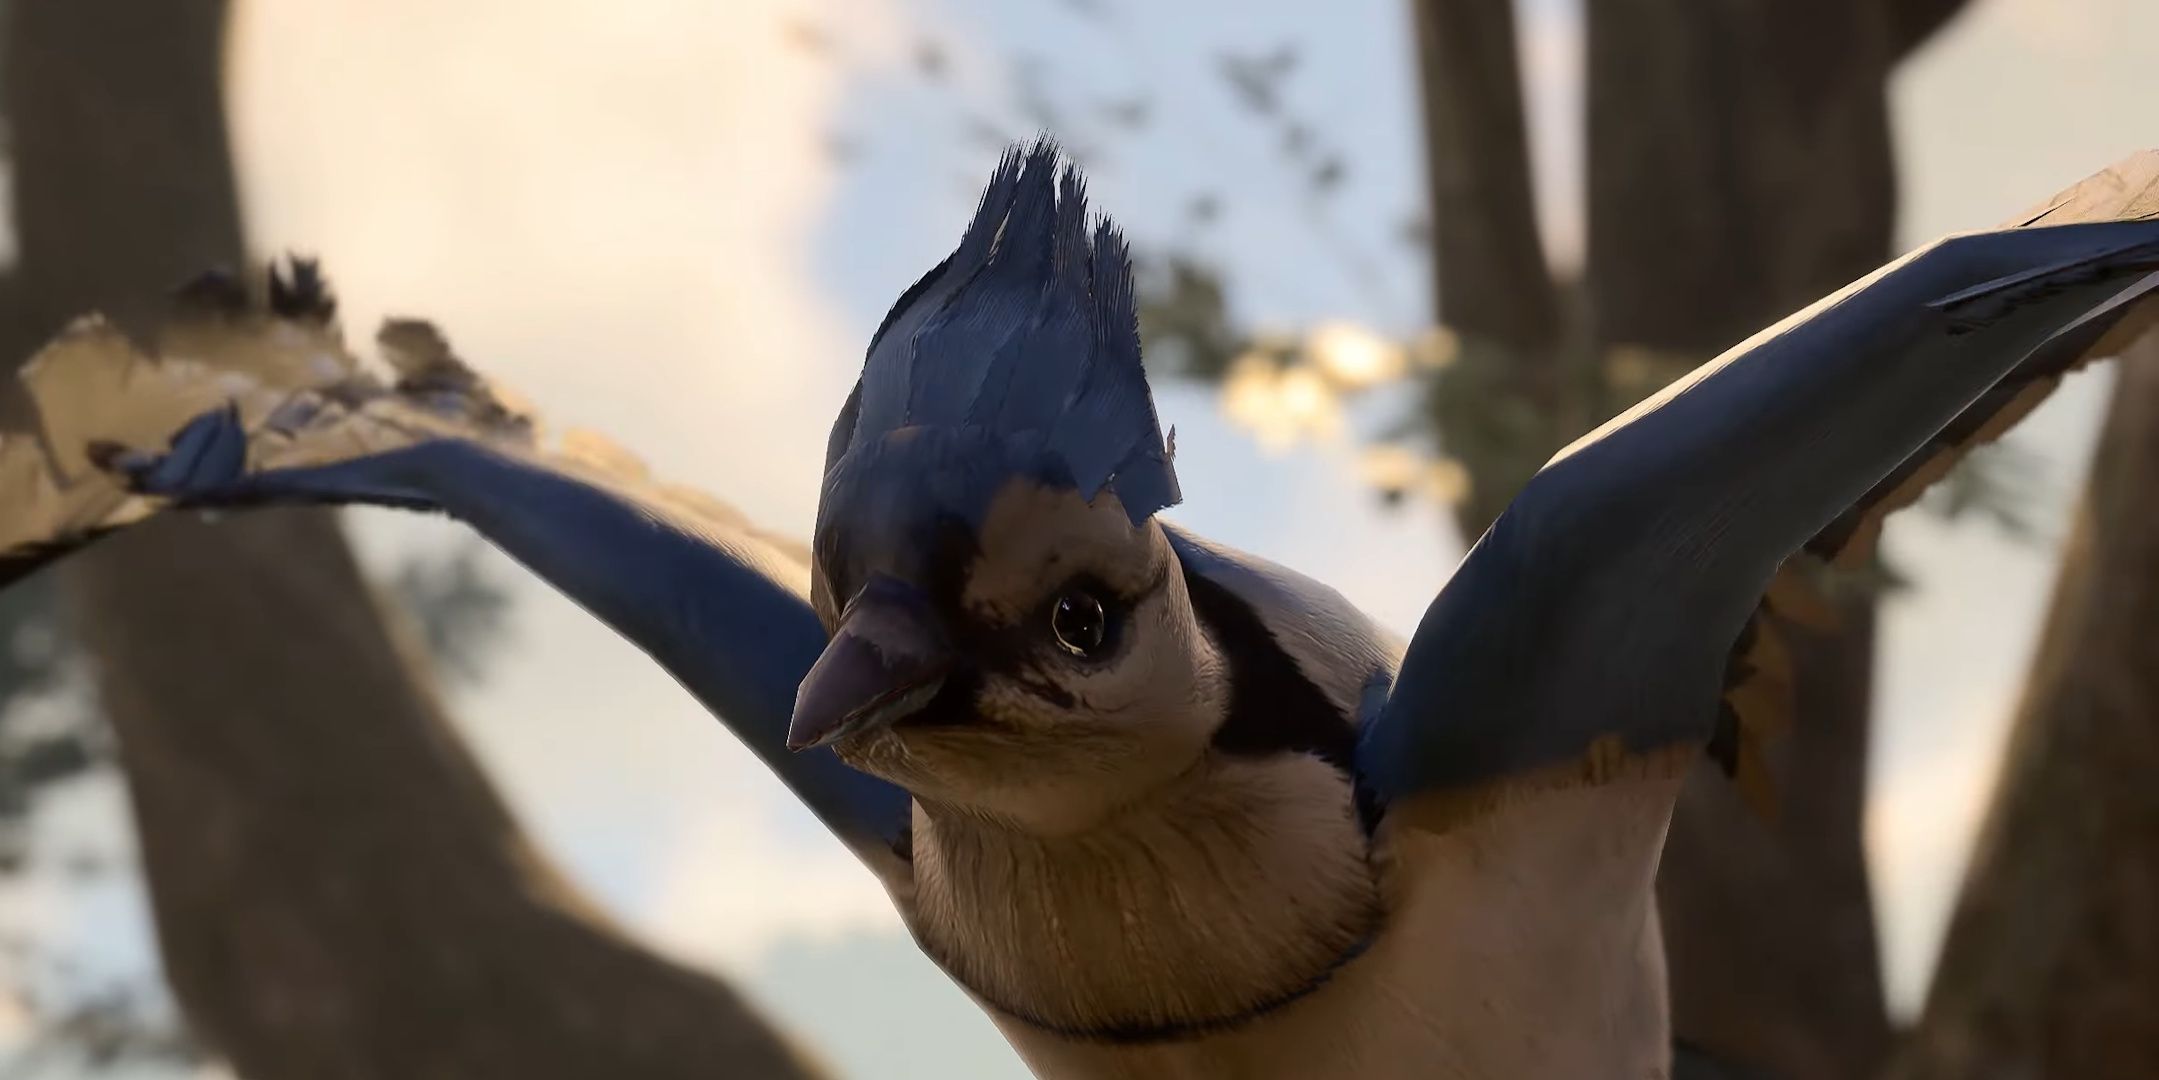


The eagles can be found on the roof of the Monastery and will become hostile if approached. After defeating the eagles, the blue jay can be returned to and will mark a spot on the party’s map called Blue Jay’s Find. This loot is a buried chest that will contain randomized low-level items. This is a fun little quest, especially as it’s obvious the nest is far too big for a blue jay, and the party is helping the little guy steal it from the eagles.
Find Rolan In The Shadows
Act 2: Last Light Inn
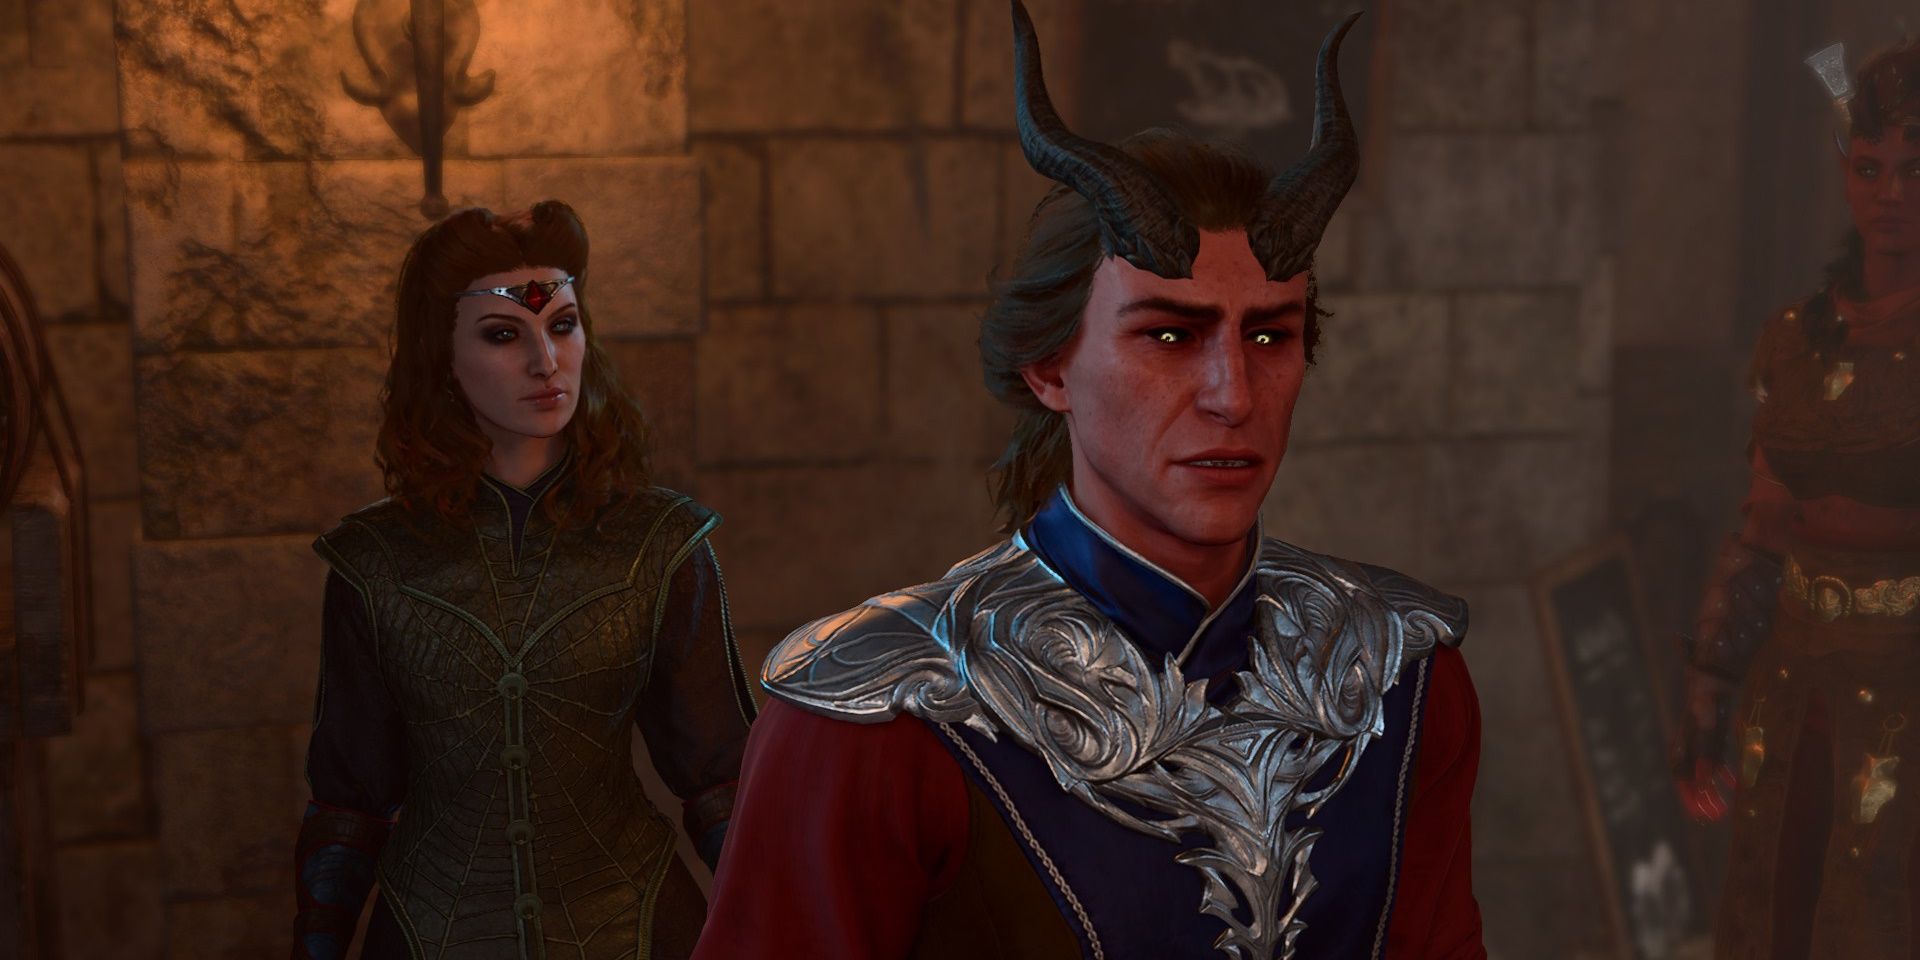
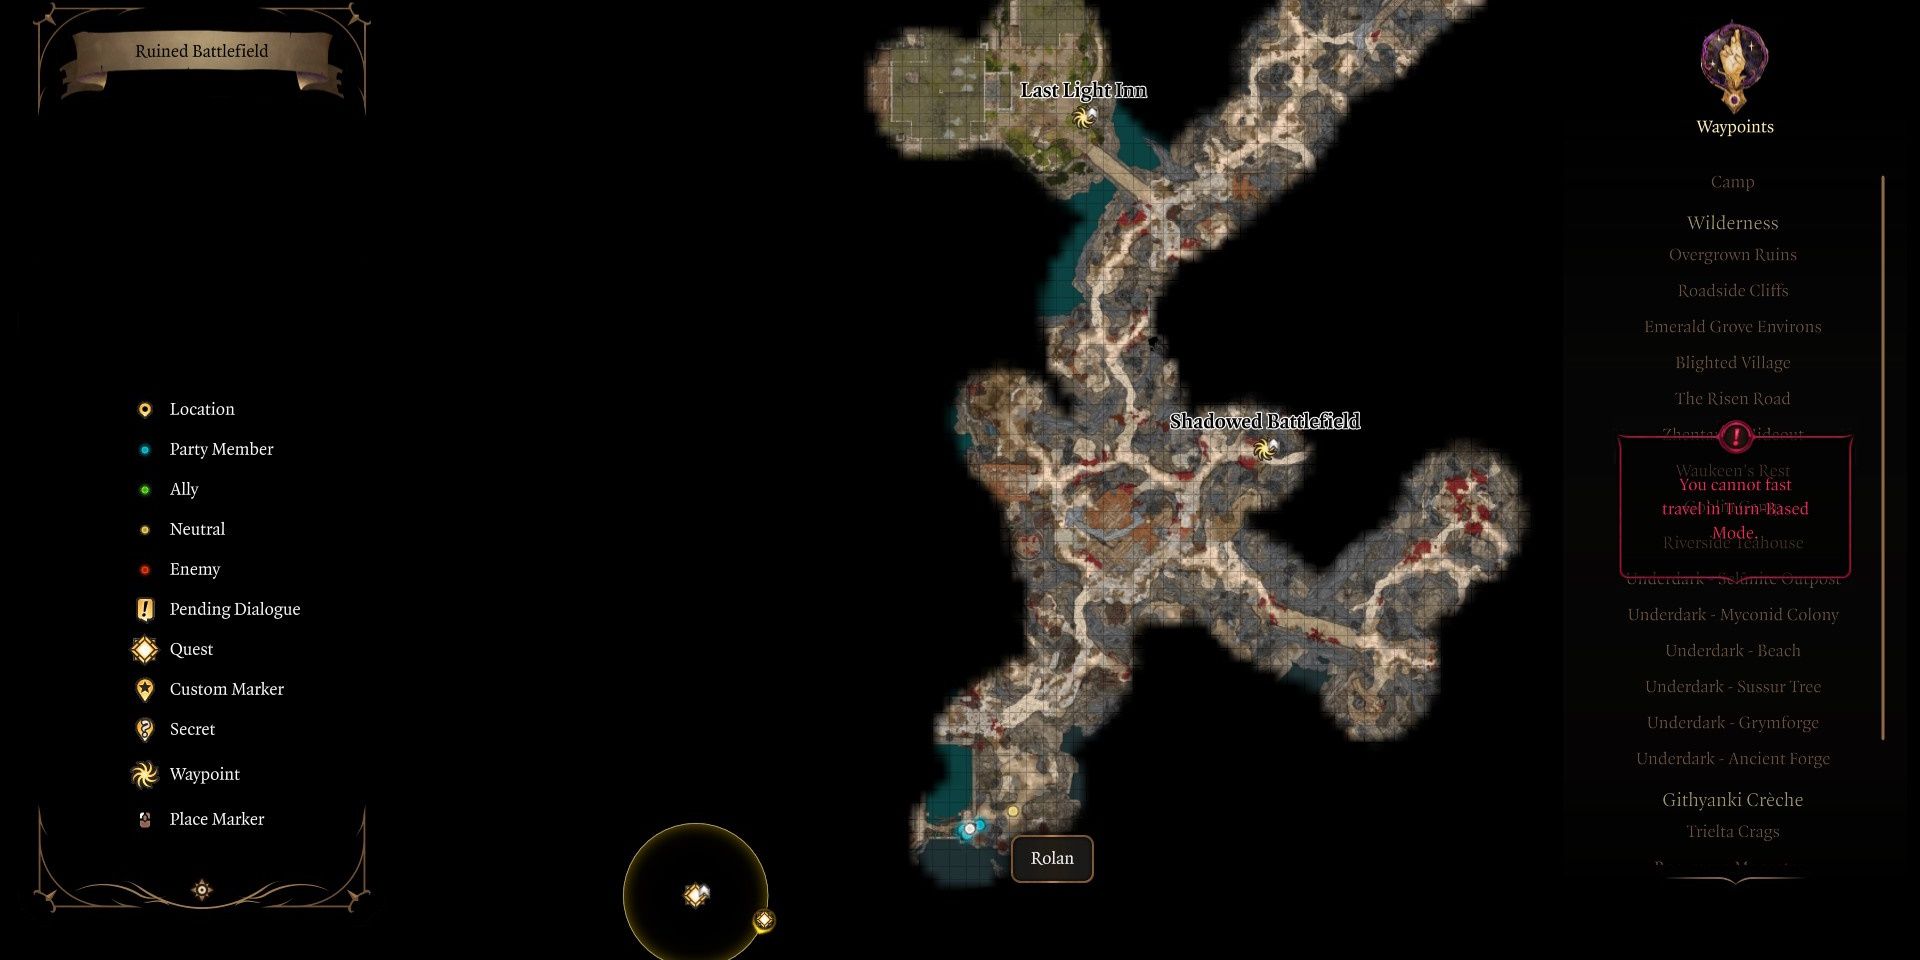
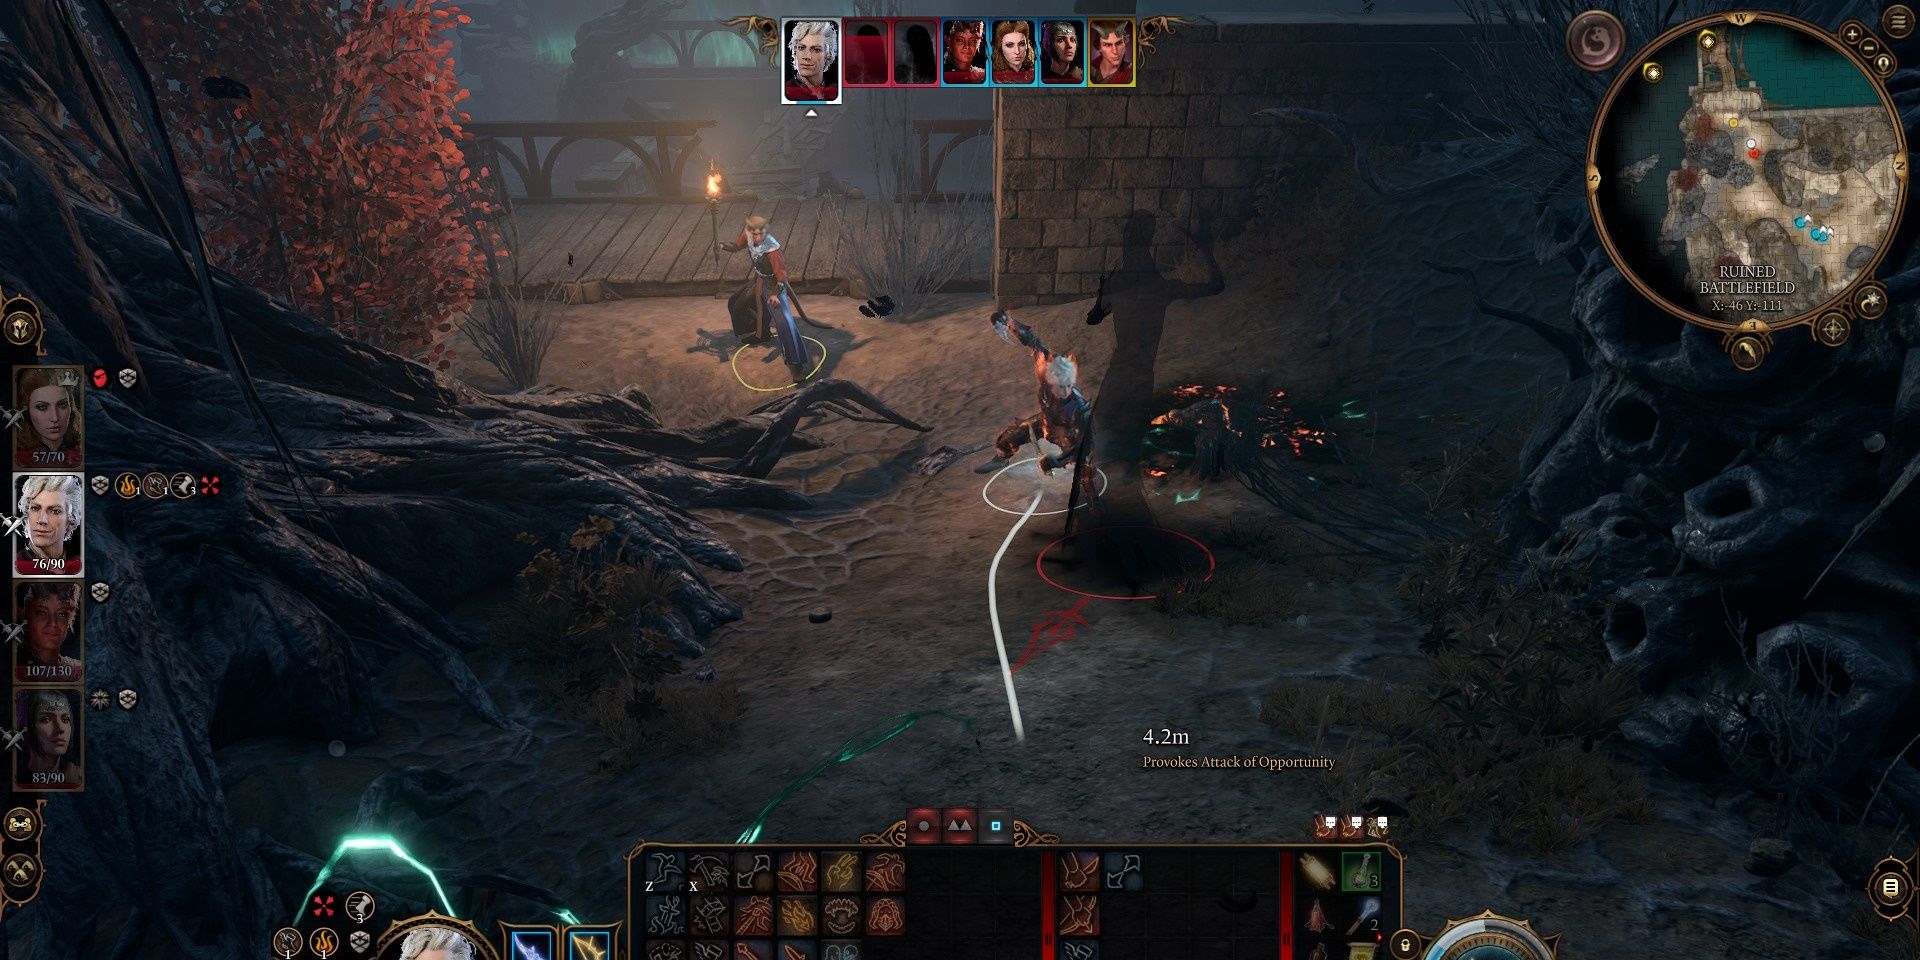
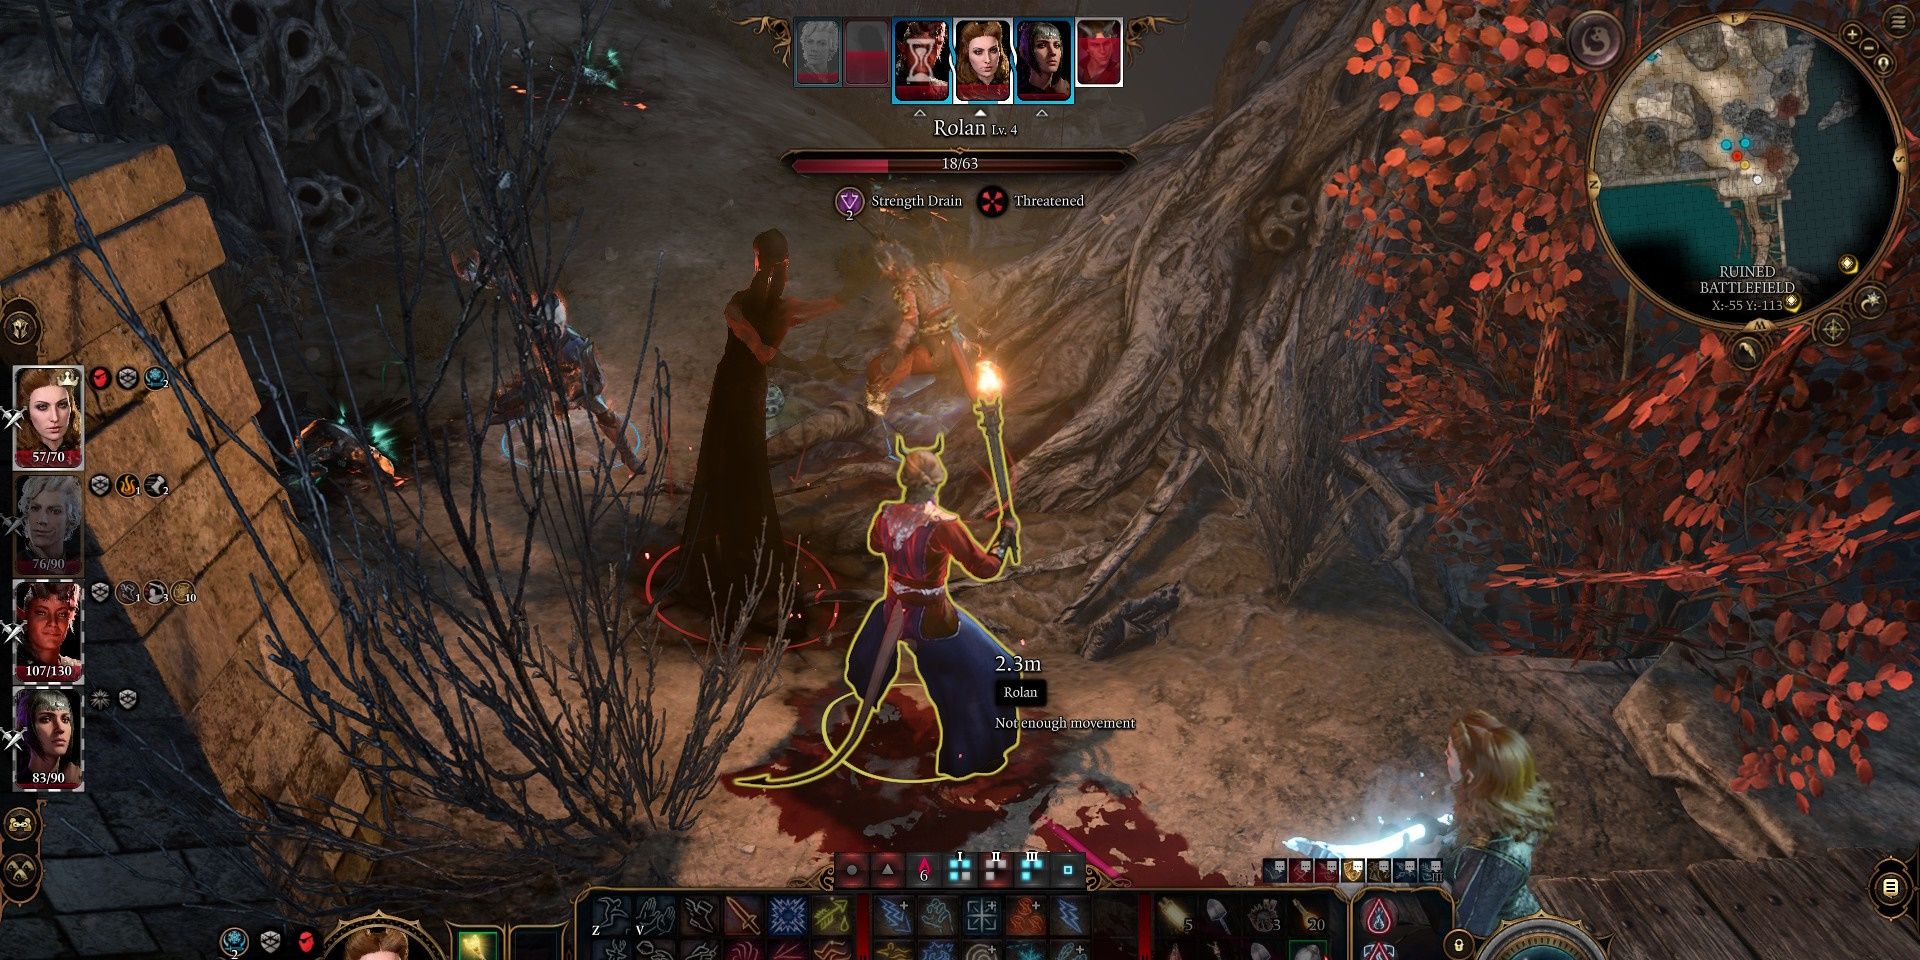
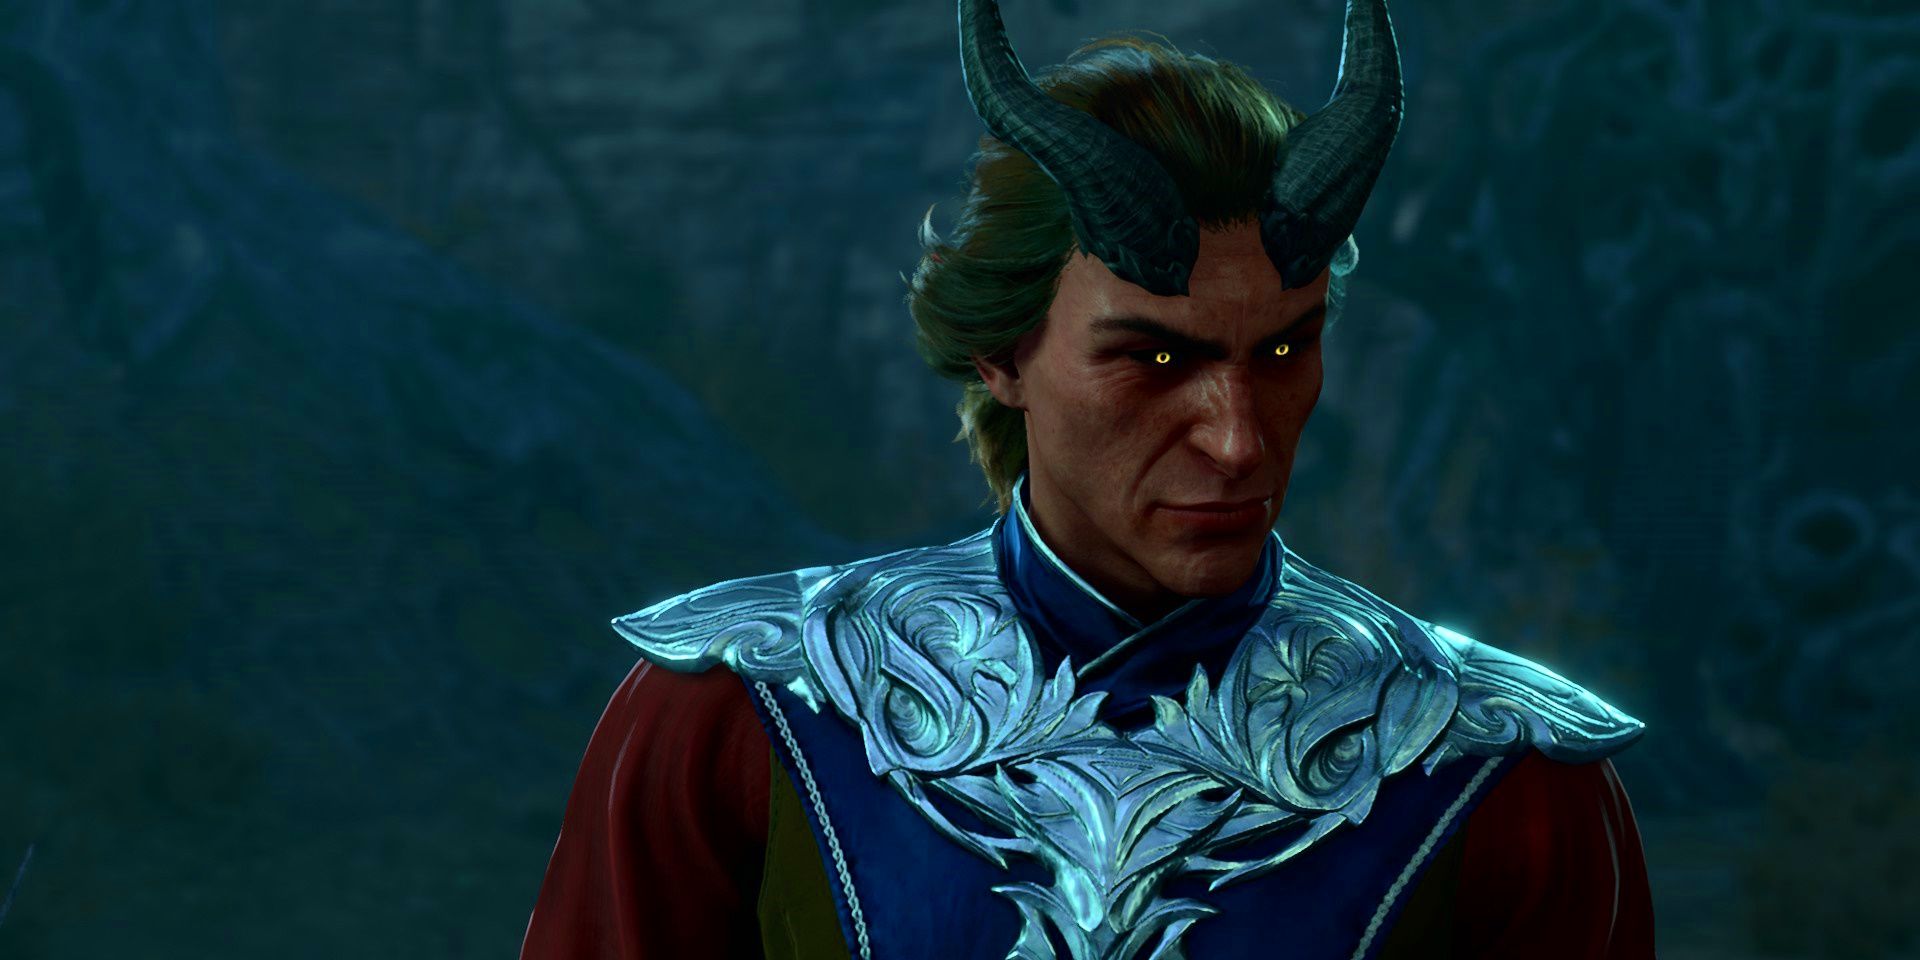


Rolan will be found fighting shadows near the bridge that leads to Reithwin’s Tollhouse at the southern end of the Ruined Battlefield. Rolan is a fantastic character who can become a useful ally instead of Lorroakan, so saving him is a must for any good-aligned party. Rolan will also reappear in Act 3 as a vendor and sell some fantastic items, such as the ![]() Ring of Regeneration and the
Ring of Regeneration and the  Quickspell Gloves .
Stop The Presses
Act 3: Baldur’s Mouth
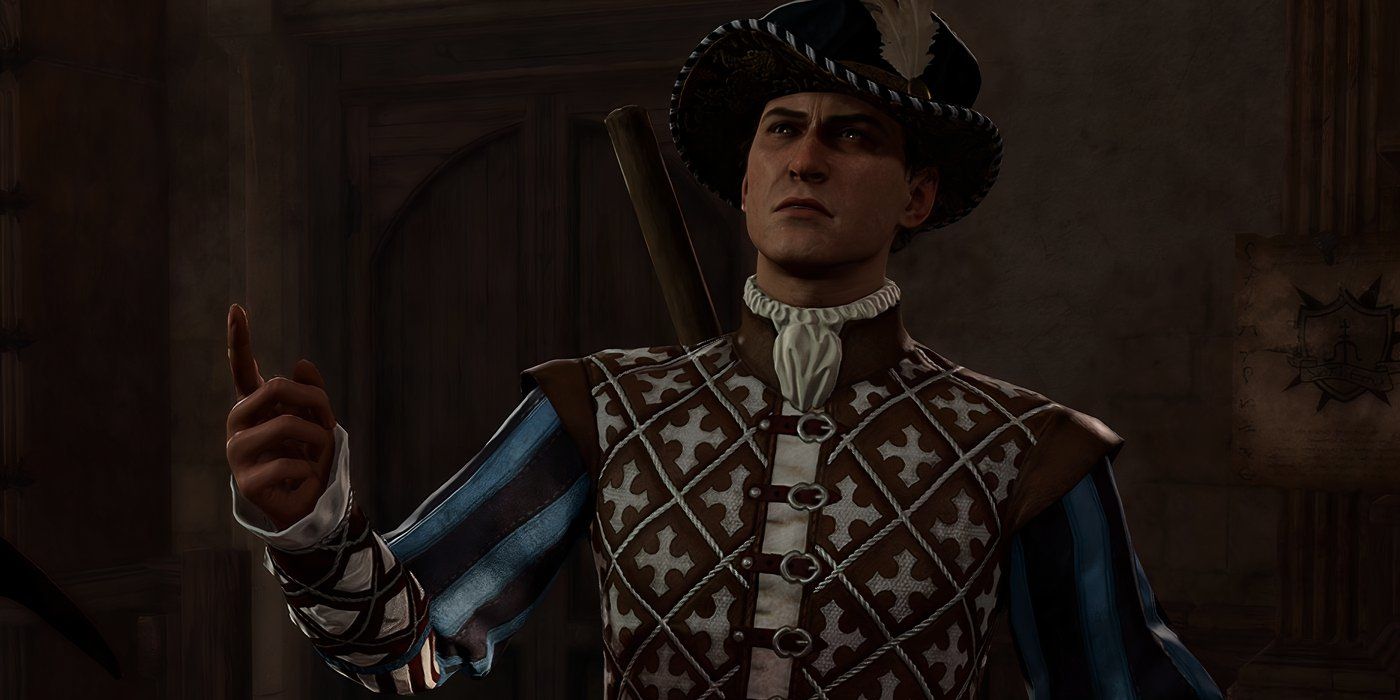
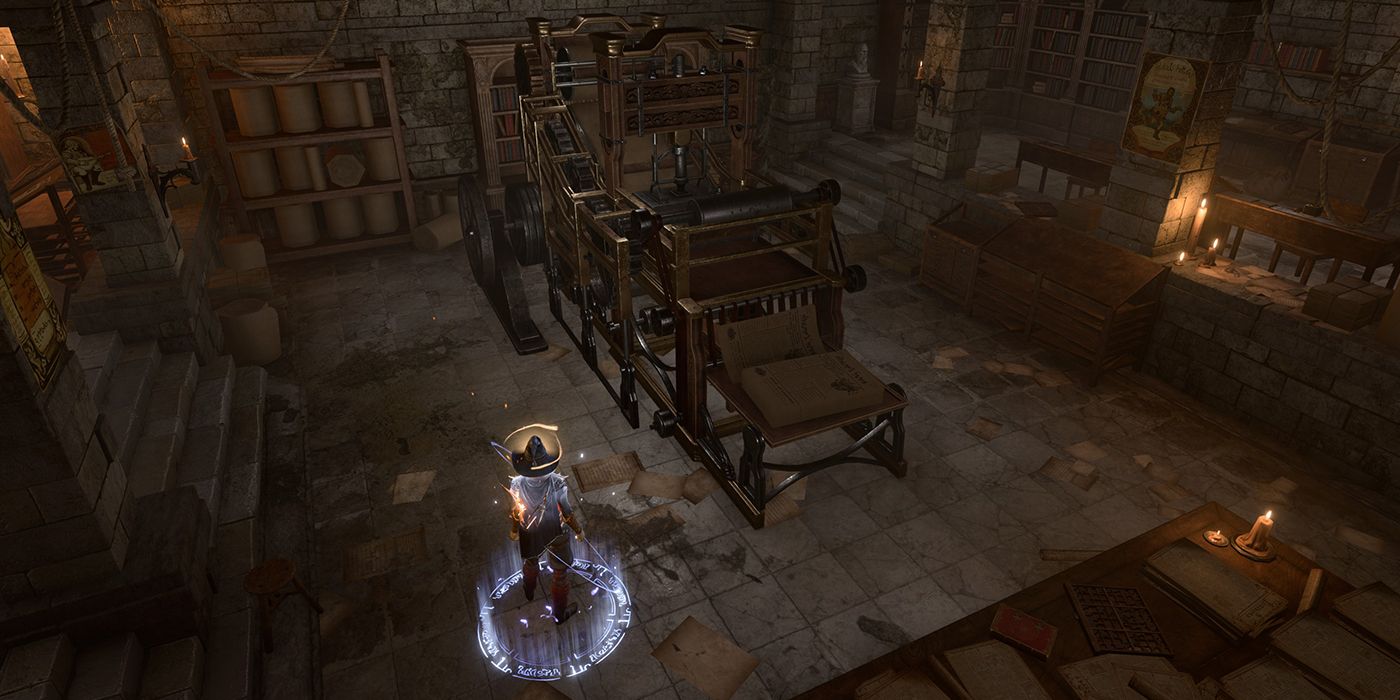
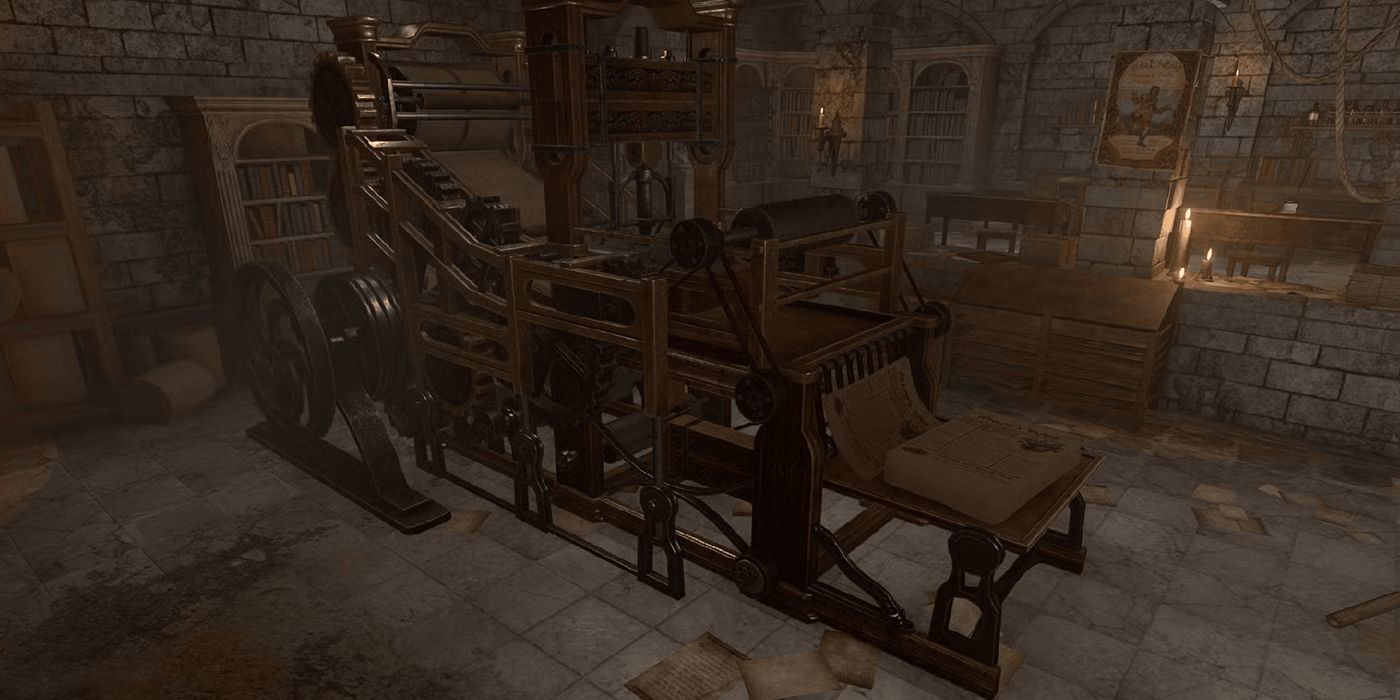


When first entering Act 3, the party can speak with one of three reporters who will reveal that the Baldur’s Mouth Gazette is planning on running a very unflattering story about them. Heading into the city and talking to the editor only confirms this and begins the quest “Stop the Presses”. This quest is very easy to miss as, unless the party is chatting to every NPC they cross paths with, the reporters are easily overlooked.
If Dolly Dolly Dolly was freed from the Moonlantern in Act 2, the enchanted press will recognize the party and offer to help print a positive article.
Once the editor Ettvard is spoken to, the party will have to complete it before taking a long rest, otherwise, the negative story will be published, and their reputation will take a hit. Although the impact is negligible, the quest is still fun to do, and I usually wait to speak to Ettvard until after I’ve completed “Disable the Steel Watch,” as that makes sneaking around inside the basement of the Baldur’s Mouth much easier.
Investigate The Beach
Act 1: Emerald Grove
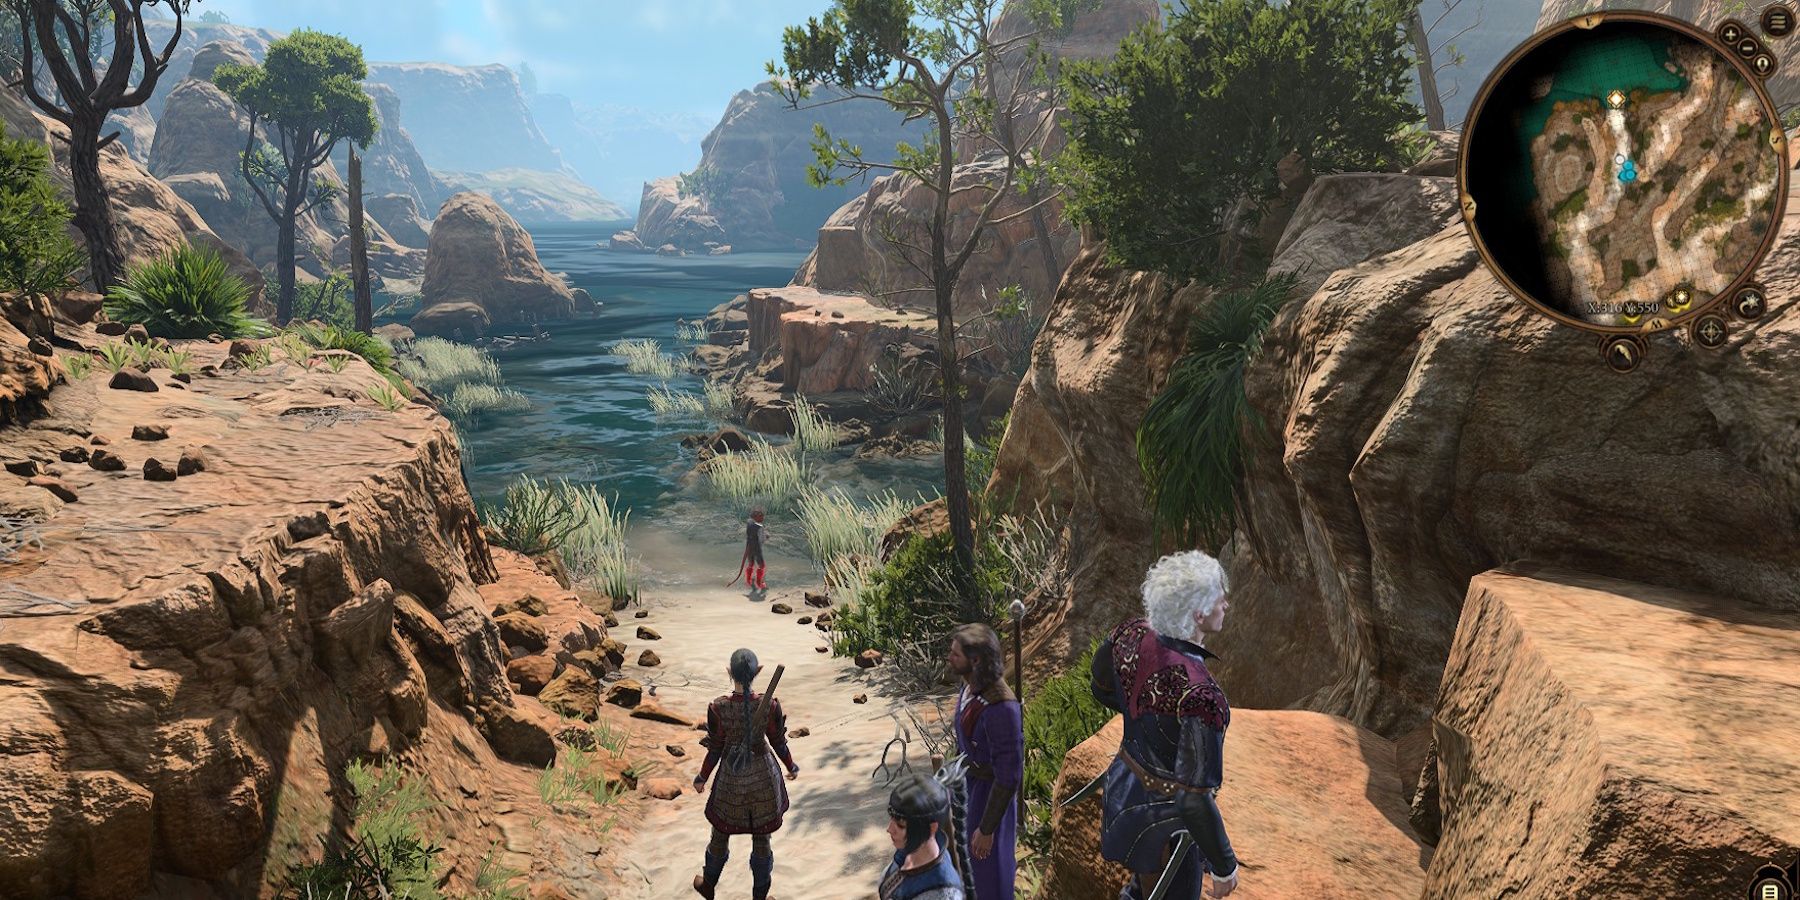
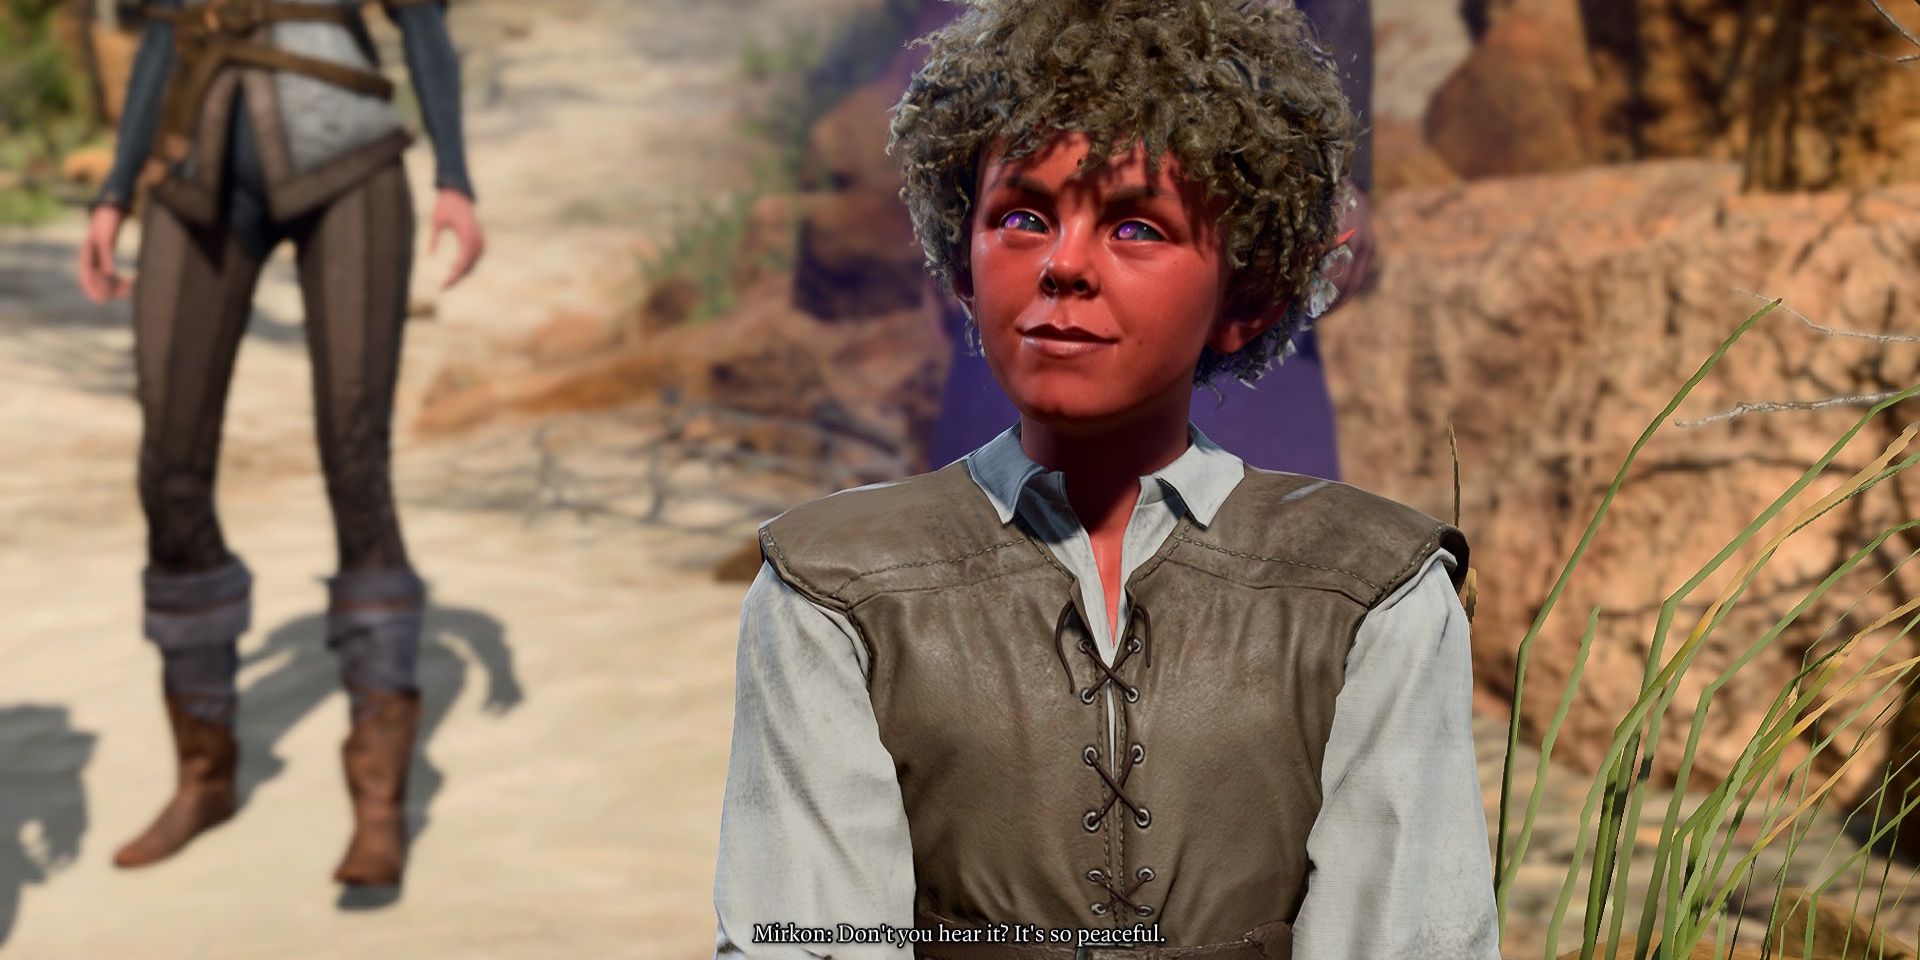
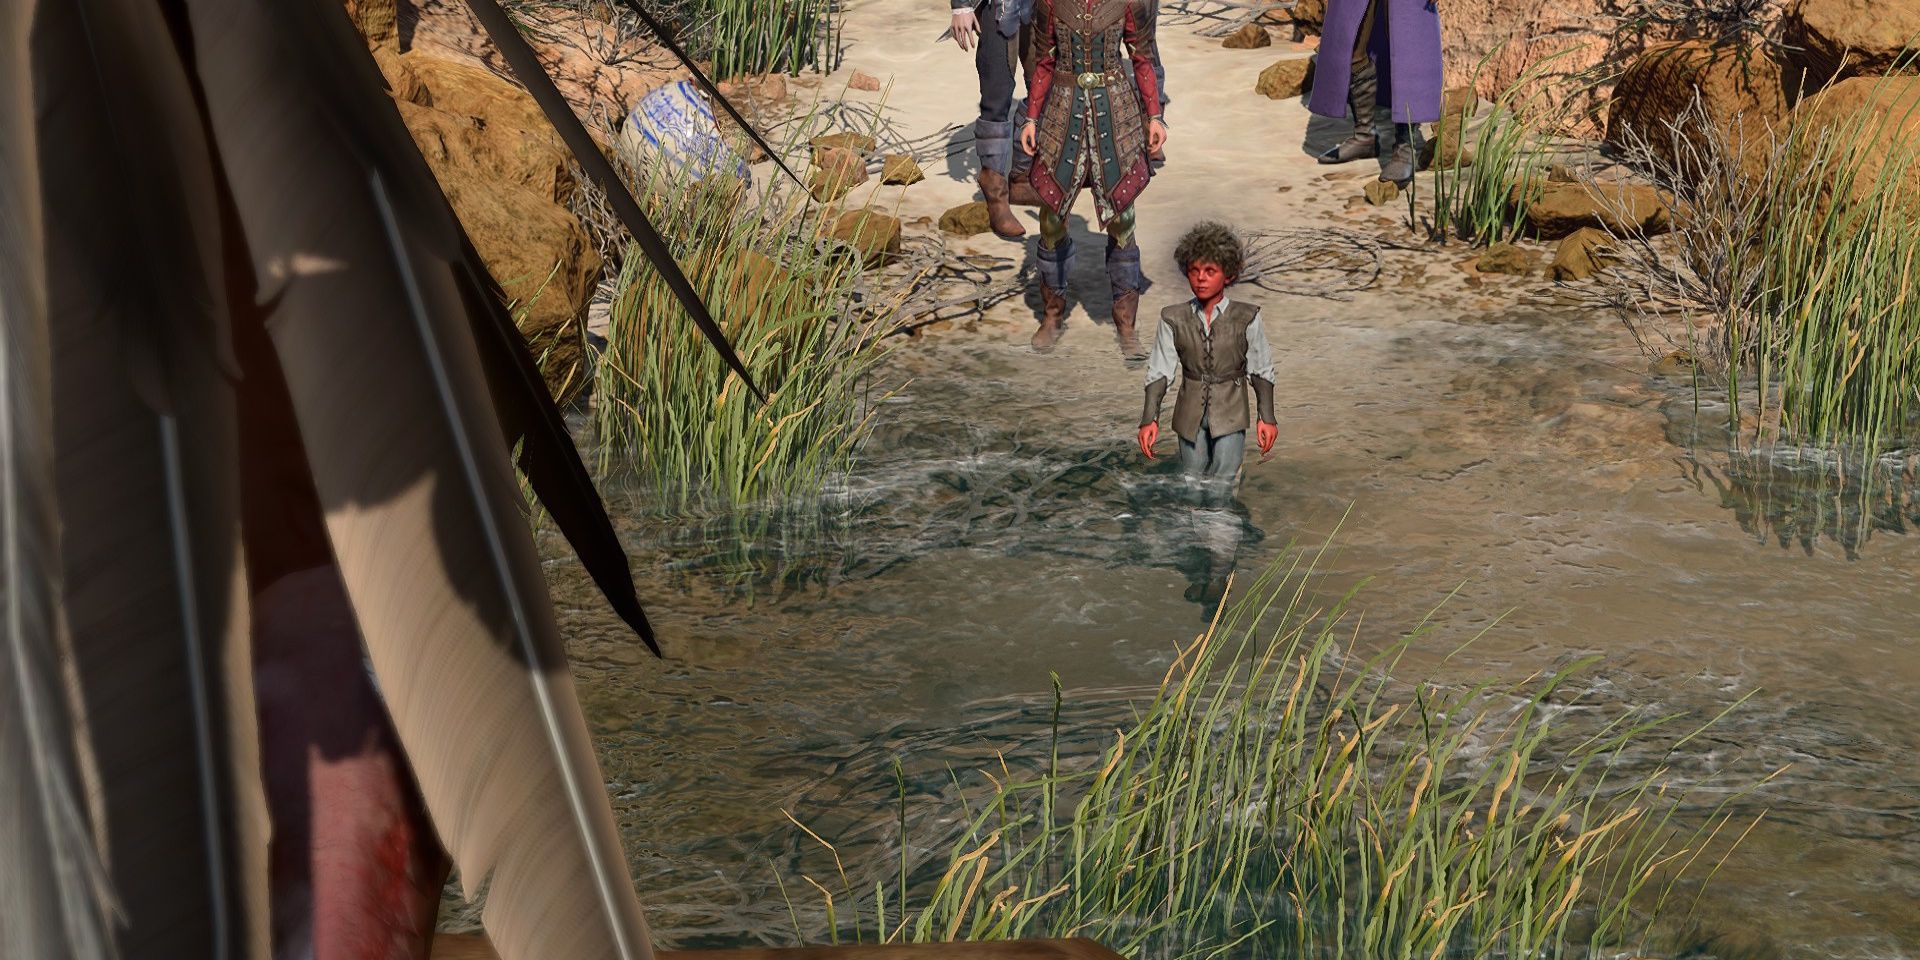


While exploring the Emerald Grove in Act 1, it is easy to overlook the dirt paths leading off to the east. One path will lead up to Alfira, and the other will lead to a beach where strange music can be heard, triggering the quest “Investigate the Beach.” As the party approaches, they will see a small tiefling boy standing in the water, mesmerized by odd singing, before a harpy quickly appears.
Gain A Kuo-toa Army
Act 1: Underdark
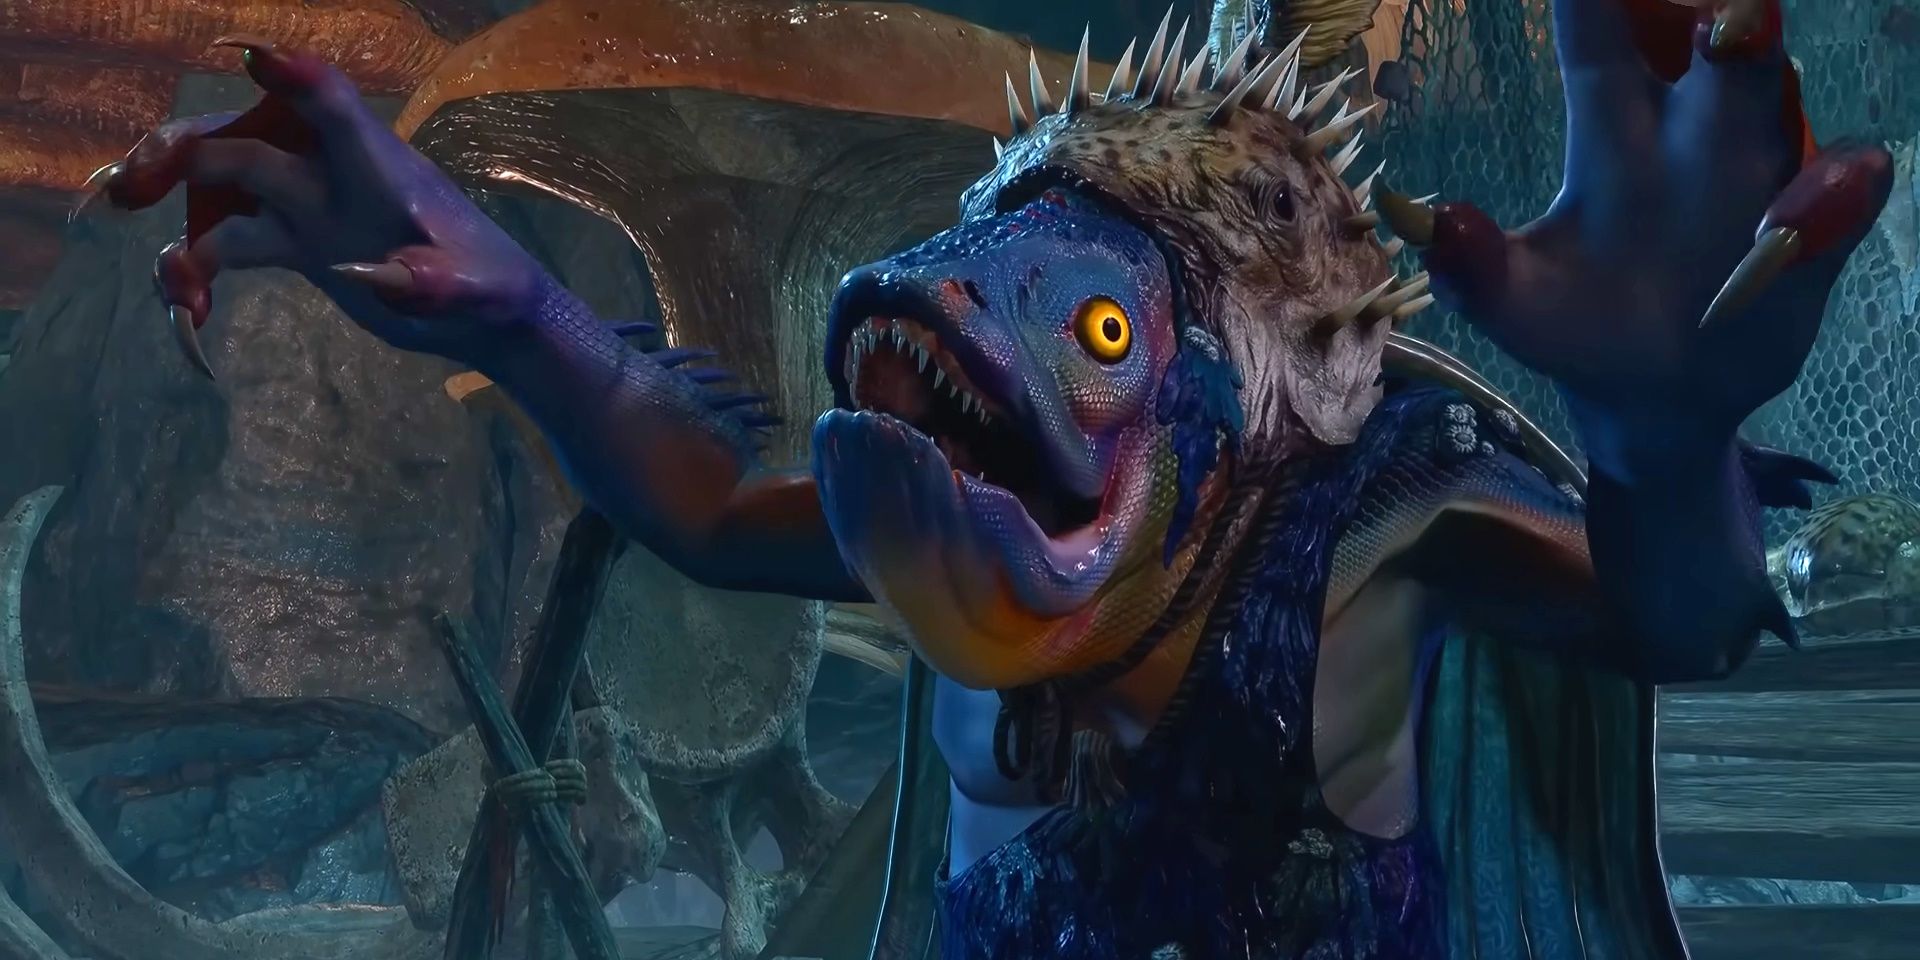
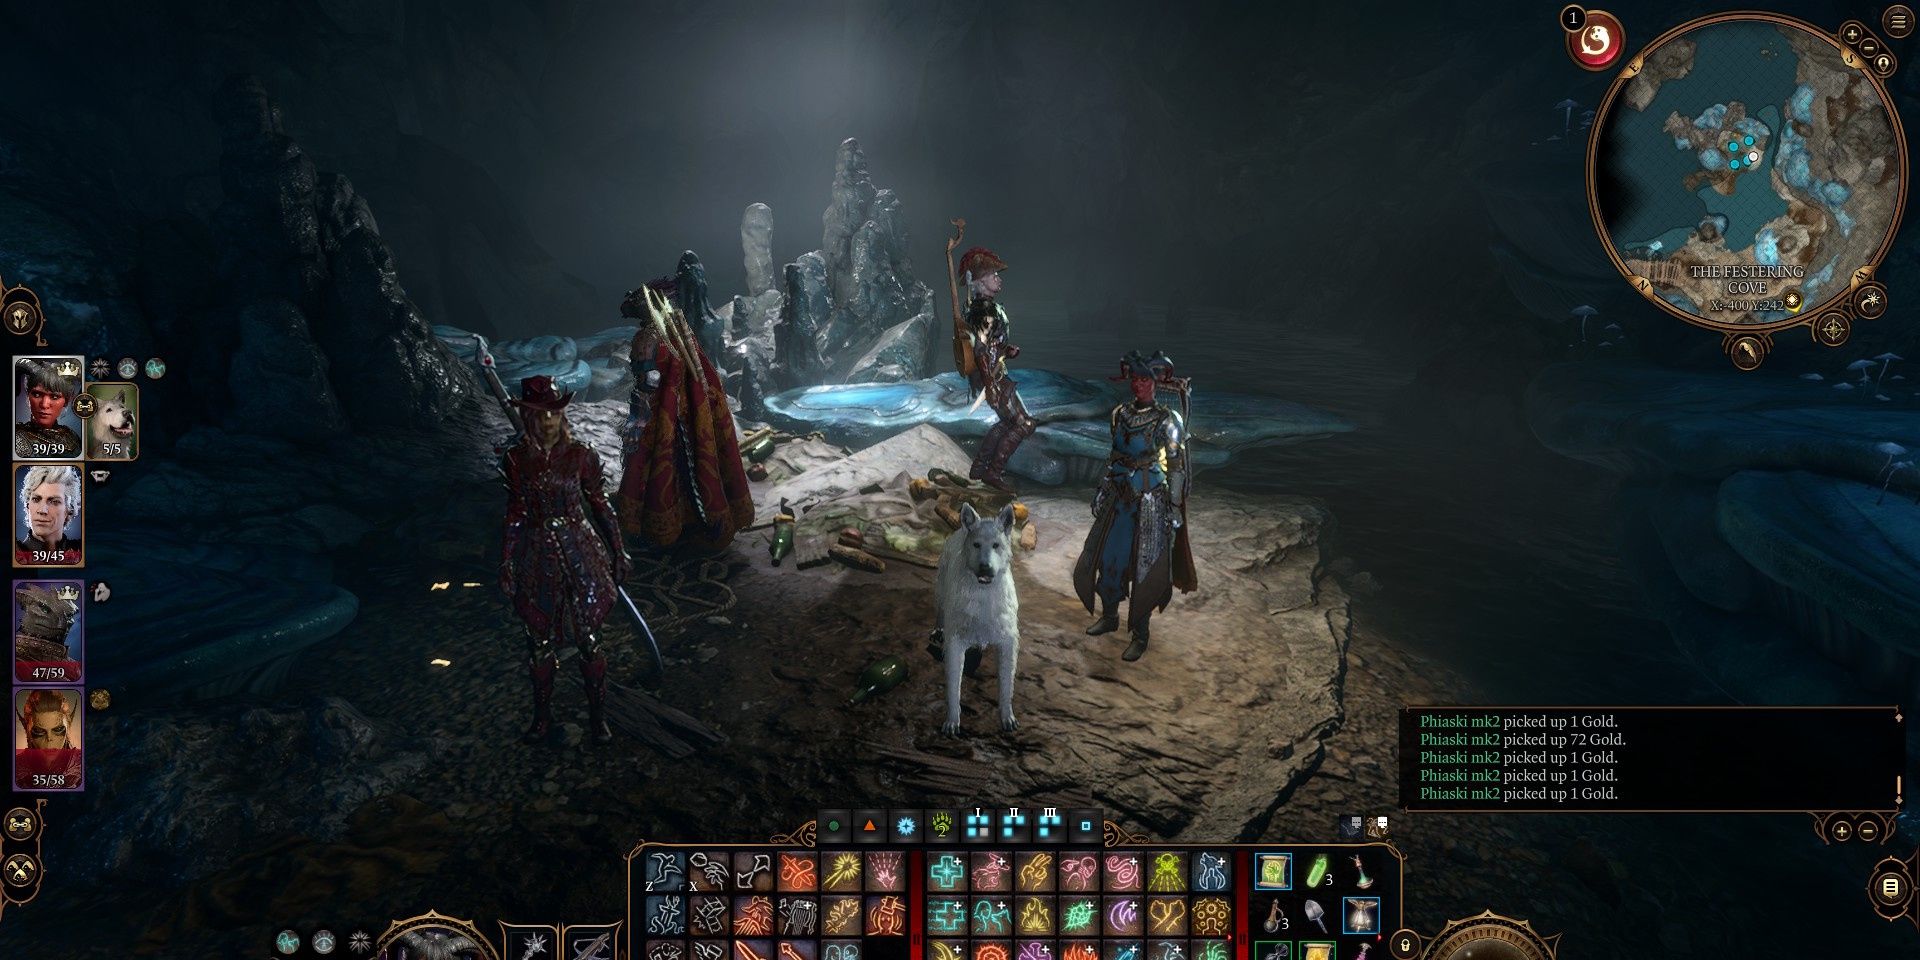
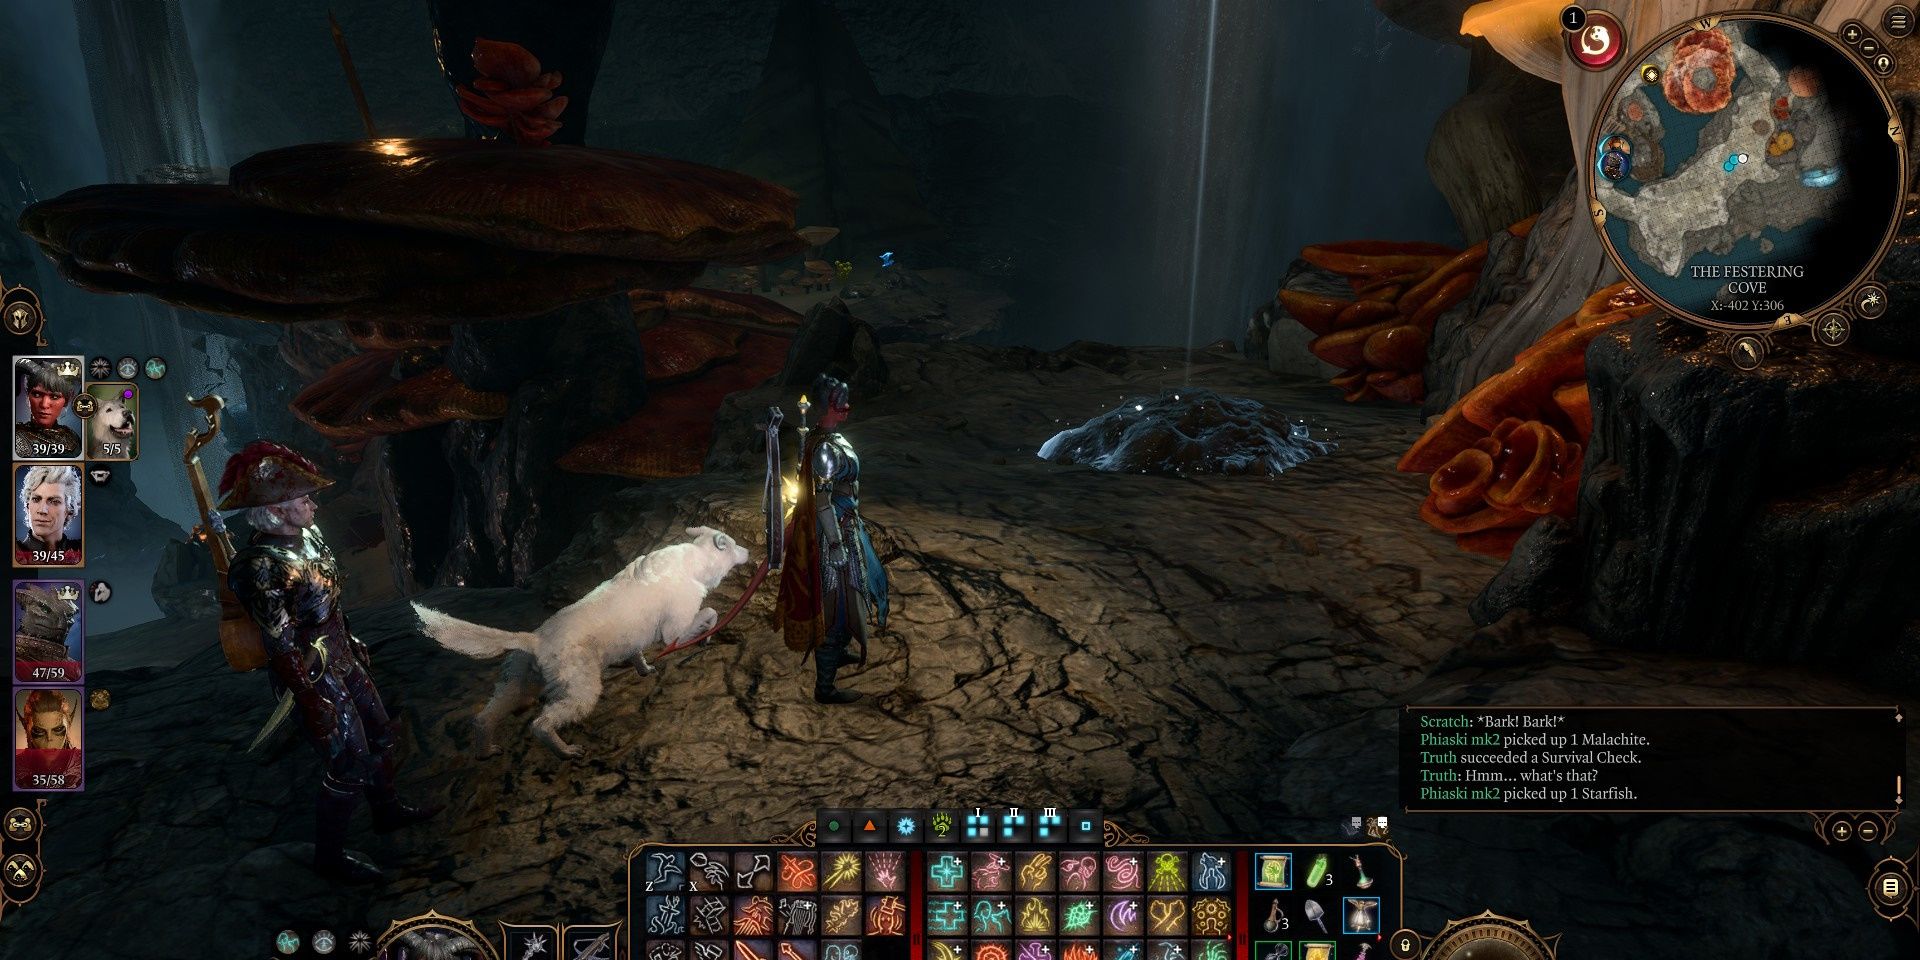


Finally, a very easy location to miss is the Festering Cove, which can be reached by jumping down some mushrooms, northeast of the Arcane Tower (X:70 Y:-240) in the Underdark. This area is home to a group of Kuo-toa, and as the party arrives, the tribe is worshiping a weird creature calling itself BOOOAL. Speaking with the leader of the Kuo-toa, Pooldripp, will begin an unmarked quest that has several outcomes.
The party can attempt to convince the Kuo-toa that they are being duped, with BOOOAL eventually revealing themselves to be a redcap. If the option “I’ll just kill you and claim it for myself” is chosen, a fight will ensue with just BOOOAL, allowing the Kuo-toa to be recruited as allies by instructing them to build an army. Since such a specific path must be followed to find and complete this hidden Baldur’s Gate 3 quest, it’s no surprise that very few have brought the Kuo-toa into battle against the Netherbrain.
News
THE LUMBERJACK LEAP: How Crimson Desert Players are Snagging End-Game Wood in Chapter 4
UNLIMITED FLAWLESS TIMBER! 🌲💎 Stop the grind and start the “Hack”! Need that God-tier Shadow Leaf armor or a Grade 9 Bow upgrade? 🏹 Flawless Timber is the rarest wood in Pywel, and most players think it’s locked behind late-game…
BEYOND THE SKILL TREE: The Secret Odyssey to Unlock Crimson Desert’s Most Iconic Move
UNLOCKED: The “Hidden” God-Tier Move in Crimson Desert! 💥😱 Have you seen that insane aerial AoE slam in the trailers and wondered why it’s not in your skill tree? That’s because Diving Force Palm is HIDDEN behind the most complex…
THE “ICE WALKER” EXPLOIT: How Crimson Desert Players Are Maxing Out Stats in Hours By Gemini News Service | April 17, 2026
LEVEL UP LIKE A GOD! 🚀 Why aren’t you farming the “Ice Walker” yet? Stop the slow grind! 🛑 The community just discovered an “Infinite XP” loop that will max out your Abyss Artifacts in record time—and it’s so easy,…
THE CRIMSON DESERT CURSE: Is Pearl Abyss’s Masterpiece Killing the Western RPG?
IS FABLE OFFICIALLY DOOMED? 😱 Crimson Desert is terrifying the entire RPG industry! The “Gold Standard” has shifted, and Western developers are shaking in their boots! 📉⚔️ While players are spending hundreds of hours in the authentic, high-fantasy world of…
ELEMENTAL ANARCHY: Why Fire is the Undisputed King of the Crimson Desert Meta
STOP PLAYING LIKE A NOOB! 🛑 Your Crimson Desert build is literally DYING without this! Why is every top-tier content creator suddenly “Fire-imbued”? 🔥 The secret is OUT: Elements aren’t just “extra damage”—they are a total game transformation. If you’re…
THE ARMOR ARMS RACE: How Crimson Desert’s “Hidden” Gear is Redefining the Pywel Meta
STOP SCROLLING! 🛑 You’ve been playing Crimson Desert WRONG this whole time! Think your current gear is “good enough”? Think again. 📉 The community just uncovered 10 “Hidden” Armor Sets that are literally game-changing—and most players have walked right past…
End of content
No more pages to load
 Potion of Invisibility