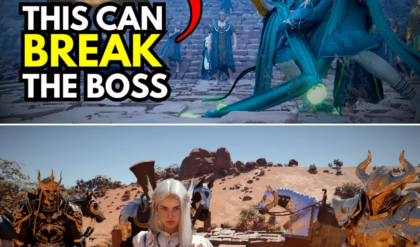
🚨 DROPPING into ARC Raiders only to get MELTED by Hornet swarms, Bastion cannons, or the UNKILLABLE Matriarch EVERY raid? 😱💀
What if ONE “yellow glow” secret on EVERY ARC let pros ONE-SHOT Leapers, CRASH Rocketeers mid-air, and solo Phase 2 Shredders without breaking a sweat?
Imagine baiting rivals into Queen lasers while YOU farm Reactor cores for god-roll workshops… but 90% of noobs spray body armor & feed loot forever…
Devs HID these weak spot exploits + grenade cheese in patch notes—Phase 2 buffs Matriarch TANKIER, but this “stagger loop” melts ’em in SECONDS…
Pros RAGING as casuals discover rear thruster glitches & core pops—click BEFORE Embark PATCHES & turn ARC nightmares into LOOT JACKPOTS 👻🔥
Full Enemy Bible: Weak Spots + One-Shot Strats 👉
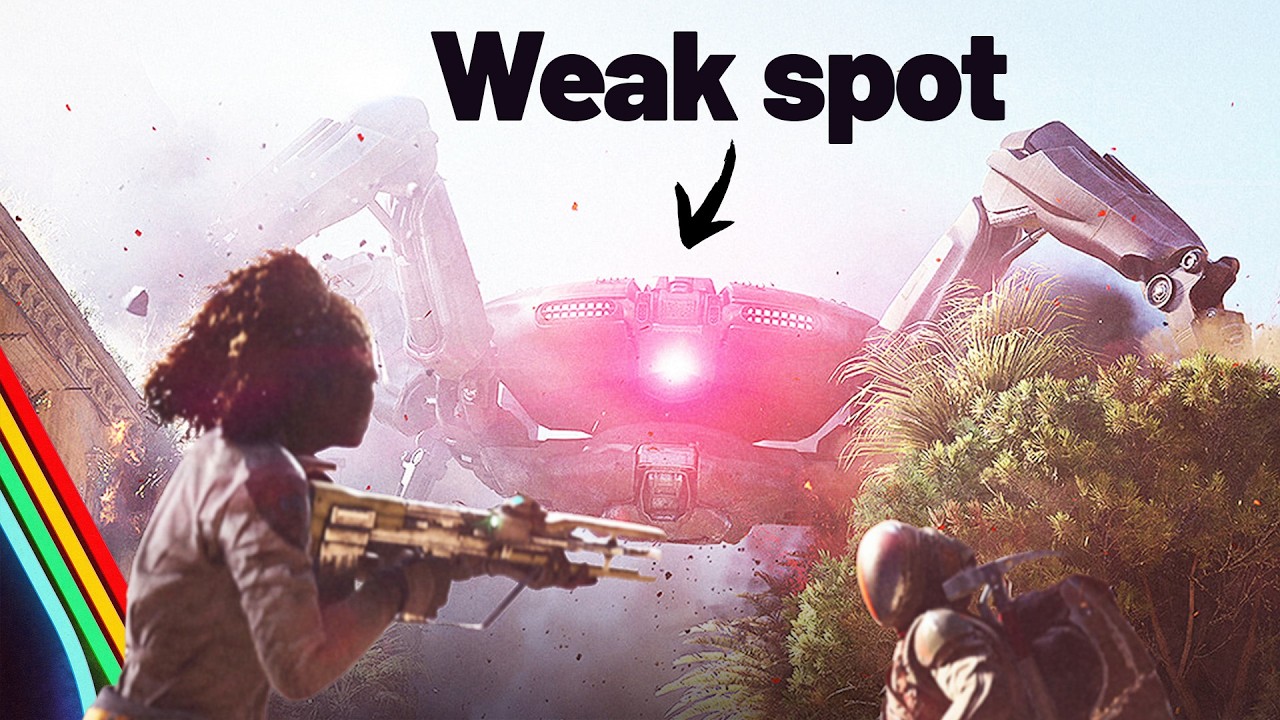
In the robot-ravaged hellscape of ARC Raiders, where Embark Studios’ PvPvE extraction shooter has players risking it all for Speranza upgrades, one wrong move against an ARC machine spells doom—and lost loot. Launched October 30, 2025, the game hit 515,000 peak concurrents on Steam, and with Phase 2’s North Line update unlocking Stella Montis on November 13, new horrors like the Matriarch and Shredder have upped the ante. These aren’t dumb bots: they flank, call adds, and punish noise, but every ARC has glaring yellow weak spots pros exploit for lightning-fast kills.
Forget body-spraying noobs who feed Bastions. Elite Raiders break plating, stagger with grenades, and third-party the chaos—turning PvE farms into 200K Coin runs. This 1500-word encyclopedia—sourced from pro guides, Reddit breakdowns, and X clips—maps every enemy: weak spots (yellow glows), fast solo strats, best loadouts, and prime loot. Phase 2 tweaks buffed Matriarch durability, but core-expose glitches persist. Master this, and the Rust Belt’s yours.
ARC Enemy Cheat Sheet: Weak Spots, Kills & Loot
Enemy
Threat Level
Primary Weak Spot
Fast Kill Trick
Top Loot
Wasp
Low (Flyer)
Rear thrusters
2x Anvil shots to engines
Wasp Driver, Light Ammo
Hornet
Med (Stun Flyer)
Front/rear thrusters (break plating first)
Hullcracker grenade + Ferro burst
Hornet Driver, Medium Ammo
Leaper
Med (Jumper)
Fuel tank base / Glowing eye
Blaze Grenade center-mass explode
Leaper Pulse Unit, Flex Rubber
Rocketeer
High (Missiles)
Rear thrusters
Hornet Driver stun > Equalizer pens
Rocketeer Driver, Heavy Ammo
Bastion
High (Tank)
Rear canister / Leg joints
Wolfpack knees > Rear barrel dump
Bastion Cell, Gun Parts
Bombardier
High (Mortar)
Kneecaps / Rear cylinder
Kill Spotters > Snap Hook back
Bombardier Cell, Launcher Ammo
Surveyor/Snitch
Low (Caller)
Exposed core / Thrusters
Wolfpack one-shot
Snitch Scanner, Sensors
Pop/Tick
Low (Suicide)
Body (fragile)
Melee/shot pre-latch
Tick Pod, Crude Explosives
Fireball
Med (Flame)
Core (opens to attack)
Wait + burst
Fireball Burner
Queen
Boss
Leg joints > Core (knockdown)
Stagger loop + EMP
Queen Reactor (endgame)
Matriarch (Phase 2)
Ultra Boss
Glowing central core
Shield down > Anvil spam
Matriarch Reactor
Shredder (Phase 2)
High (CQC)
3 base thrusters
Strafe sides > Thruster burst
Gyroscope, Shotgun Ammo
Flyers: Wasp & Hornet – Crash ‘Em Quick
Wasps swarm with light guns—noise magnets, but thruster pops send ’em spiraling. Strat: Ignore body, double-tap rear engines with Anvil or Ferro. Three mid-tier shots max. Dodge fire via roll—cover irrelevant. Loot Wasp Drivers for stuns.
Hornets tase on lock—deadlier, front-plated. Break plating (Rattler/Equalizer), expose rear thrusters. Pro: Position under reloads, burst opposite-side props for instant drop. Hullcracker ignores self-dmg—godsend. Medium Ammo fuels endless farms.
Ground Pounders: Leaper & Fireball
Leapers leap-shockwave—predictable arcs. Sidestep jumps, Blaze Grenade fuel base for panic-explode (one-shots center-mass). Alt: Eye focus post-land. Pharaoh SMG shreds CQC.
Fireballs roll-flame: Telegraph core-open. Freeze—burst when exposed. Any weapon works; keep distance.
Artillery Kings: Rocketeer, Bastion, Bombardier
Rocketeers missile-spam—can’t lead movers. 100m+ range, thrill thrusters to ground. Hornet Driver stuns 10s—free shots. Lure Grenades redirect.
Bastions fortress-walk: EMP grenades knees-explode (stun), Wolfpack rear canister. Exposed barrel = melt. Kite buildings.
Bombardiers mortar with Spotters: Snipe spotters blind, kneecap-explode, Snap Hook rear cylinder post-fire.
Utility Pests: Surveyor, Pop, Tick, Snitch
Surveyors roll-scan: Dodge collisions, Heavy Ammo core during beacon. Wolfpack OHK.
Pops/Ticks: Range-delete. Melee Ticks pre-latch; vault Pops.
Snitch: Thruster-snipe pre-call—hide post.
Boss Tier: Queen, Matriarch & Shredder
Queen patrols Harvesters: Leg joints knockdown > core-dump (Anvil/Tempest). Clear adds, EMP waves. Reactor = workshop nukes.
Matriarch (Phase 2 event): Queen 2.0—rockets/gas. Shield drops? Core spam. Long-range, add-clear. 48K XP cheese.
Shredder (Stella CQC): Pellet-burst strafe. Side-flank 3 base thrusters—shotgun pens.
Pro Loadouts & Exploits: ARC Bait Mastery
PvE Shredder: Equalizer (pens), Wolfpack/Blaze, Loot Mk.2. Survival Tree: In-Round Craft stims.
Exploits: Noise-bait rivals into ARCs. Jolt Mines ziplines. Snitch Cores summon adds on foes. Night: Low pop, audio amps.
Phase 2 nerfs hit loot, but ARC farms shine—Dam North Garage routes clear swarms for purples. Cold Snap snow teases more. Know thy enemy: Extract legends, or become scrap.
News

THE PIWELL BIBLE: 23 ‘ILLEGAL’ TIPS EXPOSE THE HIDDEN INNER WORKINGS OF CRIMSON DESERT
YOU’VE BEEN PLAYING WRONG! 🛑 23 Crimson Desert secrets the game NEVER tells you! No health potions? No problem. Learn the “Blinding Flash” cooking hack to heal anywhere and the “Abyss Teleport” trick to cross the map in seconds! 📉…
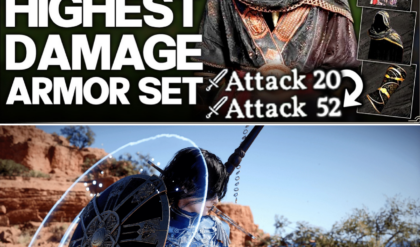
NEED FOR SPEED: CRIMSON DESERT PLAYERS DITCH PLATE ARMOR FOR ‘MAGIC ROBES’ TO UNLOCK BROKEN ATTACK SPEEDS
DPS KING UNLOCKED! 👑 Why “Tariv Sorcerer” is secretly the best armor set in Crimson Desert! Think all armors are just for looks? You’re wrong. Insiders found the only gloves that actually boost your weapon’s attack speed! 📉 While other…
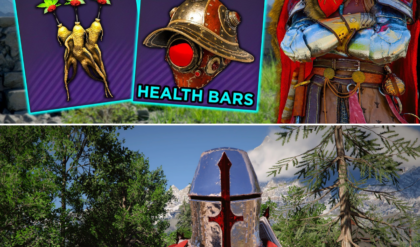
BEYOND THE CAP: ‘CRIMSON DESERT’ VETERANS UNCOVER SECRET RESEARCH AND LASER-ARMED HELMETS
200 HOURS IN & I HAD NO CLUE! 🤯 Top 10 things even “Experts” missed in Crimson Desert! Did you know there’s a helmet that shoots LASERS? Or that you can finally see enemy health bars without using mods? 📉…

WOLF IN CLOTHING: ‘CRIMSON DESERT’ PLAYERS UNCOVER ‘BRIBERY’ SCHEME TO UNLOCK SECRET GREYWOLF ARMOR
LOOK LIKE A PREDATOR! 🐺 Stop missing the “Secret” Greywolf Armor set in Crimson Desert! Is your early-game armor looking “trash”? Insiders just found the Greywolf Leather set, but most players only ever find half of it! 📉 Unlock the…
ICE COLD VICTORY: ‘CRIMSON DESERT’ PLAYERS USE ‘FORCE PALM’ LOOP TO HUMILIATE ANTUMBRA’S SWORD
STUCK ON ANTUMBRA? ⚔️ This “One-Button” strategy makes the hardest boss in Crimson Desert look like a joke! Tired of getting frozen and teleported to death? Insiders just leaked the “Force Palm + Focus” loop that locks Antumbra down for…
GEAR GIANTS: ‘CRIMSON DESERT’ PLAYERS UNCOVER HIDDEN ARSENAL OF SHOTGUN SHIELDS AND LIGHTNING FANS
SHAMAN VIBES OR GOD MODE? ⚡ Top 10 “Secret” Weapons you can grab EARLY in Crimson Desert! From the 30-base attack Electro Mega Spear to a literal “Shotgun Shield”—why are most players still using basic gear? 📉 Discover the hidden…
End of content
No more pages to load