Clair Obscur: Expedition 33 has enthralled RPG enthusiasts with its mesmerizing art, gripping narrative, and a combat system that blends turn-based strategy with elemental depth. As players guide the expedition across the Continent to confront the Paintress, the game’s battles demand precision and foresight. However, its complex mechanics—Elemental Stains, Action Points (AP), and team synergies—leave plenty of room for errors that can turn victories into defeats. From misusing key skills to ignoring critical mechanics, these combat mistakes are tripping up even seasoned players. Drawing from community discussions and gameplay insights, this guide details 12 huge combat mistakes everyone is making in Clair Obscur: Expedition 33 and how to avoid them for flawless battles.
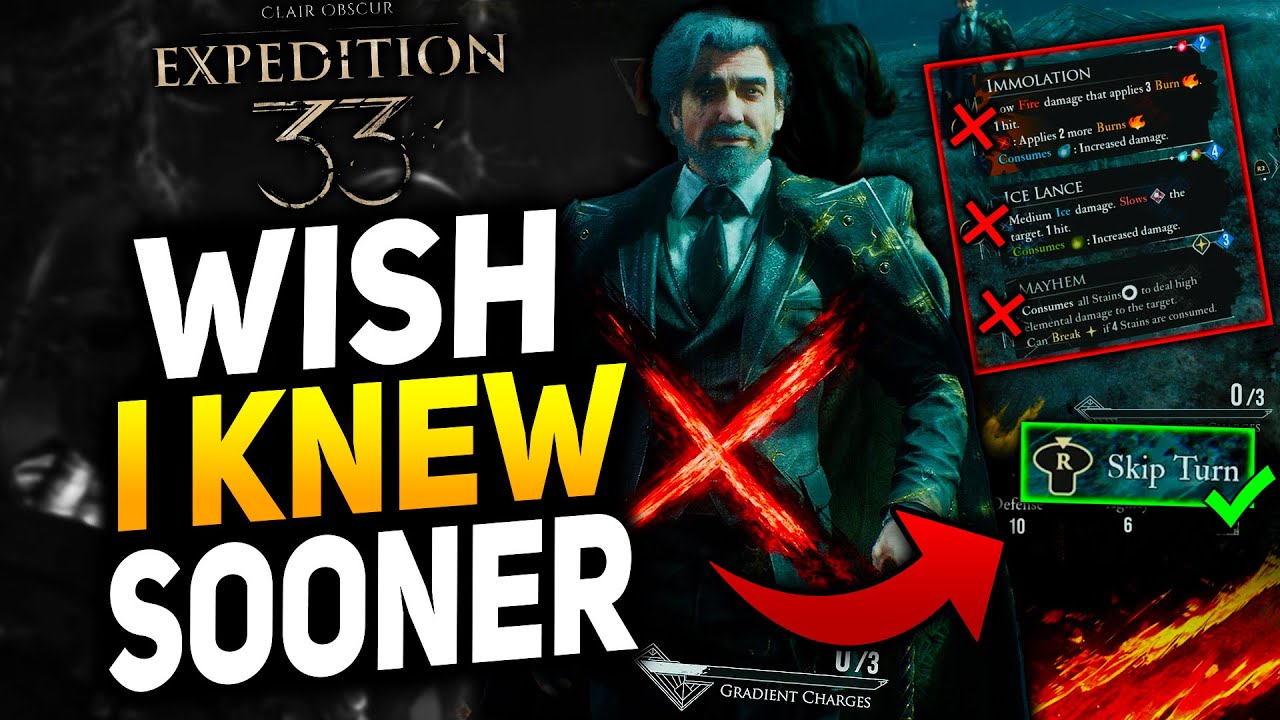
1. Misunderstanding Elemental Stain Interactions
Lune’s Elemental Stains (Fire, Ice, Earth, Lightning, Light) are the backbone of combat, yet many players use them haphazardly. Each Stain type enhances specific skills, and opposing elements (e.g., Fire and Ice) boost damage, reduce AP costs, or add hits. For instance, casting Thermal Transfer (Ice) on a Burning enemy increases damage by 50%. Failing to pair Stains strategically results in weak attacks, especially against bosses like the Dream Eater. Study the in-game codex to identify enemy weaknesses and use complementary Stains, like Immolation followed by Thermal Transfer, to maximize impact.
2. Overrelying on High-AP Skills
High-damage skills like Elemental Genesis or Defiant Strike are tempting, but spamming them without AP recovery leaves characters stranded. Many players burn through AP in the first turn, unable to act when enemies counterattack. Balance your rotation with low-cost skills like Electrify (Lightning, 2 AP) or Spark (Fire, 3 AP) to build momentum. Equip Luminas like Dodger (1 AP per perfect dodge) or skills like Thermal Transfer (4 AP on Burning targets) to sustain AP, ensuring you can chain skills throughout the fight.
3. Ignoring Critical Chance for Key Skills
Skills like Lune’s Elemental Trick or Verso’s Marking Shot depend on critical hits to trigger effects, such as generating four Stains or applying Marks. A common mistake is neglecting Luck, leaving critical chance below 50%, which makes these skills unreliable. This cripples builds like Lune’s Oneshot, which needs 100% critical chance for consistency. Invest heavily in Luck (aim for 75% by Act 3) and use Pictos like Critical Burn (+25% critical chance against Burning enemies) to guarantee crits, especially in boss fights.
4. Neglecting Perfect Dodges
Perfect dodges, executed by timing a dodge during enemy attacks, grant invulnerability and 1 AP via Dodger. Many players ignore this mechanic, relying solely on skills, which limits AP and leaves them vulnerable. On Expert difficulty, where enemies hit harder, perfect dodges are essential for survival. Practice timing in early encounters, like Spring Meadows skirmishes, to master the rhythm. Equip Dodger on high-Agility characters like Lune or Maelle to boost AP, enabling more skill uses per turn.
5. Underusing Free Aim Shots
Weapons like Trebuchim or Simoso offer Free Aim shots, which trigger bonuses like random Stain generation or extra damage when hitting weak points. Players often skip Free Aim, opting for standard attacks, missing out on these advantages. For example, Trebuchim generates a random Stain per Free Aim hit, speeding up Lune’s Elemental Genesis setup. Practice Free Aim in low-stakes fights to hone your aim, and use it against bosses’ glowing weak points to amplify damage and trigger passives.
6. Poor Team Synergy
Combat thrives on party synergy, but many players use static teams without adapting to enemy types. For instance, pairing Lune, Maelle, and Verso without Sciel’s Fortune’s Fury (doubles party damage) sacrifices massive damage potential. Similarly, not applying Burn (Maelle’s Spark) or Marks (Verso’s Marking Shot) weakens skills like Elemental Genesis. Build a balanced team: Maelle for Burn, Verso for Marks, Sciel for buffs, and Lune for damage or healing. Swap characters like Gustave for physical-resistant foes to optimize synergy.
7. Ignore Buffs and Debuffs
Buffs and debuffs, like Sciel’s Fortune’s Fury or Verso’s Defiant Strike (applies Vulnerability), are game-changers, but players often mistime them. Casting Fortune’s Fury after Lune’s Elemental Genesis wastes its 2x damage boost. Similarly, skipping Vulnerability or Burn reduces team output. Apply debuffs early—Burn via Spark, Marks via Marking Shot, Vulnerability via Defiant Strike—and time buffs to align with high-damage skills. For example, use Fortune’s Fury before Lune’s Elemental Genesis for 50 million+ damage.
8. Not Exploiting Enemy Weaknesses
Every enemy has elemental or status weaknesses, listed in the codex, but players often ignore them, using generic attacks. For example, the Lampmaster is weak to Lightning and Burn, so Electrify and Immolation deal bonus damage. Failing to target weaknesses prolongs fights and wastes AP. Before each battle, check the codex and tailor your skills. Use Lune’s Electrify for Lightning-weak foes or Maelle’s Spark for Burn-vulnerable enemies to end fights faster.
9. Ignoring Defensive Passives
Offensive Pictos like Painted Power (removes damage cap) are popular, but neglecting defensive passives leaves your party exposed. Bosses like the Endless Tower’s guardians deal devastating AoE damage, wiping underprepared teams. Many players skip SOS Shell (applies Shell below 50% health) or Healing Fire (restores 25% health when attacking Burning enemies), dying before executing combos. Equip at least one defensive passive per character, especially on Expert difficulty, to survive setup turns and land critical skills.
10. Not Adapting to Combat Phases
Bosses in Clair Obscur often shift phases, altering resistances or attack patterns, but players stick to one strategy. For example, the Dream Eater gains Fire resistance in its second phase, rendering Immolation less effective. Failing to switch to Lightning or Ice skills prolongs the fight. Pay attention to phase changes (signaled by animations or codex updates) and adjust your skills. Keep versatile skills like Electrify or Mayhem as backups to handle shifting elemental resistances.
11. Overlooking Weapon Passives
Weapons like Kralim or Scaverim have passives that drastically boost performance, but players often ignore them, using under-leveled gear. Kralim generates two random Stains at combat start, while Scaverim amplifies skill damage by 300% via Dark Stains. Not upgrading weapons to unlock these passives (e.g., Kralim’s 20% AP cost reduction at Level 10) weakens your builds. Prioritize upgrading key weapons to at least Level 8 by Act 3, using resources from side quests like the Forgotten Hamlet.
12. Failing to Manage Turn Order
Turn order, determined by Agility, is critical for setting up combos, but many players neglect it, letting enemies act first. For example, if Lune acts after a boss, she may die before casting Elemental Genesis. Low Agility also disrupts buff-debuff chains, like using Fortune’s Fury before Maelle’s Spark. Boost Agility for key characters (Lune, Sciel) to 75+ by endgame, and equip Cheater (two consecutive turns) to control the flow. Plan turn order to ensure buffs and debuffs land before damage skills.
Tips to Master Combat
To avoid these mistakes and excel in combat:
Plan Skill Rotations: Map out AP usage and Stain combos before fights to avoid stalling.
Practice Mechanics: Hone perfect dodges and Free Aim in early battles to build muscle memory.
Check the Codex: Study enemy weaknesses and phase changes to tailor your strategy.
Balance Offense and Defense: Equip defensive passives like SOS Shell alongside offensive ones like Painted Power.
Experiment with Teams: Test different party setups in New Game+ to find optimal synergies.
Why These Mistakes Are Costly
These combat mistakes can derail even the best-laid plans, turning winnable fights into grueling slogs. Community feedback highlights how ignoring perfect dodges or mistiming buffs leads to wipes against bosses like the Lampmaster, while underusing Free Aim or Stain synergies halves damage output. Players who avoid these errors, however, report clearing Act 3 bosses in one turn with builds like Lune’s Oneshot, hitting 50 million+ damage. Mastering these mechanics unlocks Clair Obscur’s full combat potential, making every battle a thrilling display of strategy.
Conclusion
Clair Obscur: Expedition 33’s combat is a delicate dance of strategy and execution, where mistakes can be catastrophic. By avoiding these 12 pitfalls—misunderstanding Stains, overusing high-AP skills, ignoring critical chance, neglecting dodges, underusing Free Aim, lacking team synergy, mistiming buffs, missing weaknesses, skipping defensive passives, not adapting to phases, overlooking weapon passives, and mismanaging turn order—you’ll transform your battles into decisive victories. Whether you’re facing Act 1 mobs or Expert mode bosses, these fixes will elevate your expedition. Dive into the Continent, refine your tactics, and conquer the Paintress’s challenges with precision.
News
THE CIRCLE CLOSES: ‘Outlander’ Season 8, Episode 7 Unveils the Cosmic Truth Behind Jamie and Claire’s Union
THE GHOST IN INVERNESS: THE 30-YEAR MYSTERY IS FINALLY SOLVED! 🏴⏳ Hold onto your kilts, Sassenachs! The latest leaks from Season 8, Episode 7 just dropped a truth bomb that changes EVERYTHING we thought we knew about that Jamie’s ghost…
A FRAGILE PEACE: ‘The Last Thing He Told Me’ Season 3 Prospects and the Fallout of the Campano Dynasty
OWEN IS BACK, BUT THE NIGHTMARE IS JUST BEGINNING! 🕵️♂️💔 The Season 2 finale just dropped, and that “bargain” with Quinn is already blowing up on the internet! Did Hannah just trade one prison for another? Apple TV+ hasn’t officially…
THE CASE ISN’T CLOSED: ‘High Potential’ Season 3 Confirmed Amidst Heartstopping Finale and Major Cast Shakeups
IS CAPTAIN WAGNER REALLY GONE?! THE CLIPHANGER THAT BROKE THE INTERNET 😱🩸 ABC just confirmed Season 3 is officially happening, but at what cost? After that brutal “Family Tree” finale, fans are spiraling over Morgan’s blood-stained discovery. Wait until you…
BEYOND THE AISLE: Why ‘Something Very Bad Is Going to Happen’ Season 2 is Rewriting the Slasher Playbook
THE WEDDING FROM HELL IS JUST THE BEGINNING… 👰🩸 If you thought the Season 1 finale was a bloodbath, you are NOT ready for the reality-shattering twist Netflix just greenlit for Season 2! The “Final Girl” isn’t who you think…
THE POGUES’ LAST STAND: ‘Outer Banks’ Season 5 Official Release Window and Croatia Set Leaks Reveal a Deadly Finale
THE END OF AN ERA: THE POGUES’ FINAL RIDE IS HERE! 🌊💔 Everything we’ve feared is coming true—Netflix just dropped the ultimate bombshell on the final chapter of the OBX saga. If you thought JJ’s sacrifice was the end, you…
“A CLONE OF ONE’S OWN”: TOP 5 ABYSS GEARS REVEALED AS CRIMSON DESERT PLAYERS OPTIMIZE FOR THE ULTIMATE BOSS GAUNTLET
THE ABYSS GEAR TIER LIST: BECOME UNSTOPPABLE AFTER 200 HOURS! ⚔️🌪️ I’ve officially clocked over 200 hours in Crimson Desert, cleared every boss, and finished every quest. If you’re still using default gear, you’re leaving 50% of your power on…
End of content
No more pages to load

