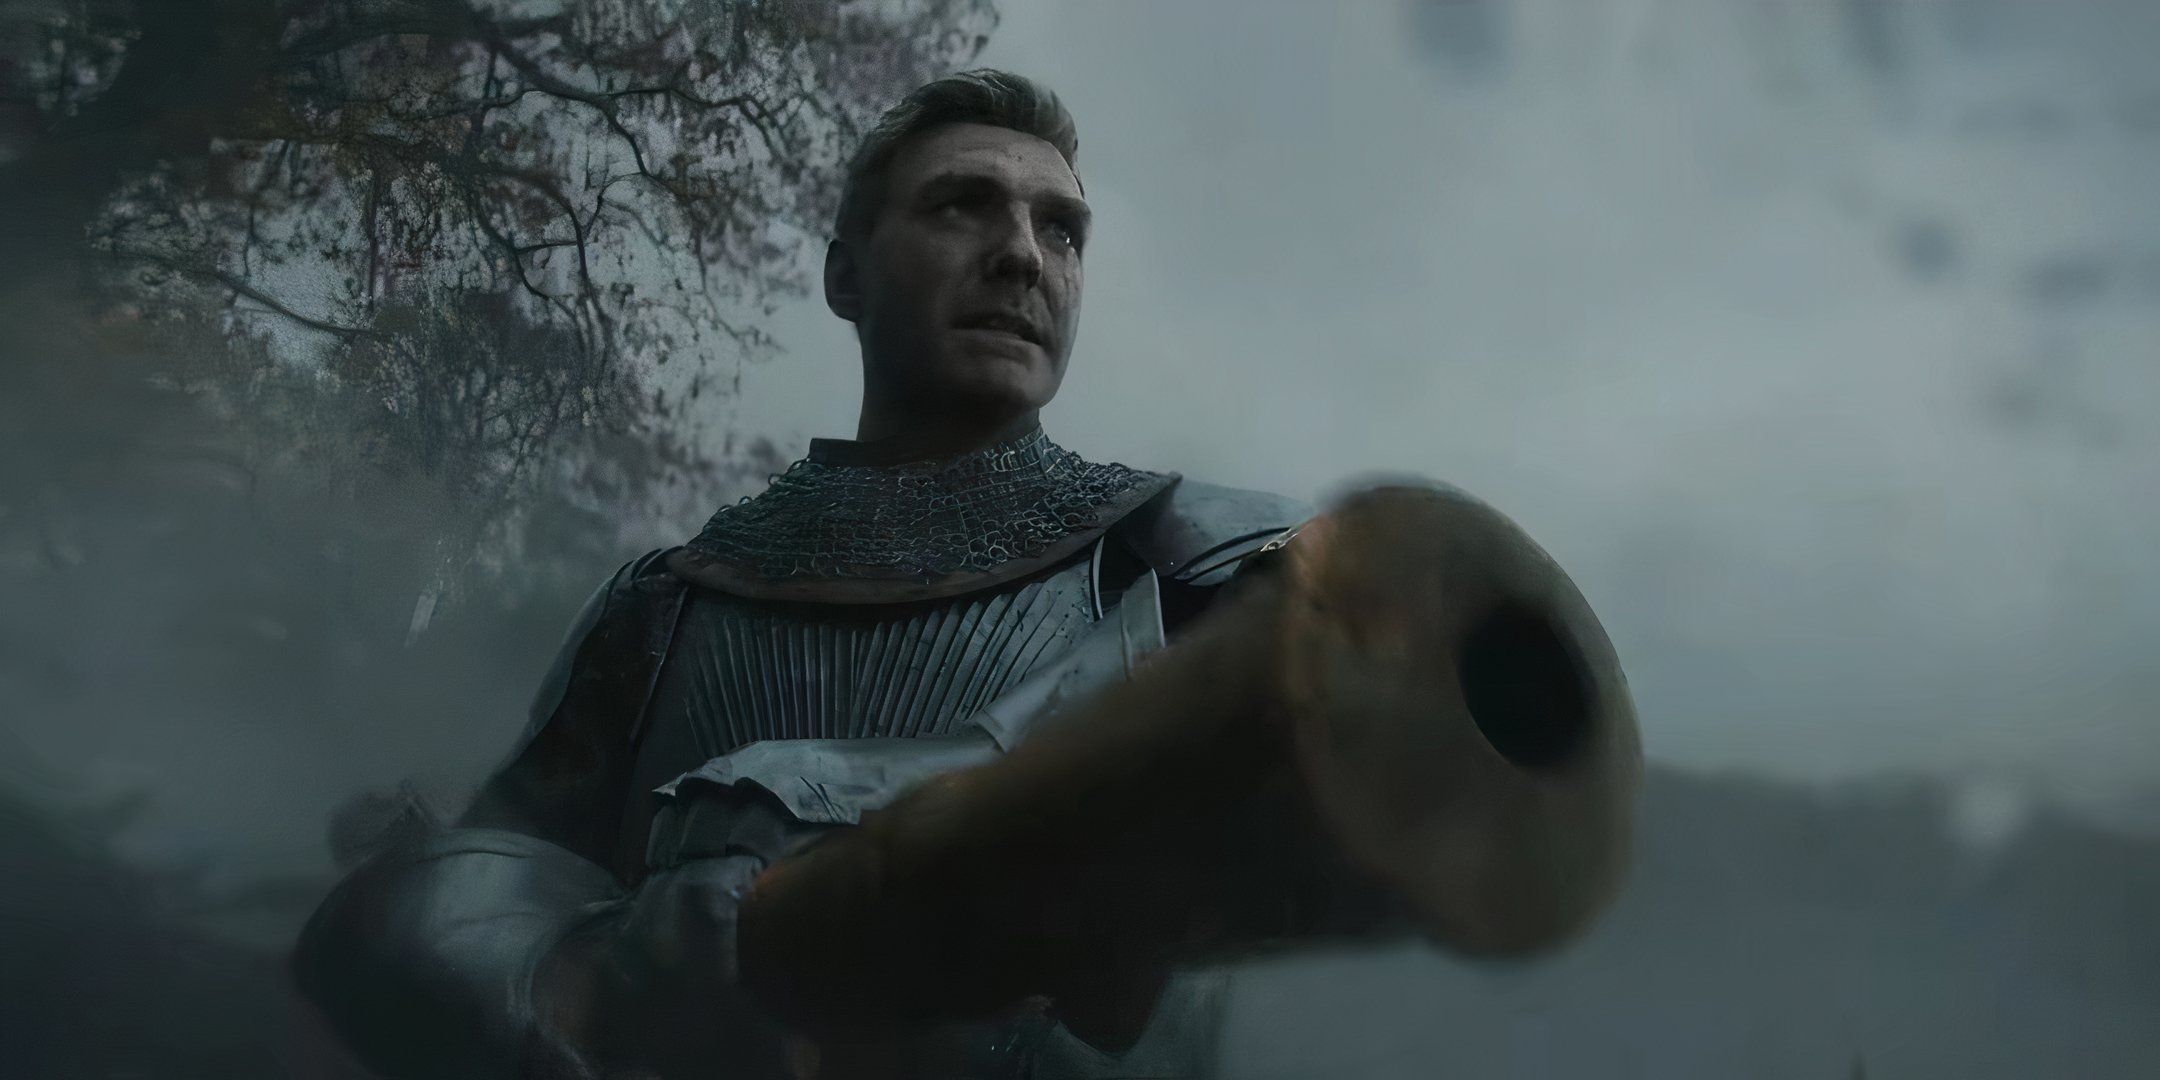
While you start with a small handful of combos right away, most need to be taught by skill trainers or even as a reward for certain quests, locking the best combos behind progression. However, if you know what you’re looking for, you can prioritize obtaining the combos that will make you the strongest fighter in Bohemia.
Shoulder Throw
Unarmed
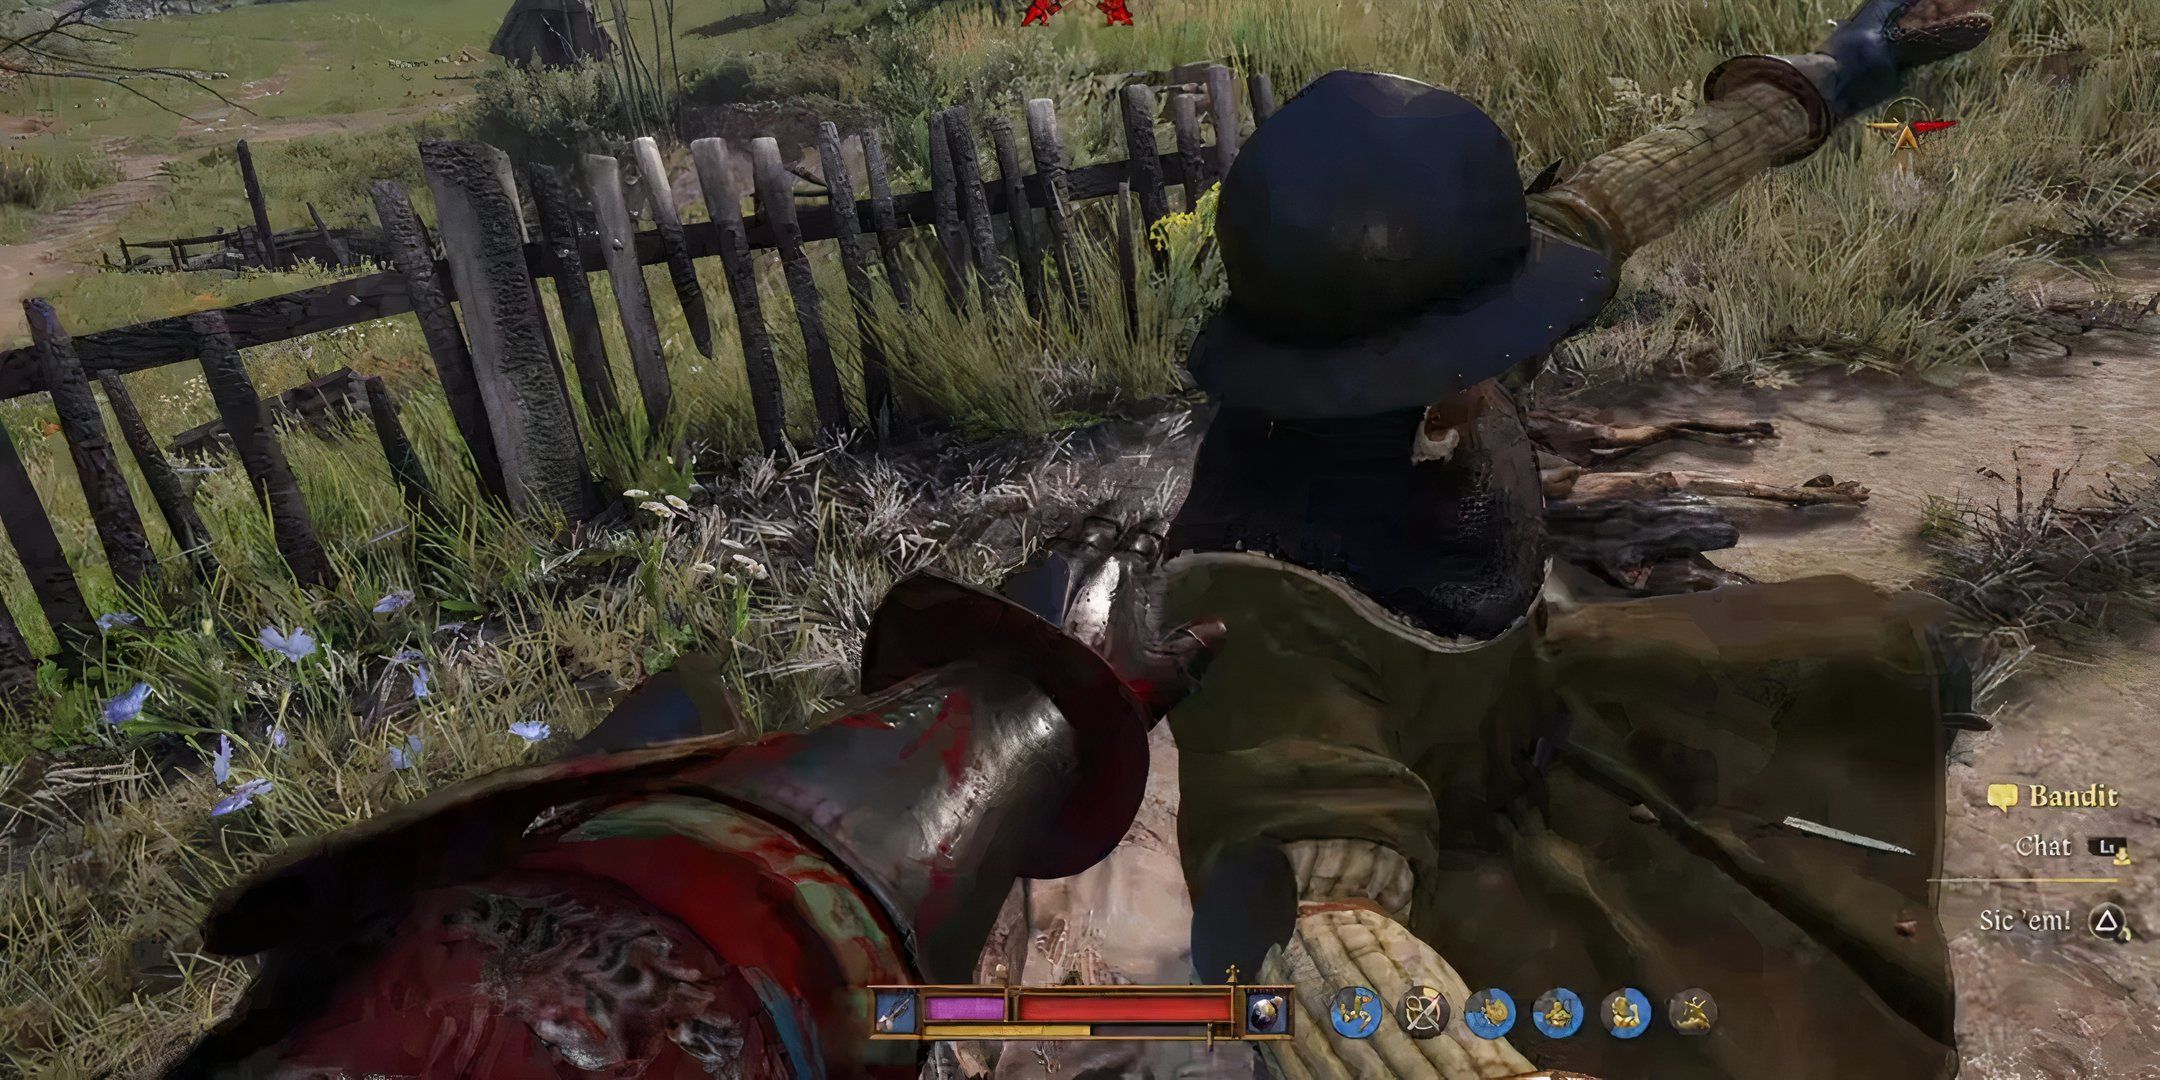
Down, down, right
Nail in the Coffin quest reward
Probably the strongest unarmed combo, and likely the only one you will need to use, the shoulder throw is both easy to execute and can act as a devastating finisher. At the end of the combo, you throw your opponent to the ground where they are vulnerable to follow-up attacks.
This also disarms them, meaning if you are wearing stealthy clothing without a weapon holstered, you should have this unarmed combo memorized in case you get caught. If you’re brave enough, you can even start fights against armored opponents unarmed and throw them to the ground before drawing your sword.
Zorn Ort
Longsword
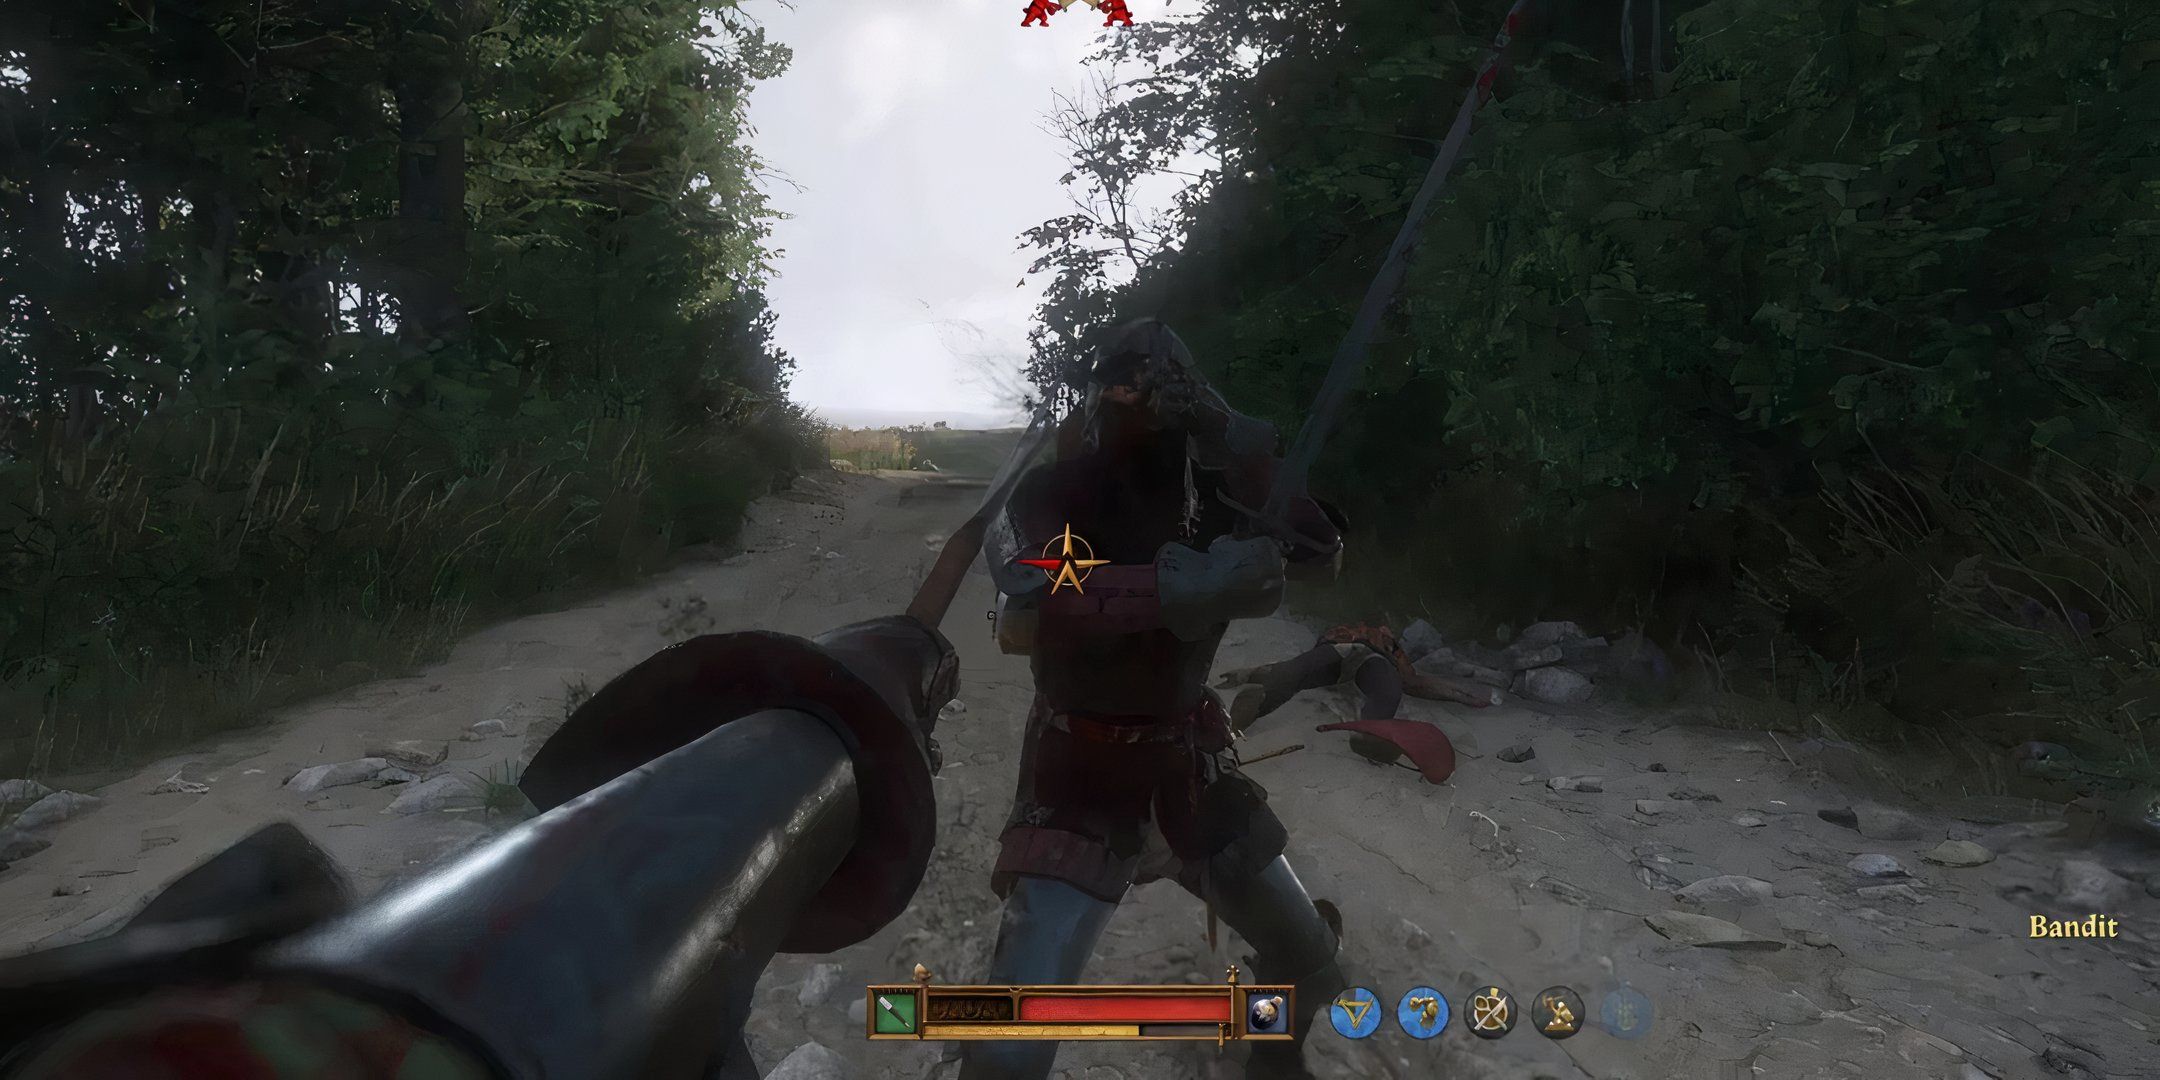
Right, right, right, left
Level 10 Swords
Taught by Dry Devil
Equally the hardest longsword combo to pull off and the one that deals the most damage, the Zorn Ort can save you against many opponents. After three right strikes, following up with a left lets you stab your opponent in the face.
This is a combo you should focus on whenever you are against an opponent that is wearing some kind of faceplate, and even then some have gaps that let you get around using this combo. This combo usually kills your opponent after executing it the first time, but can be easily interrupted.
Pommel Strike
Longsword
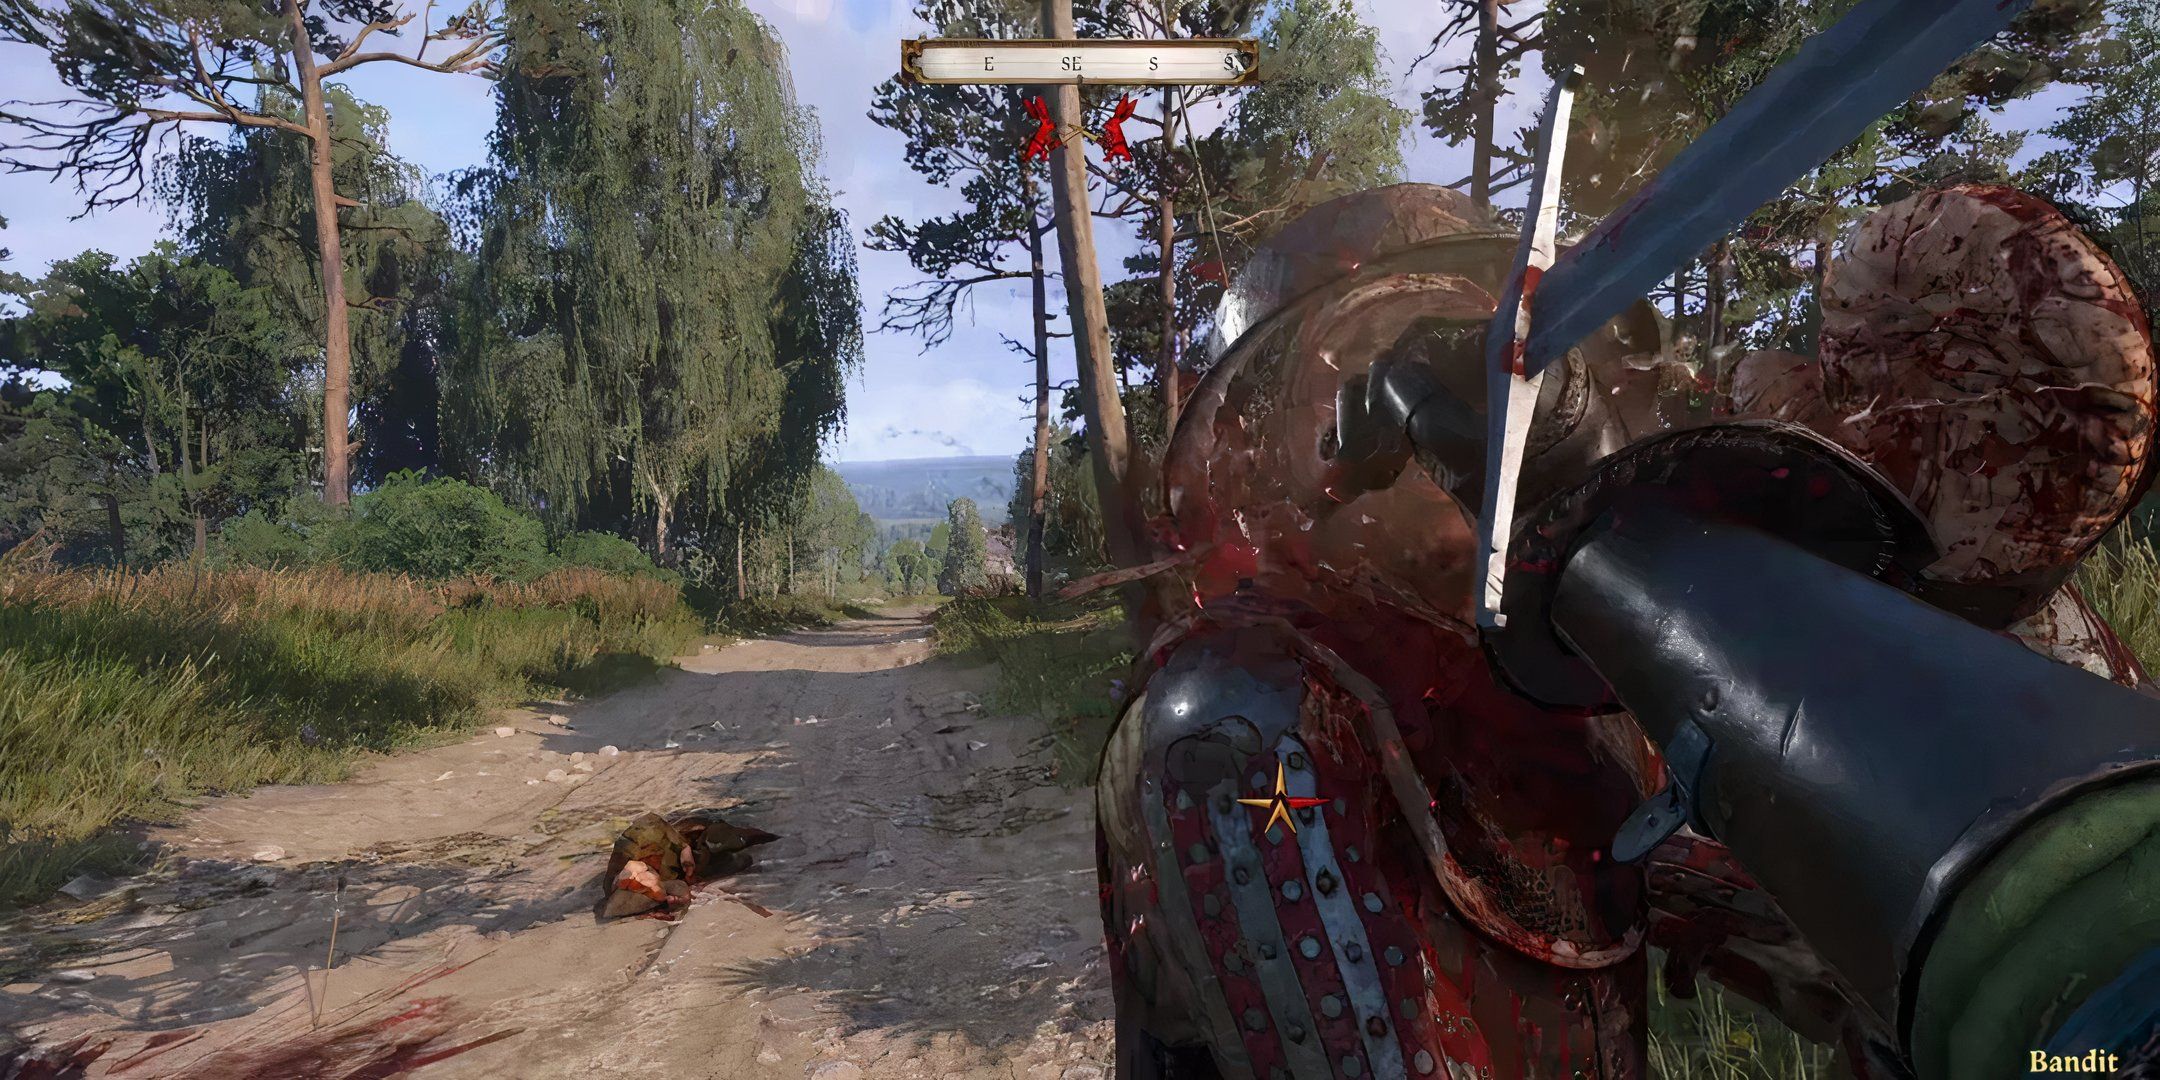
Down, down, right
Level 8 Swords
Taught by Dry Devil
The main benefit of this combo is against opponents wearing a faceplate, allowing you to deal blunt damage that gets through armor better than stab or slash. It also stuns the opponent for a significant amount of time, allowing you to follow up with more strikes or another combo.
Mittelhaw
Longsword
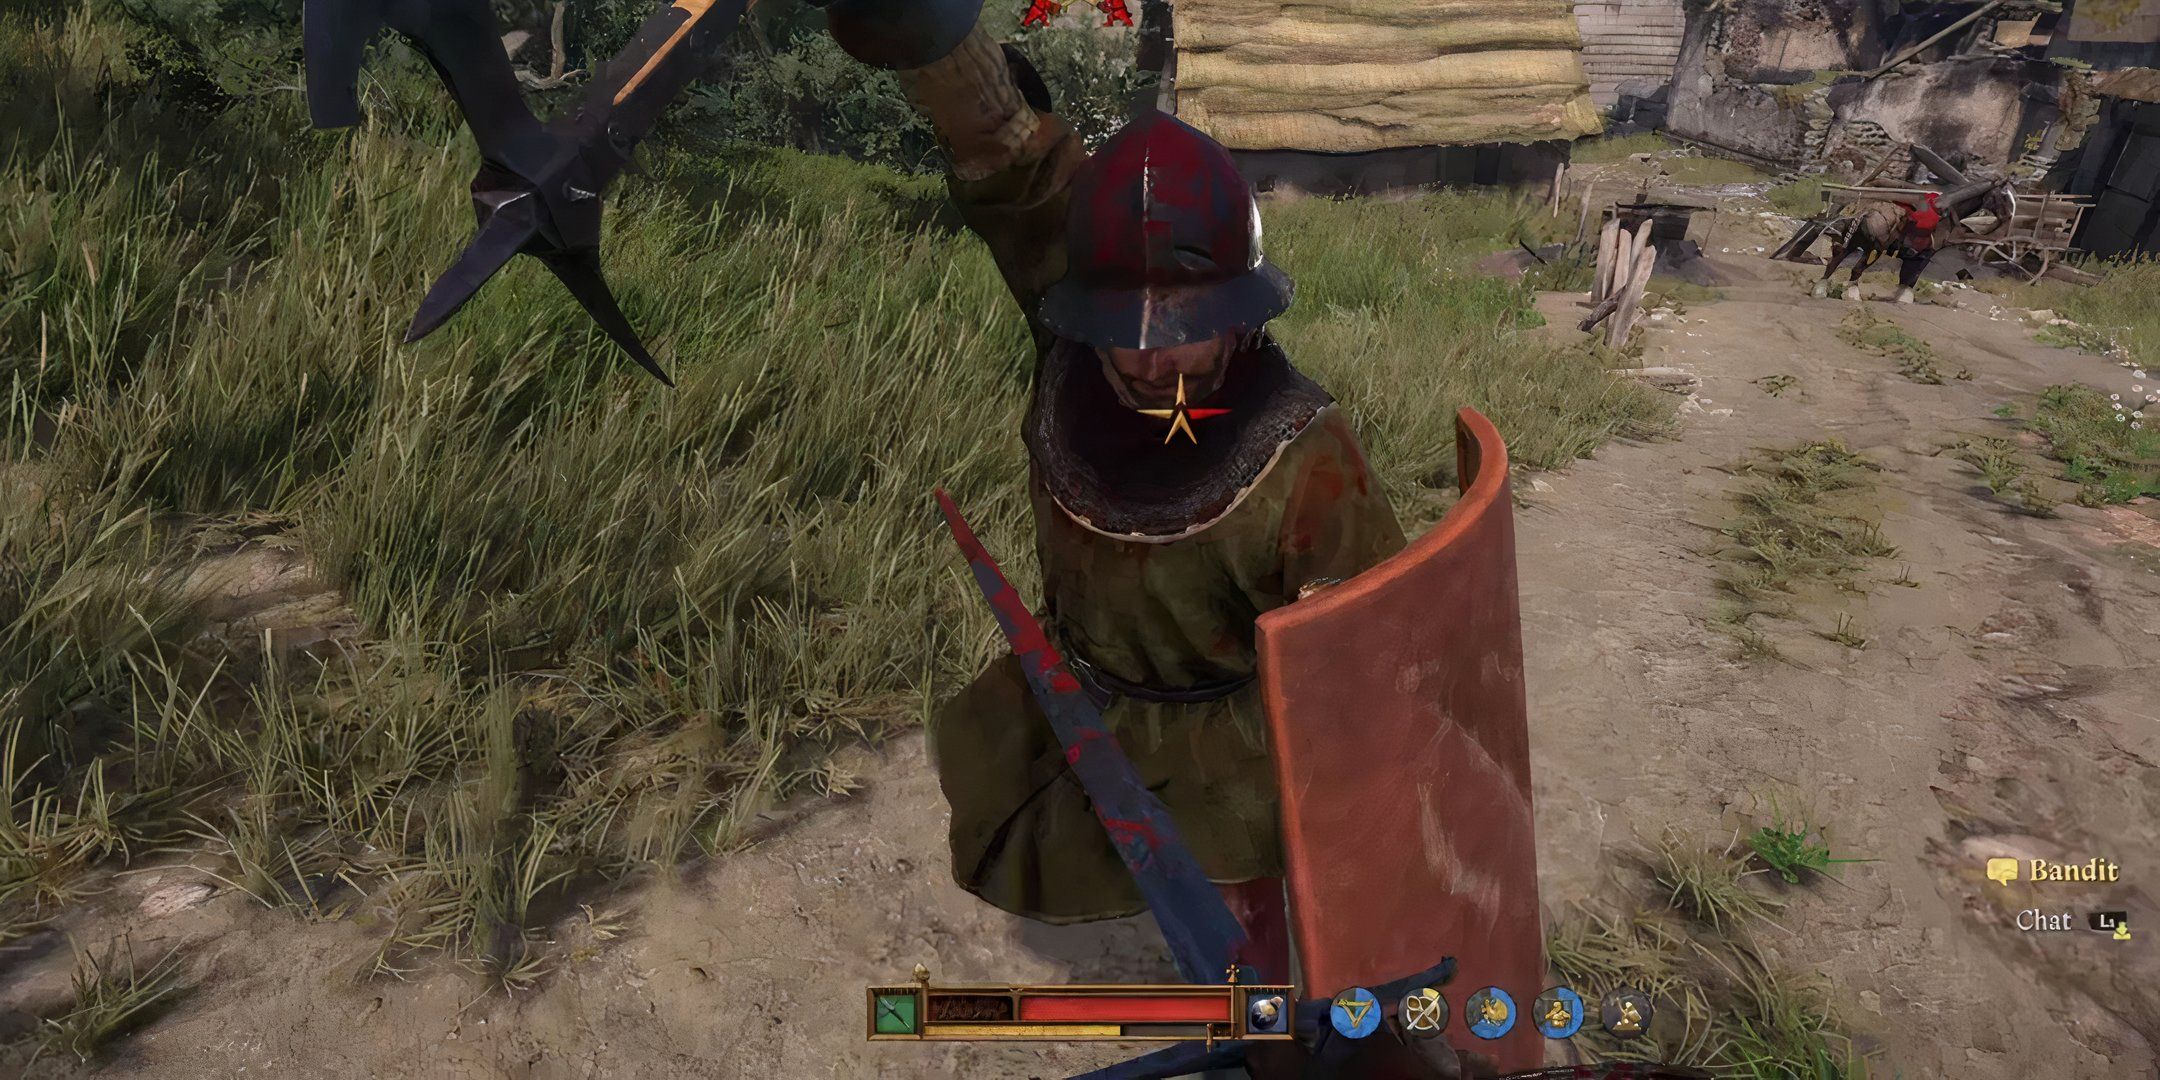
Up, right, left
Level 15 Swords
Taught by Tomcat
Another easy longsword perfect for low-armored enemies, Mittelhaw is both easy to execute and deals significant damage. Although it uses three out of the four attack directions, meaning your opponent will be more likely to be in a blocking position.
If ou are able to execute it, Mittelhaw does a quick slash across the abdomen, which will almost always kill enemies wearing anything less than plate or chain armor. If you are surrounded by enemies, spamming this combo could save you.
Mittelhaw High
One-Handed Sword/Sword And Shield
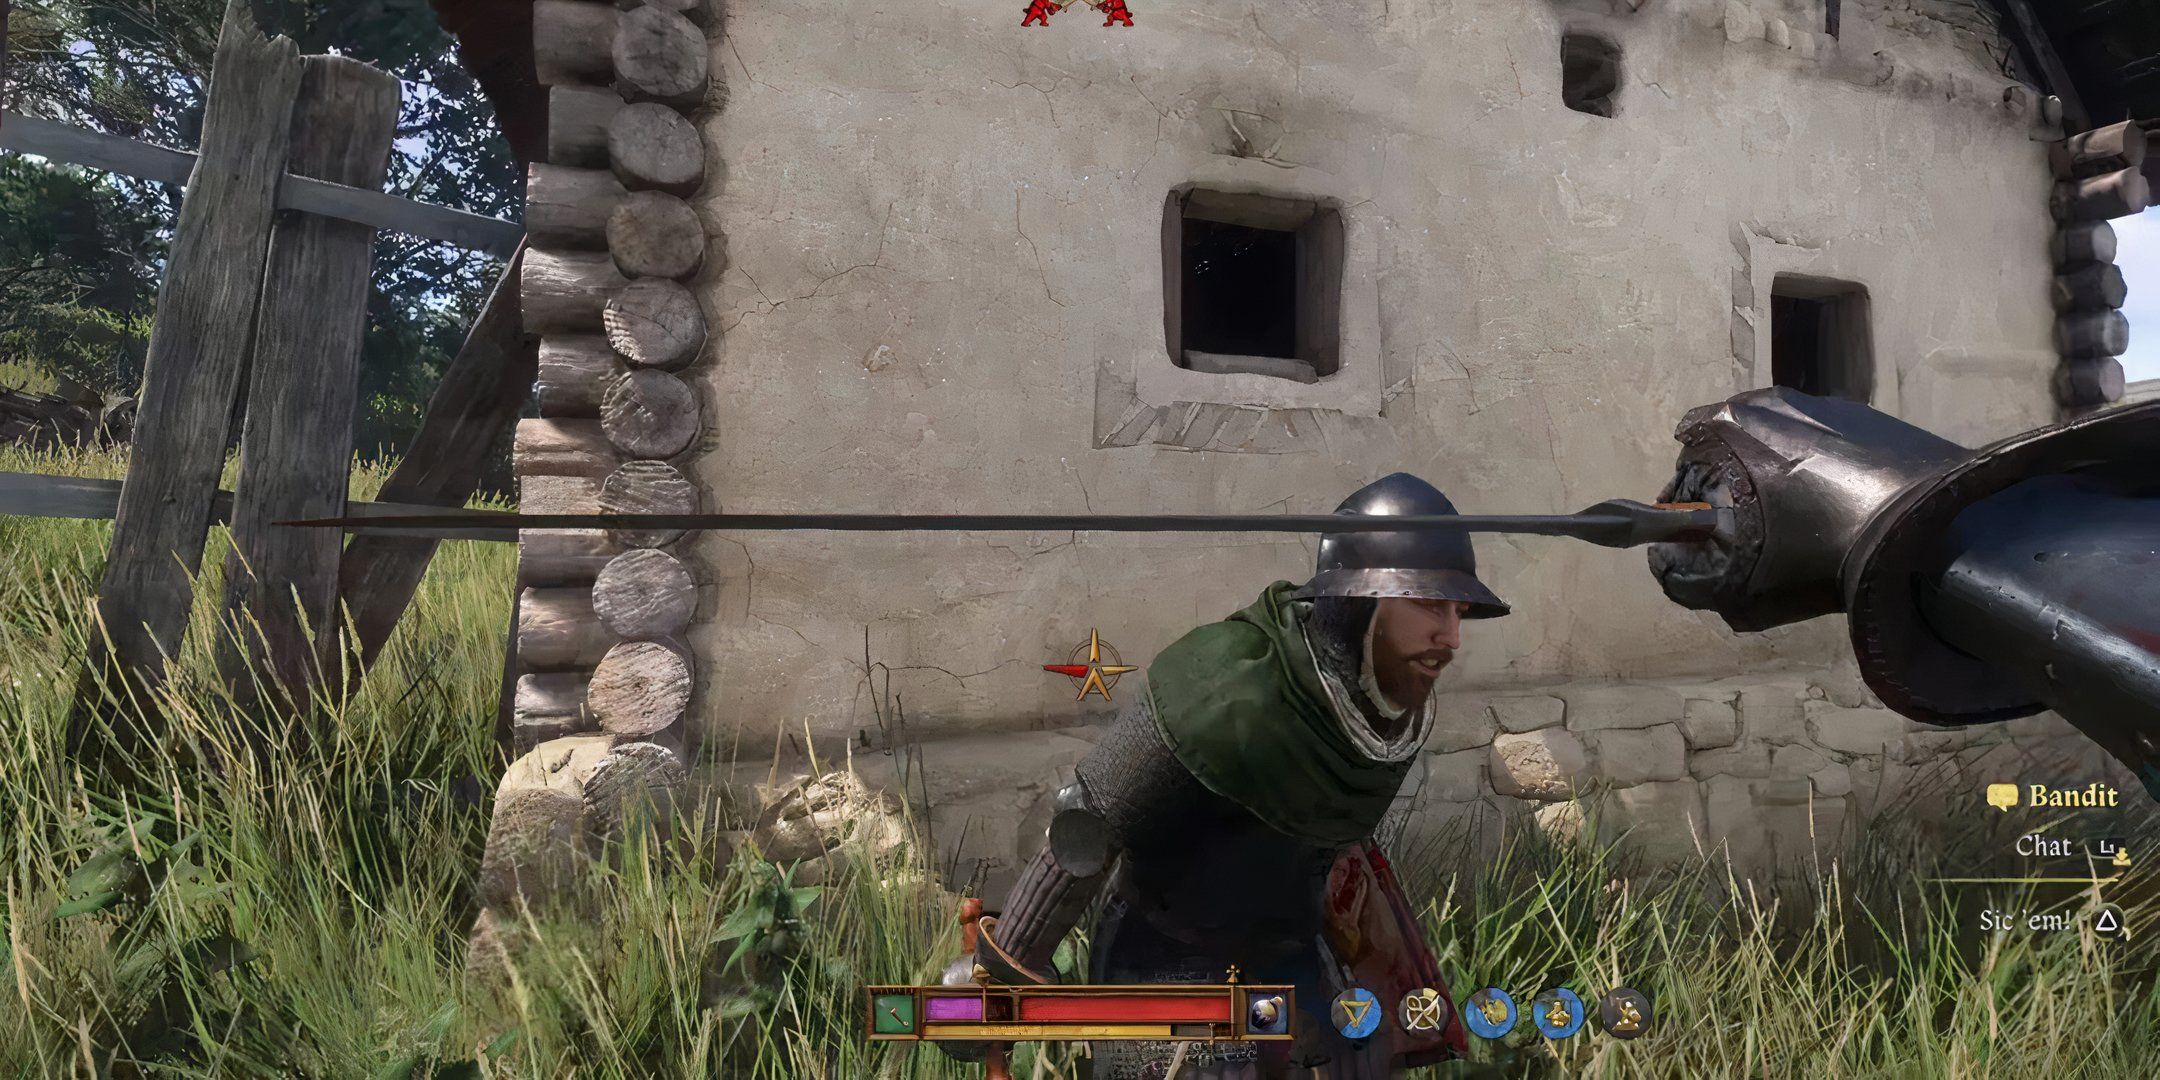
Down, right, right, left
Level 10 Swords
Taught by Captain Frenzl
Exclusive to shortswords, the Mittelhaw High is a quick slash to the head that can be an extremely potent combo depending on the enemy. However, it is one of the more difficult combos to pull off, requiring four strikes in three different directions to execute.
If you are fighting one-on-one with an opponent not wearing a faceplate, this combo usually ends with them on the floor the first time you execute it. Even if your opponent has full head protection, the slashing damage to the face has enough blunt force to stun enemies long enough to follow up with more strikes.
Knee Strike
One-Handed Sword/Sword And Shield
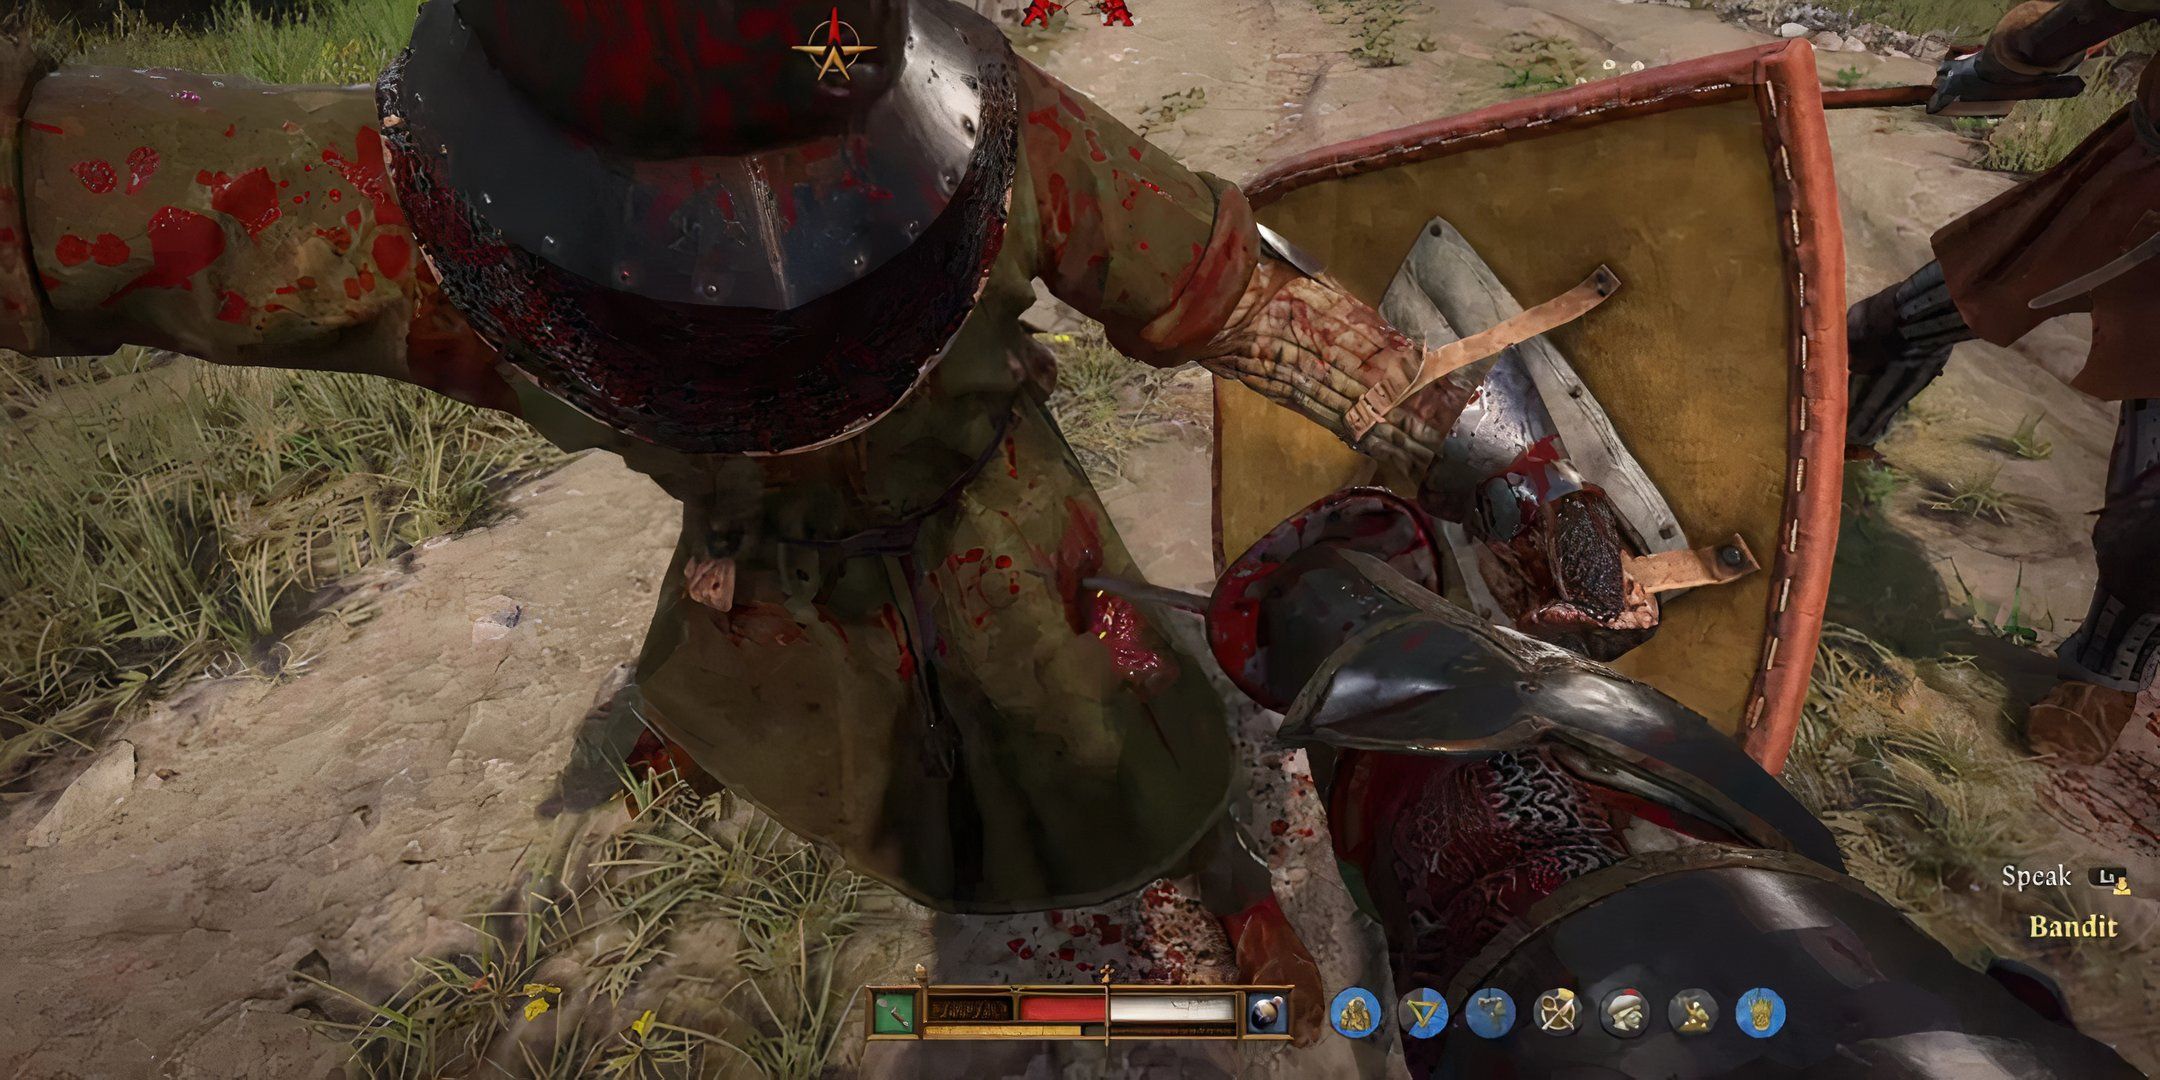
Left, up, left
Level 6 Swords
Taught by Tomcat
Another shortsword combo, the knee strike is a simple combo that can reliably get easy damage that wears enemies down. This combo is also uniquely prone to succeeding due to the left, up, left that the enemy AI seems unable to block most of the time.
This is perfect for heavily armored opponents, as even those with full faceplates and shields usually lack plated knees, and allow you to get the full damage potential from your sword. However, it usually takes two or three executions of this combo to finish an opponent off.
Knee Crusher
Heavy Weapon/Heavy Weapon And Shield
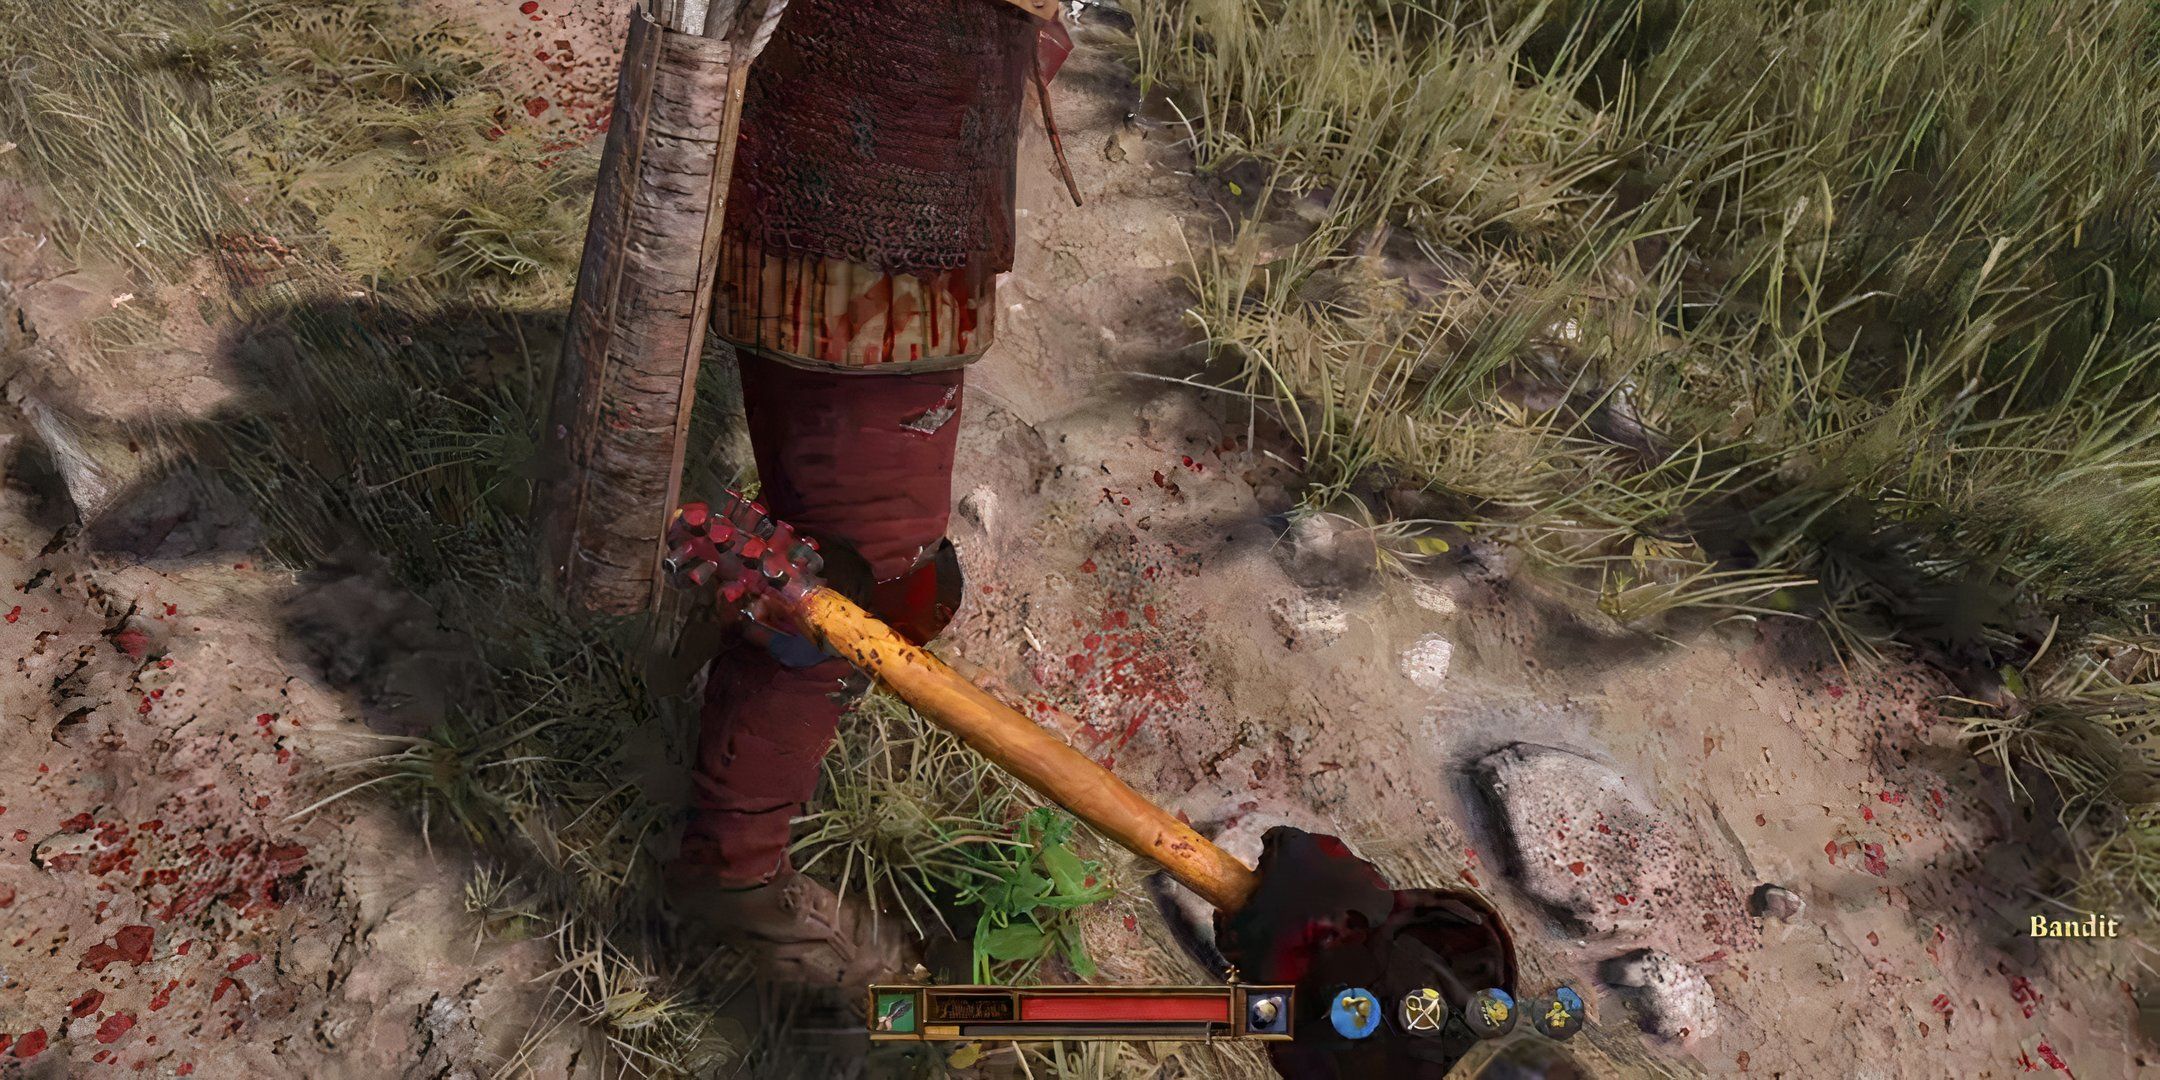
Up, left, left, right
Level 22 Heavy Weapons
Taught by Menhard von Frankfurt
Probably one of the most satisfying heavy weapons combos, the knee crusher does exactly what it sounds like and delivers a heavy blow to the knee. Although to balance it, the execution is rather difficult, but can be made much safer while using a shield to block counterattacks.
There also isn’t an opponent this combo isn’t effective against, as it deals a decent amount of damage while remaining effective against all armor types. If you want to rely on this combo, focus on a weapon with higher blunt damage than slashing, such as a mace or hammer, as you will be able to deal more damage while allowing for more follow-up strikes from the stun.
Shield Deflect
Heavy Weapon And Shield
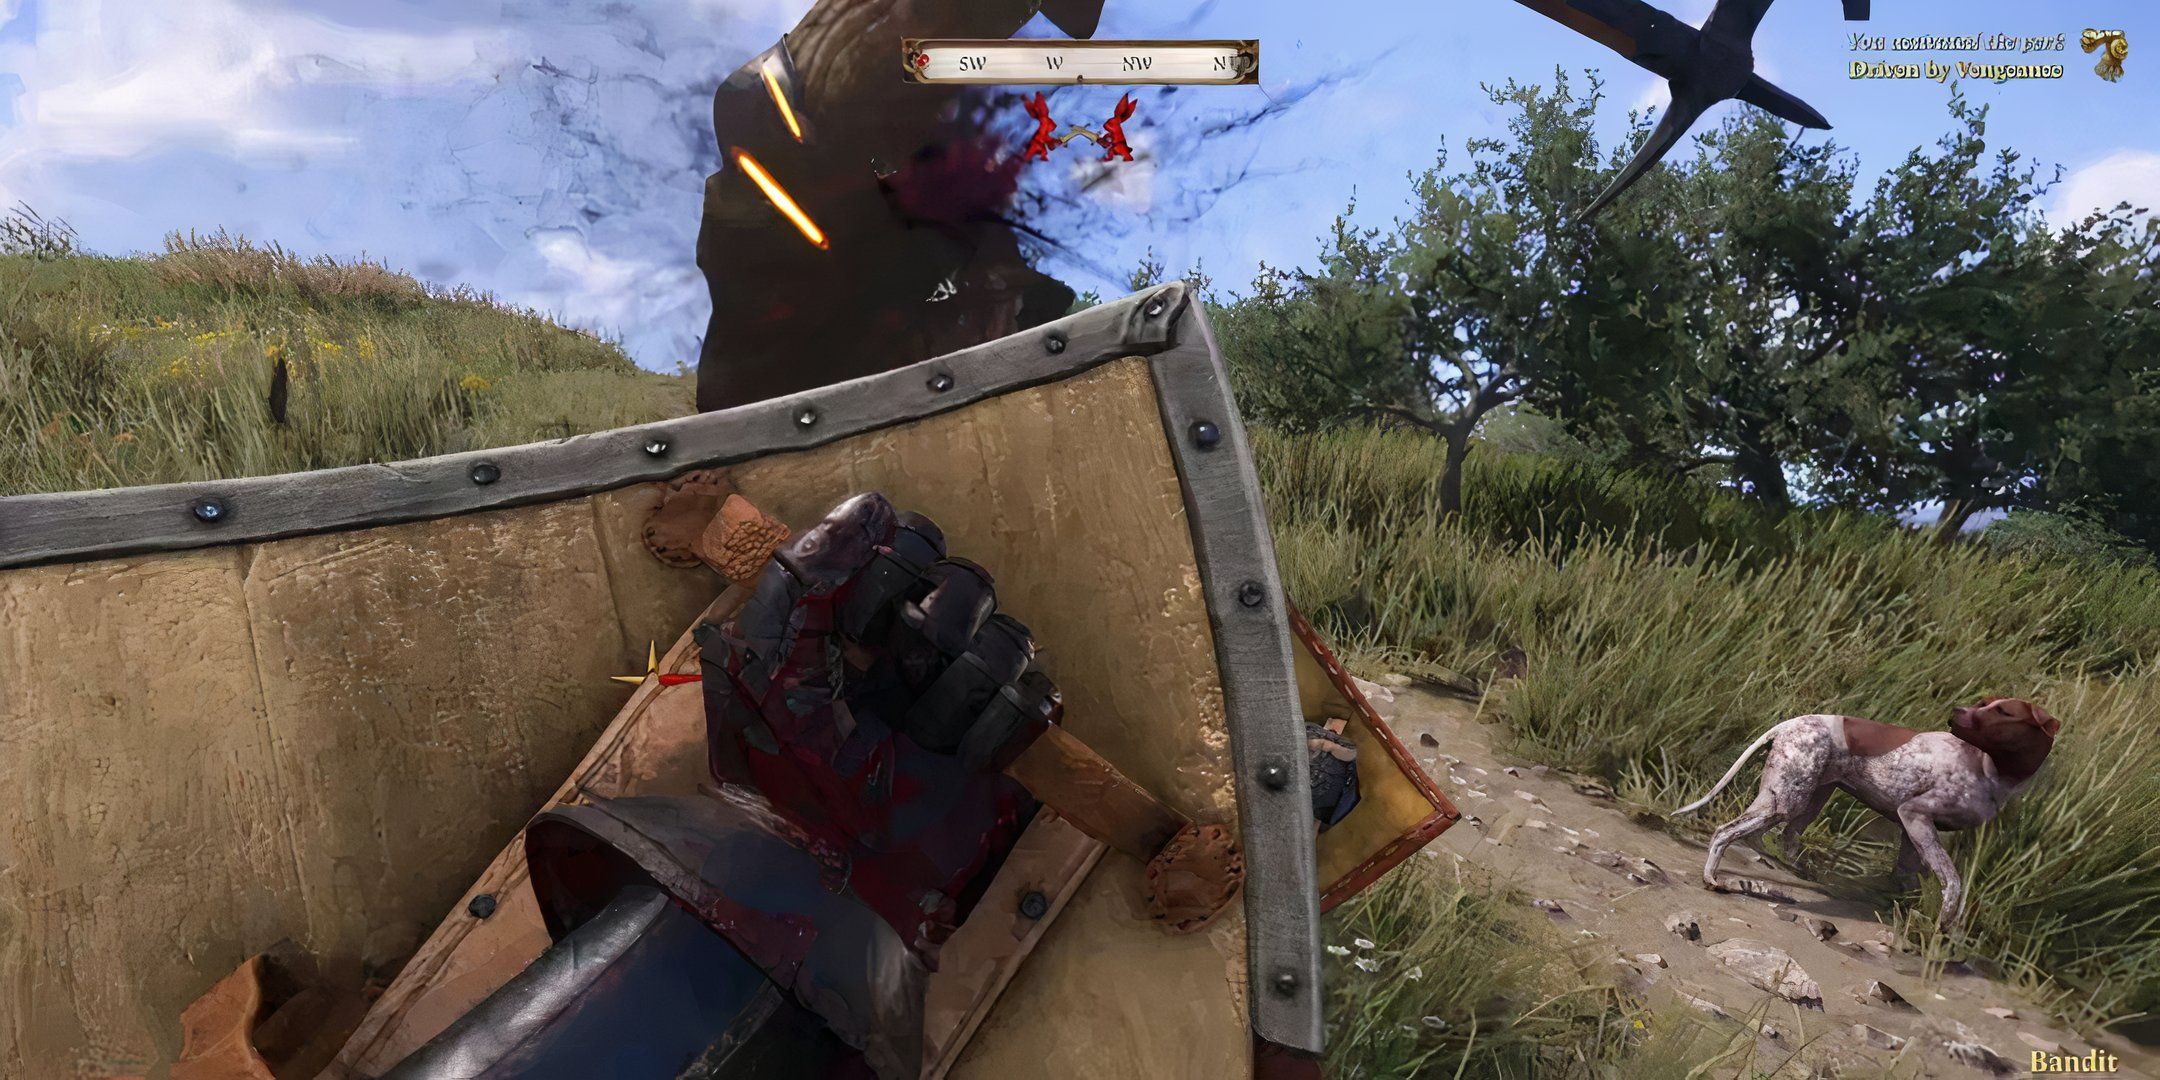
Right, left, left, right
Level 12 Heavy Weapons
Taught by Tomcat
Strangely, this combo is only available while wielding a heavy weapon despite focusing on striking with the shield. The shield deflect is a combo with one of the highest potential to drain your opponents’ stamina, making it ideal against high-level enemies that always counter your strikes or those wearing heavy armor.
Although, using a heavy weapon makes this combo easier to pull off than it seems, as blows with these weapons make it easier to land hits against an enemy’s guard, especially if it’s just alternating between left and right strikes. This combo is one of the most balanced, dealing adequate damage while also stunning your opponent.


