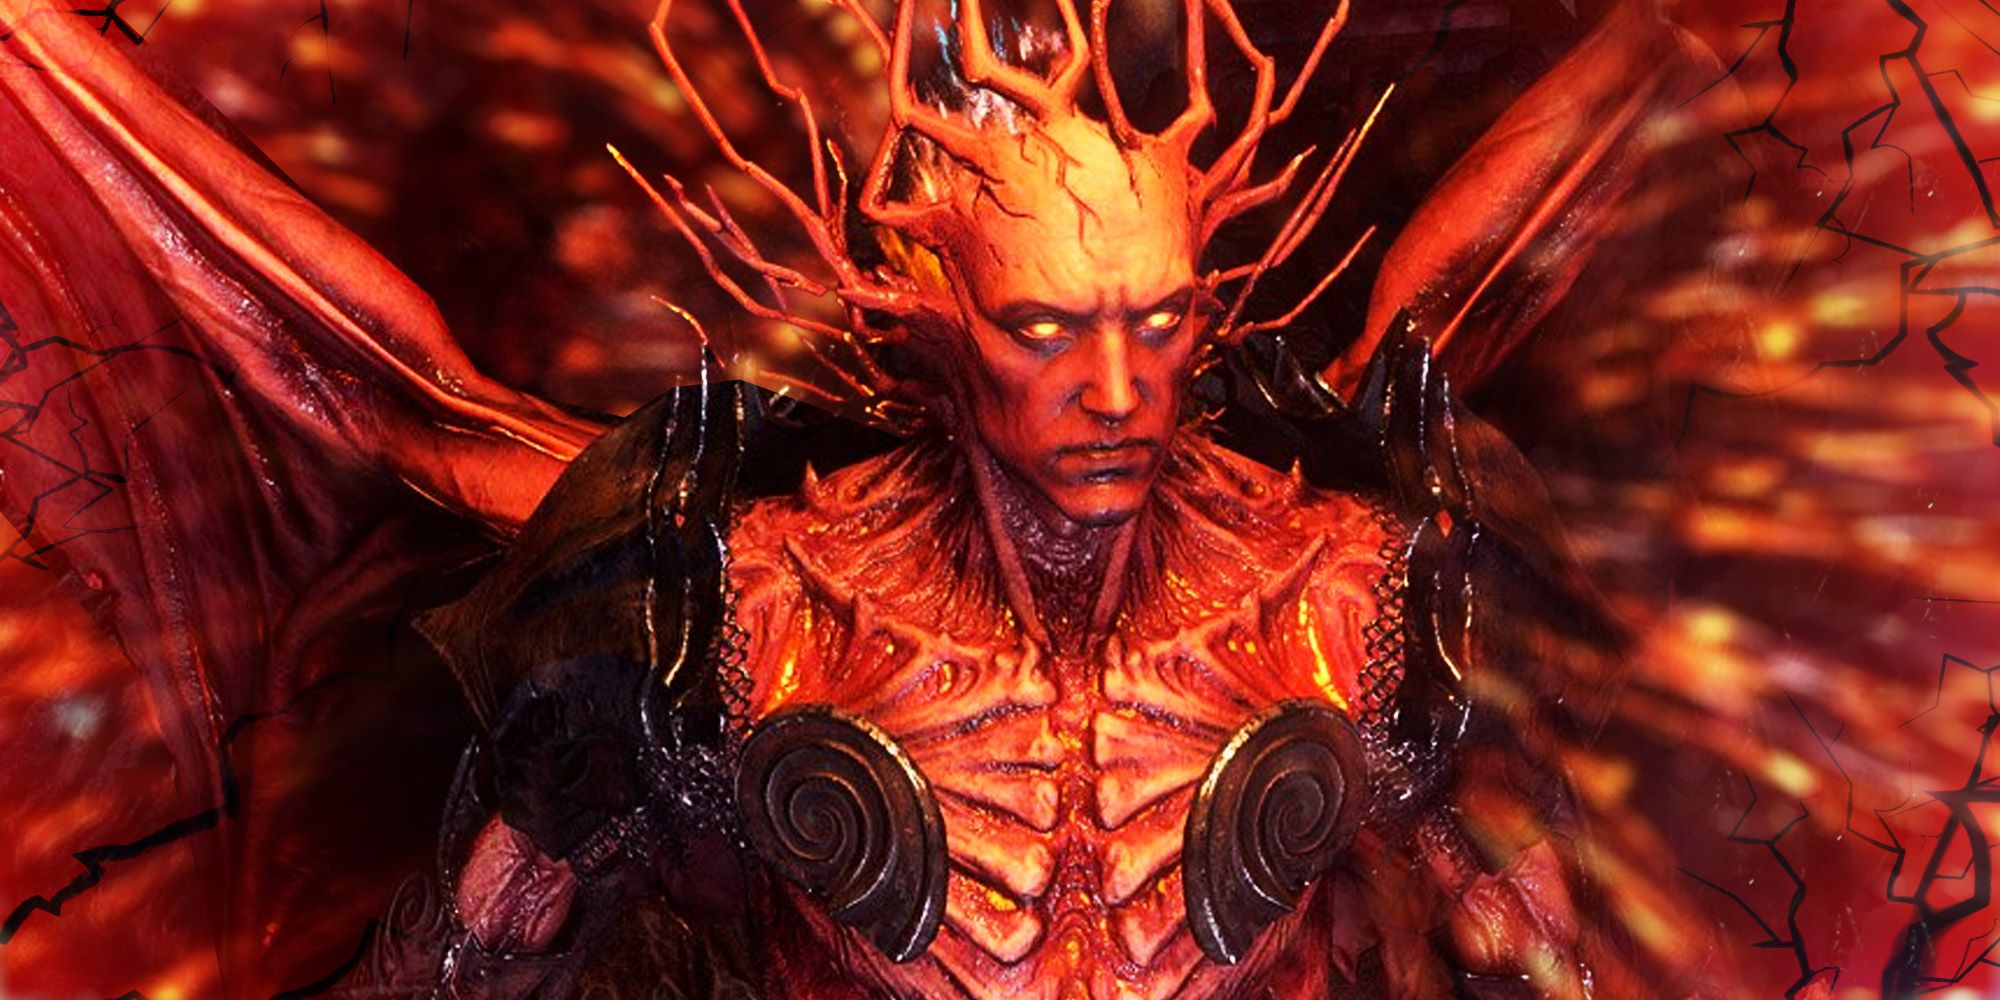
It’s a long road to the Arbiter of Ash, and you’ll face many difficult challenges along the way, but many of them pale in comparison. Each Arbiter attempt is costly and time-consuming: you’ll have to farm for a particular group of rare endgame materials, then face an all-powerful boss with a quick and inscrutable attack pattern. Here’s everything you need to know to beat the Arbiter of Ash in Path of Exile 2.
How To Start The Arbiter of Ash Boss Fight
Finding The Burning Monolith
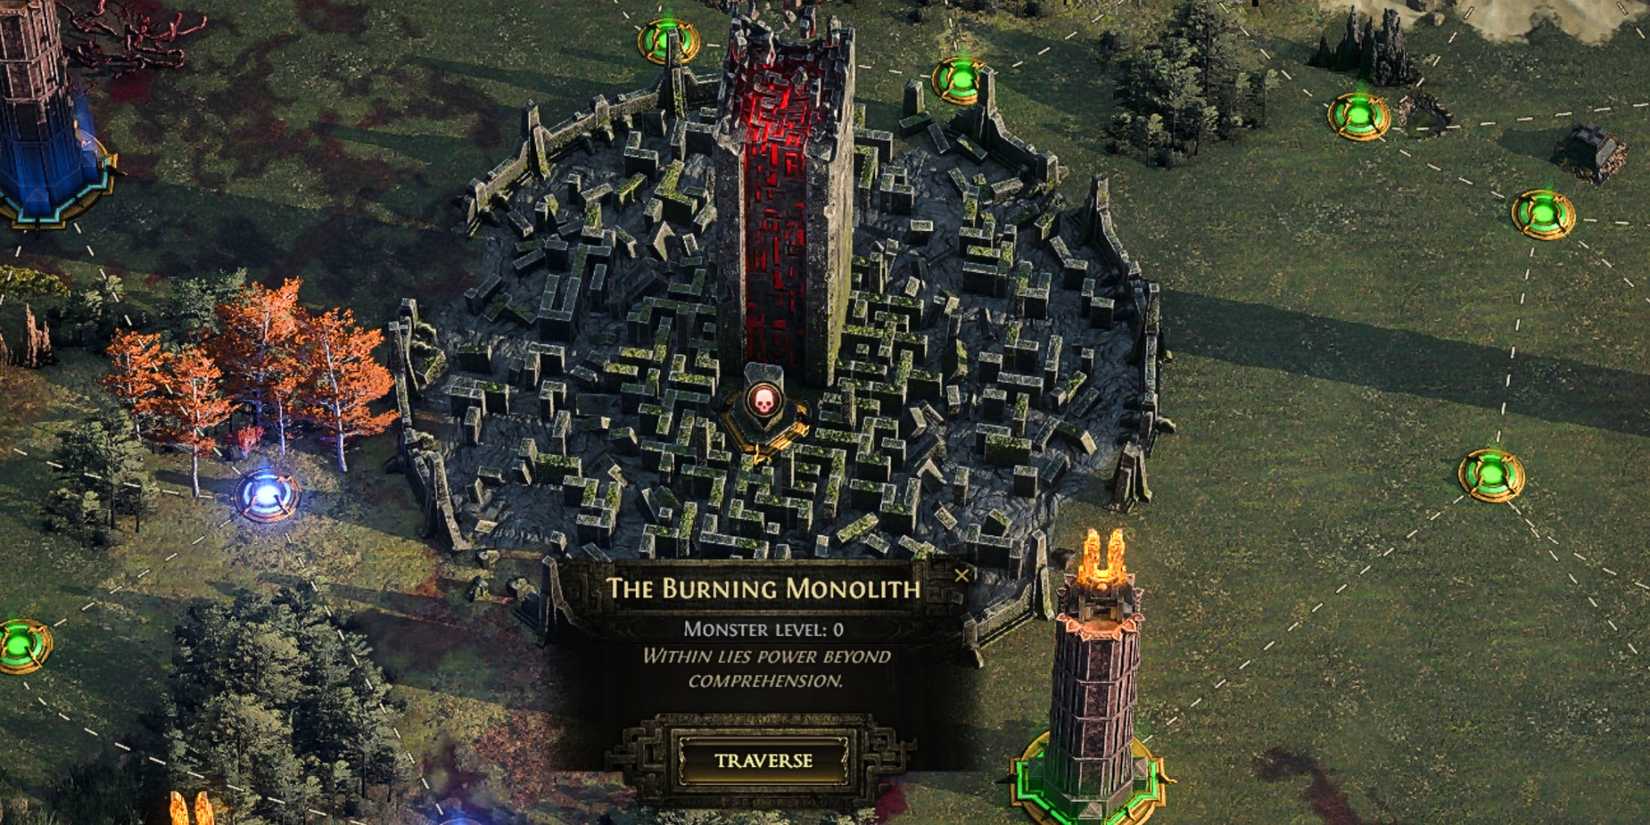
Once you reach Path of Exile 2‘s endgame, you’ll be plopped down on an interactive map called the Atlas of Worlds. Here, you’ll spend a variety of different materials to unlock new map nodes, defeating bosses to progress along its paths and unlock new areas. One of these areas, the Burning Monolith, is the Arbiter of Ash’s lair. While you’ll likely be able to see it from your first moments on the Atlas of Worlds (it’s hard to miss its glowing red tower), it’ll take you a while to progress the Atlas to the point you can attempt it.
Unlocking The Burning Monolith
In order to unlock the Burning Monolith, you’ll need three Crisis Fragments – rare items you can find by beating a variety of different bosses around the Atlas of Worlds map. Each Crisis Fragment is associated with a particular boss in a particular type of Citadel dungeon. The Fragments you’ll need (and where you’ll find them) are listed in the table below.
Fragment
Boss
Citadel
Weathered Crisis Fragment
Doryani, Royal Thaumaturge
Stone Citadel
Ancient Crisis Fragment
Count Geonor
Iron Citadel
Faded Crisis Fragment
Jamanra the Abomination
Copper Citadel
To find Citadels more easily through the fog of war, look for colored beams projected into the sky on the Atlas. Stone Citadels have red beams, Iron Citadels have blue, and Copper Citadels have orange.
How To Defeat Arbiter Of Ash
Phase One
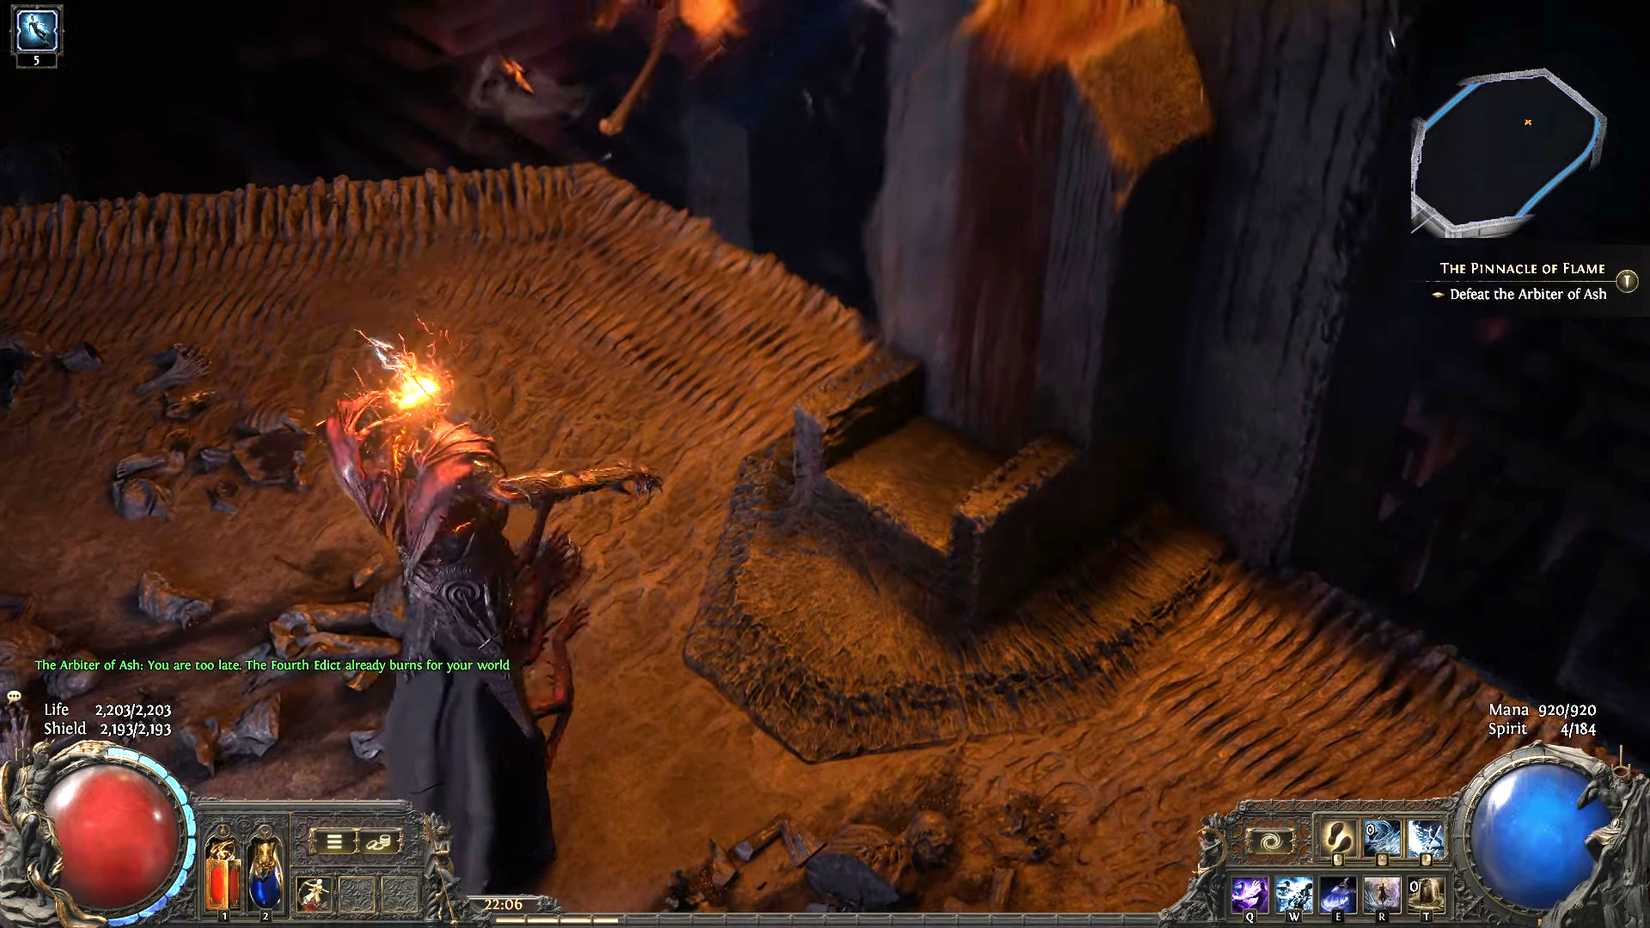
The Arbiter of Ash has a long intro, so take this time to use any buffs you might have prior to the beginning of battle. The fight always begins the same way: when the arena explodes in a ball of fire, the Arbiter will turn around and cast a narrow beam of fire across the room. Dodge it, then take this moment to get behind him and start unleashing your usual attack rotation; you should be able to take off a nice little chunk of his health bar during this opening sequence.
Phase one of the Arbiter fight is otherwise pretty easy. He’ll occasionally summon a pair of fireballs that will then float around the arena, occasionally spitting out tiny little bolts in predictable patterns. Ideally, you want to avoid these, getting some distance from the Arbiter so you have extra time to dodge them, but getting hit by a stray projectile won’t do too much damage.
When his HP is a little lower, the Arbiter will cast a spell that creates streaks of fiery energy blowing across the battlefield. This is his first insta-kill attack. Look for the small blue section of the pattern, and stand within it; this will be the only safe area when the rest of the battlefield explodes. For the rest of phase one, just dodge the Arbiter of Ash’s attacks, and take advantage of the long pauses between them to deal damage. When he drops to about half of his max HP, phase two will begin.
Phase Two


Phase two officially begins when the Arbiter draws his sword and summons two orbs: one blue and one purple. Almost immediately, you’ll notice him moving faster, casting his various AoEs in much quicker succession. His fire beam gets much wider and deadlier, but as long as you stay out of it, it creates an opportunity for you to get several free hits in. The Arbiter also unlocks a new melee combo during this phase. It’s pretty easy to avoid; just note that it consists of two or three attacks, so you’ll have to dodge multiple times.
The most difficult part of phase two is the Arbiter’s speed, and the way his AoEs overlap. He might cast two of his circular blasts on top of one another, or cast a beam that covers 90% of the safe zone of a different attack. The trick is learning his telegraphs and responding to them quickly (or having strong enough defense that you can tank through most of his attacks).
As a result, stats like movement speed and armor are massively helpful. Still, learning how he moves and how to avoid his attacks takes time, which is why this Path of Exile 2 boss will almost certainly take you multiple attempts.