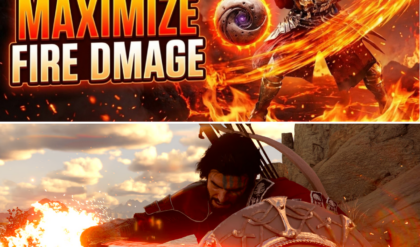
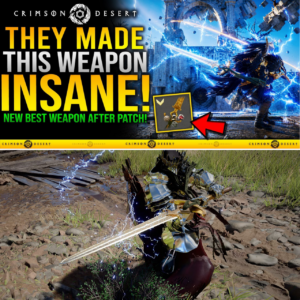
Think your baseline attack power is enough to conquer Pywel? Crimson Desert theorycrafters just uncovered a radical elemental stack that hits the hard ceiling for maximum fire damage—and it completely melts field bosses in fractions of a second. 🔥
A hidden damage multiplication loop is combining a specific Chapter 4 Abyss trial ability with a heavily buffed armor piece to trigger automated, screen-clearing explosions. If you aren’t executing the precise R2 + Triangle imbuement combo alongside this exact glove setup, you are leaving thousands of points of explosive DPS on the table. 👇
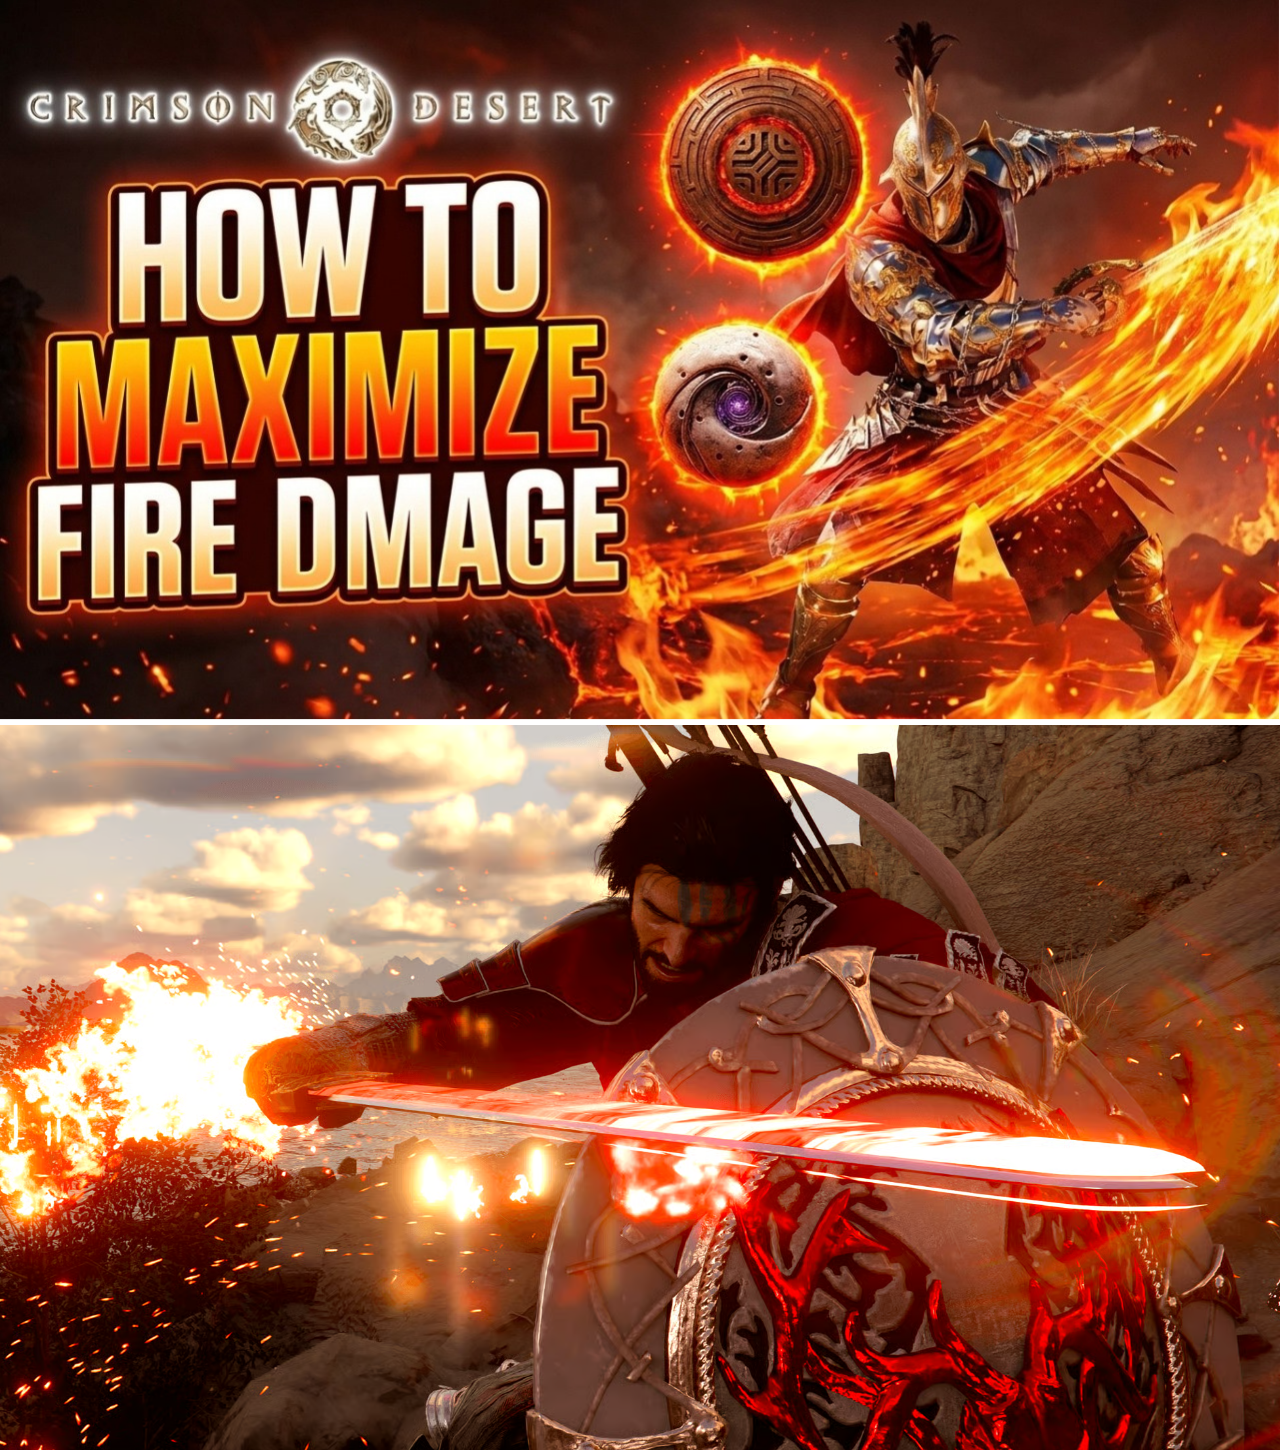
The ongoing quest for absolute optimization in Crimson Desert has reached a boiling point. Following a wave of structural testing by prominent theorycrafters, including detailed visual showcases from channels like DPJ, the community has cracked the exact mechanical spreadsheet required to achieve maximum fire damage. The resulting build turns Kliff into a walking volcano, allowing players to effectively carpet-bomb entire battlefields and reduce Hard-mode encounters to absolute ash.
The sudden paradigm shift has dominated discussions on the game’s official Subreddit and Discord servers. Players are completely re-speccing their endgame kits to exploit a massive elemental synergy that links an undocumented trial ability with newly buffed piece-sockets, causing localized explosions that completely bypass standard enemy armor curves.
Phase 1: Unlocking Flame Strike in the Abyss
To even begin building for the maximum fire threshold, players must first survive a grueling gauntlet hidden within the game’s structural lore blocks. According to community progression databases, achieving true elemental imbuement requires players to progress directly to Chapter 4, immediately following the completion of the Scholastone Institute questline.
This unlocks access to the Spire of Ringing Truth located in the western Pailune region. After scaling the spire and dropping the central giant bell mechanism, an underground Abyss portal is exposed. Players must navigate a sequence of floating temporal islands in perfect order:
Ether Rest
Frostbitten Paradise
Path of Trials (Unlocks Frost Mantle)
Sanctorum of Darkness
Loop of Life
Tree of Slumber
Upon solving the environmental core alignment puzzle at the Tree of Slumber and striking the central thermal core using a fully maxed-out Force Palm, players are officially rewarded with Flame Strike and Flame Level 1, unlocking the fundamental Imbue Element skill tree node.
The Volcanic Eruption Catalyst
The mechanical engine that drives this entire build into broken territory lies within a precise item hidden behind Pywel’s geography. Players are instructed to head southeast of the Hills of No Return in the Hernand region, tracking down the Twilight Grotto Cave tucked behind a massive waterfall near the Blue Ripple Hearth camp.
By executing a perfectly angled Stab skill technique through the falls, players gain entry to a hidden treasure chest containing the Scorchflame Gloves. These gloves arrive natively equipped with the legendary Volcanic Eruption Abyss Gear.
“This is where the build goes completely crazy,” an endgame analyst noted on Reddit. “Every single time you imbue your weapon with fire, Volcanic Eruption triggers an automatic, secondary explosion that deals localized fire damage to every enemy standing in a frontal cone.” For players who prefer alternative glove aesthetics, veterans recommend visiting any local Witch merchant to safely extract the Volcanic Eruption gear and socket it directly into their preferred high-tier armor piece.
Chaining the Turning Slash Chain
The true offensive execution relies on a tight combat input loop that seamlessly merges physical weapon arts with elemental manipulation. The build heavily leverages Turning Slash (executed via R1 + R2 / RB + RT on controller layouts).
The optimal maximum damage rotation follows a strict sequence:
Initiate a standard combo chain to build up your Spirit reserves.
Trigger Turning Slash, but the exact millisecond the animation frames begin, aggressively hold the Imbue Modifier (L2/LT or assigned hotkey).
This instantly converts the standard physical attack into an Elemental Turning Slash.
The mathematical fallout of this input is devastating. The physical blade strike triggers a Groundsurge tectonic spike layout; simultaneously, the fire imbuement spreads wide-arc burning ticks across all grouped targets, which instantly activates the Volcanic Eruption Abyss Gear. The result is an instantaneous chain reaction of overlapping fireballs and explosions that completely breaks enemy AI stagger thresholds.
Defending the Flame: The Kuku Armor Meta
However, achieving maximum pyrotechnic output comes with a severe structural hazard. Community min-maxers warn that the Volcanic Eruption effect sets the surrounding environment completely ablaze. If Kliff stands within his own generated firestorms without proper protection, heat accumulation will cause the character to burst into flames, forcing a staggered rolling animation that breaks combo momentum and deals self-inflicted damage.
To counter this environmental threat, top-tier raiders are pairing the build with the newly upgraded Kuku Flame-Resistant Armor (crafted via the Kuku blueprint at the Kiln after maximizing trust with the Golden-Hatted vendor at Grimnir’s shop). This elite armor set natively provides a massive Level 10 Fire Resistance and a built-in fire absorption metric that releases an automated thermal burst once filled.
Alternatively, players are utilizing the Plate Cloak of the Shadows to secure a flat Level 7 Fire Resistance. By pushing total fire resistance to the ceiling, Kliff becomes entirely immune to his own self-generated blazes, allowing players to stand directly inside their active infernos while continuing to spam high-damage loops.
The Cost of Pure Chaos
The primary drawback keeping the build from being entirely infallible is its heavy economic toll on character resources. Imbuing attacks with maximum flame damage rapidly drains both Stamina and Spirit slots. To maintain the loop without flatlining mid-combo, theorycrafters are prioritizing Vigor III and Composure III Abyss Gears on secondary armor pieces to force a passive Stamina regeneration rate of +18% and a Spirit recovery rate of +1.2% every single second.
As clips of players literally melting endgame bosses like Ader and Gaia in single digits continue to accumulate viral numbers, the Crimson Desert player base is moving fast to farm the Twilight Grotto before any balancing hotfixes go live. The community directive for Update 1.07.00 is undeniable: drop your frost builds, grab your Scorchflame gloves, and set Pywel completely on fire.
News
THE ULTIMATE FLEX: UNDERGROUND BLACK MARKET UNCOVERED IN ‘CRIMSON DESERT’ REVEALING ACCIDENTAL PATH TO RAREST ENDGAME BLUEPRINTS
Think you’ve forged the ultimate weapon in Pywel? A massive discovery has uncovered a hidden black market vendor that 99% of Crimson Desert players have completely missed, unlocking the absolute rarest gear blueprints in the entire game. 🔥 A multi-layered…

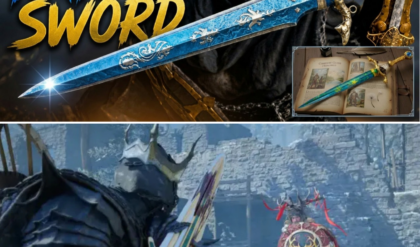
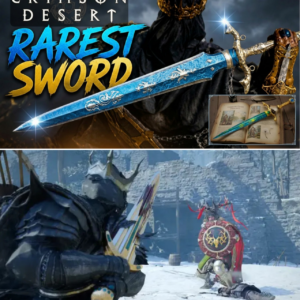
HIDDEN IN PLAIN SIGHT: ‘CRIMSON DESERT’ PLAYERS STUMBLE UPON MANOR PUZZLE CONCEALING EXPENSIVE SECRET ENDGAME SWORD
Think you’ve looted everything in Pywel? Thousands of Crimson Desert players have been walking right past a massive estate, completely blind to a hidden sequential room puzzle that rewards one of the strongest mid-game weapons in the game. 🔥 A…

PATCH DAY PANIC: ‘CRIMSON DESERT’ UPDATE 1.07.00 SPARKS OUTRAGE AFTER DEV TEAM ‘NERFS’ FAN-FAVORITE FEMALE ARMOR SET
Pearl Abyss just dropped Update 1.07.00 for Crimson Desert, and it has triggered absolute chaos in the community Discord. They didn’t just fix game-breaking bugs; they quietly adjusted a fan-favorite female armor set, and fans are losing their minds over…
THE NEW DADDY: ‘CRIMSON DESERT’ UPDATE 1.06 SECRETLY BUFFS ELECTRO-MECHA LONGSWORD TO UNSEAT ICONIC DARK BRINGER METAGAME
Move over Dark Bringer, there’s a new “daddy” of longswords in Crimson Desert. Update 1.06 just secretly broke the endgame weapon meta, and nobody realized how insane this neglected blade has actually become. 🔥 A surprise balance change completely altered…
FISTS OF FURY: ‘CRIMSON DESERT’ UPDATE 1.06 UNLOCKS ‘BROKEN’ UNARMED BUILD THAT PERMANENTLY STUNS ENDGAME BOSSES
Who needs legendary swords when your bare fists can permanently stunlock and delete endgame bosses in a single combo? Crimson Desert players just found a wild exploit in update 1.06 that makes unarmed combat utterly broken. 🔥 A hidden mechanical…

FORGET KLIFF: ‘CRIMSON DESERT’ COMMUNITY IN AN UPROAR AFTER BROKEN OONGKA BUILD ACCIDENTALLY MELTS ENDGAME BOSSES
Think Kliff is the ultimate DPS in Crimson Desert? The community just uncovered a hidden dual-wielding mechanic that completely breaks the endgame—and it turns out we’ve been playing the wrong main character all along. 🔥 A devastating new character build…
End of content
No more pages to load