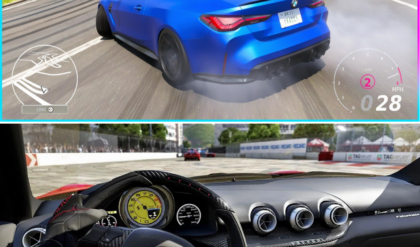
Is your controller holding you back in Forza Horizon 6? 🏎️🎮
If your steering feels “floaty” or your throttle response is lagging, you’re likely fighting default settings that weren’t built for competitive racing. From deadzone “sweet spots” that eliminate stick drift to the exact difficulty balance that maximizes your Credit Bonus without the AI “rubberbanding” frustration—we’ve got the pro-tuned setup you need.
Stop blaming your lack of podiums on the game. It’s all about the input.
Get the ultimate controller and difficulty config right here: 👇
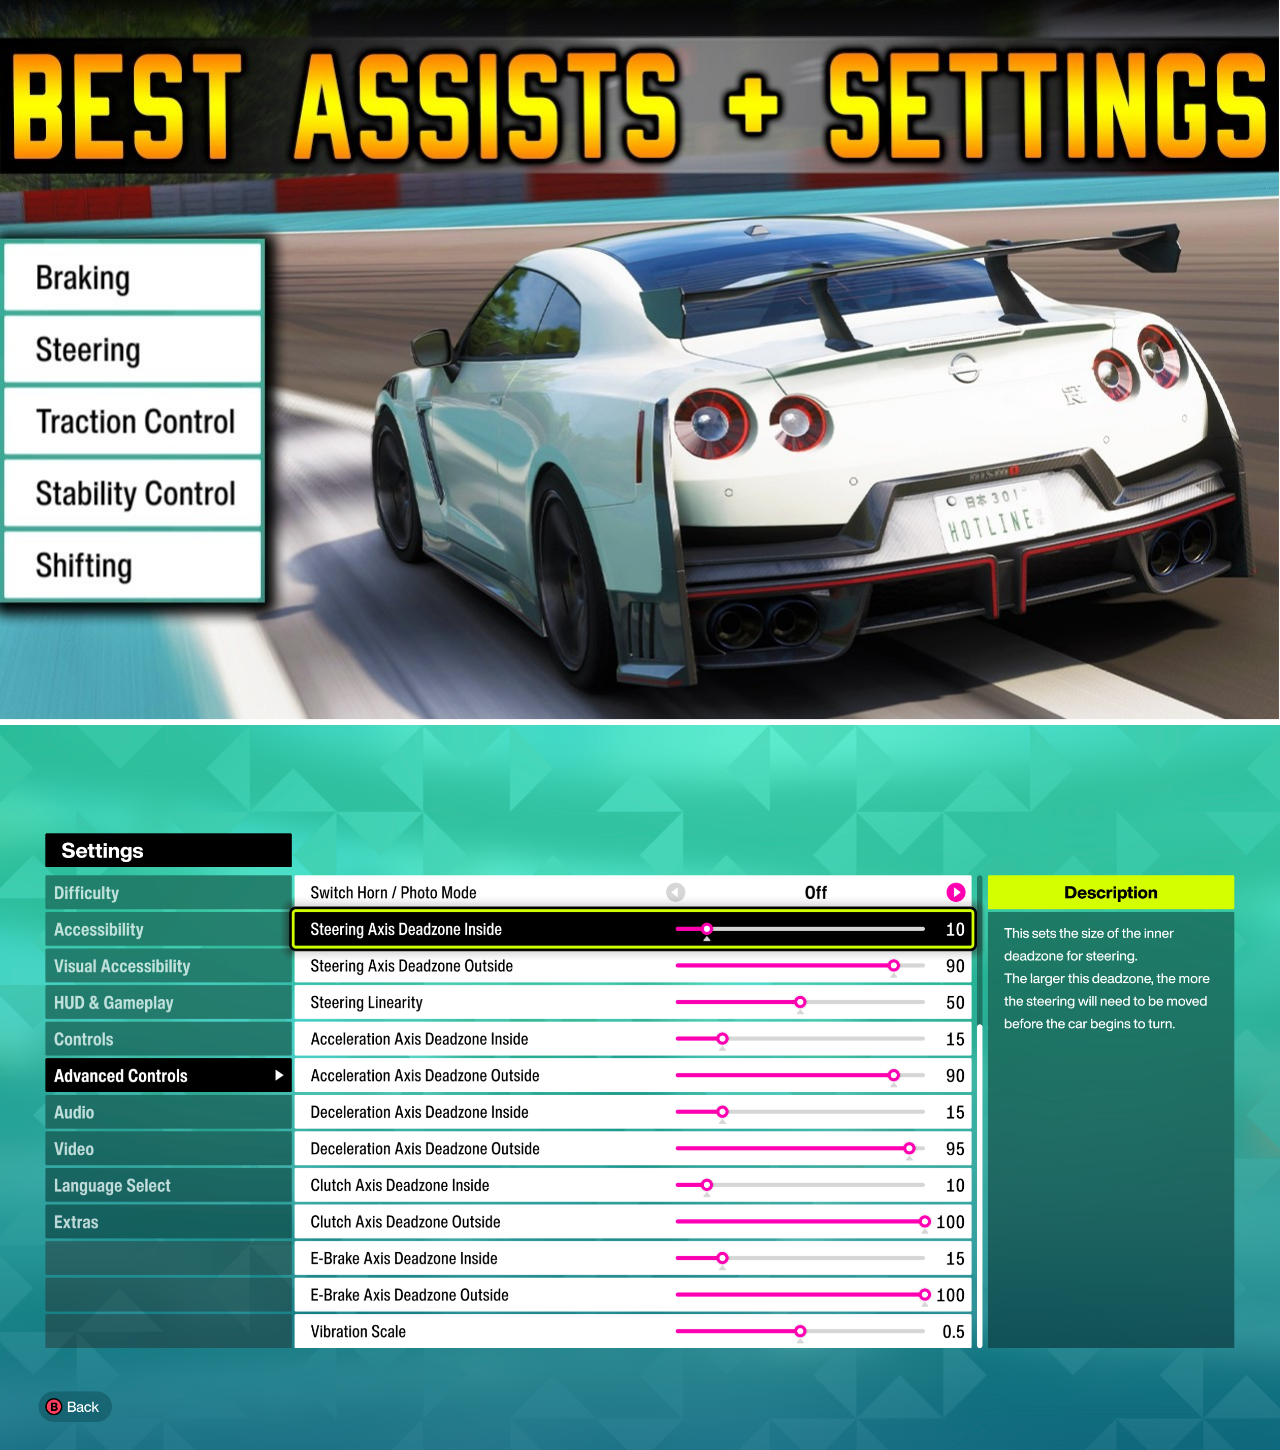
In Forza Horizon 6, the difference between a clean apex and a collision often comes down to milliseconds. While the default settings are designed to be “plug-and-play,” veteran players have quickly identified that they are far from optimal for precision. Whether you are chasing competitive lap times or mastering the mountain touge, fine-tuning your controller and difficulty settings is the fastest way to improve your performance.
Dialing in the Deadzones
“Floaty” steering and inconsistent throttle response are the most common complaints among new Forza players. These are almost always caused by default deadzone settings.
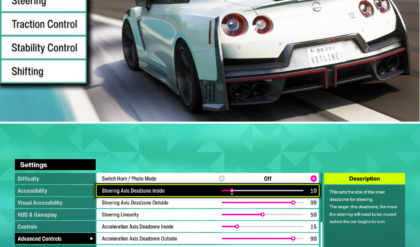
Steering Axis: Set your Inside Deadzone to 3–5 to eliminate “stick drift” (where the car steers slightly without input) while keeping the steering snappy. Set your Outside Deadzone to 100 to ensure you have the full range of motion.
Throttle and Brake: For the best results, set Inside Deadzones to 0. This gives you immediate engagement, which is vital for feathering the throttle in low-grip corners or modulating brakes to avoid lock-ups.
Steering Linearity: Many pros suggest a setting between 45 and 50. Lowering this makes the steering feel more “linear”—the car responds predictably to your input rather than feeling twitchy at the center.
Difficulty: Balancing Challenge and Credits
The new AI in Forza Horizon 6 is more aggressive than ever, frequently using “rubberbanding” tactics to stay competitive in the final sectors. To optimize your experience:
The “Credit Bonus” Sweet Spot: While “Unbeatable” offers the highest credit multiplier, it can be frustratingly inconsistent depending on the track. Most players report that “Expert” or “Pro” provides the perfect balance: it’s difficult enough to feel rewarding but consistent enough to minimize the need for race restarts.
Assists: Transitioning to “Manual” (or Manual with Clutch) is the single biggest performance boost you can give yourself. It allows for better engine braking and keeps you in the optimal power band. If you are a beginner, start by turning off Stability Control first, then move on to Traction Control once you’ve learned to manage throttle feathering. Keep ABS on if you’re using a controller, as it prevents wheel lock under the heavy braking needed for tight hairpins.
Vibration and Immersion
Vibration is more than just a sensory feature—it is a tool for reading tire grip. If your controller is rumbling too intensely, you lose the ability to “feel” when a tire is about to break traction.
Pro Tip: Set your Vibration Scale between 0.3 and 0.5. This keeps the feedback sharp and clear, allowing you to sense the exact moment you begin to slide, which is critical for correcting mid-corner drifts before they become full-blown spins.
The “Pro” Configuration Summary
If you are looking to get your setup dialed in today, start with this baseline:
Setting
Recommended Value
Why?
Steering Linearity
45–50
Reduces twitchiness at high speed.
Steering Deadzone (Inside)
3–5
Removes stick drift.
Throttle Deadzone (Inside)
0
Maximizes throttle precision.
Brake Deadzone (Inside)
0
Provides immediate braking response.
ABS
On
Prevents lock-up under heavy braking.
Traction/Stability
Off
Gives direct control over the car’s rotation.
Every car in Forza Horizon 6 has a unique personality, but these adjustments provide a consistent foundation for all of them. Once you have these settings saved, your car will finally feel like an extension of your own reactions. Don’t be afraid to tweak these by small increments—sometimes, a single point of difference in your deadzone is all it takes to make the world of difference on the track.
News

The Drift Meta: 5 Essential Builds for Your Forza Horizon 6 Garage
Ditch the stock rides—these 5 drift builds are breaking the Forza Horizon 6 leaderboards! 🏎️💨 Stop struggling with “twitchy” handling and endless spins. We’ve found the 5 essential RWD drift builds that every player needs in their garage to dominate…

10 Common Mistakes That Are Slowing Your Progression in Forza Horizon 6
STOP wasting your credits in Forza Horizon 6! 🛑🏎️ Are you still making these 10 rookie mistakes? From blowing your early cash at the Auto Show to ignoring the most overpowered farming trick in the game, most beginners are doing…
The JZX100 Renaissance: Building the Ultimate Tandem Drift Machine in Forza Horizon 6
The “Street King” of Forza Horizon 6 has arrived! 👑🔥 The Toyota Chaser JZX100 is finally here, and it’s not just a legend—it’s the definitive tandem drift weapon for the mountain passes of Japan. Whether you’re chasing doors in tight…
The Art of the Slide: A Comprehensive Guide to Building a Drift Beast in Forza Horizon 6
Stop sliding, start SAVAGING! 🏎️💨 The perfect drift build is NOT what you think. Most players are wasting their credits on massive horsepower builds that just spin out. Real drift legends in Forza Horizon 6 know it’s all about the…
Custom Estates: How Players Are Bringing Japan’s Drift Culture Home in Forza Horizon 6
Tired of boring street races? Transform your backyard into a JDM drift paradise! 🏎️💨 The custom “Estate” drift tracks in Forza Horizon 6 have reached a whole new level of realism. Players are now recreating legendary Japanese courses—like Ebisu Manami,…

The “One-Button” Meta: Optimizing Skill Points and Wheelspins in Forza Horizon 6
The Forza Horizon 6 “Skill Point” exploit is getting out of hand! 🏎️💨 Forget the long grinds—players have found the absolute fastest way to chain Super Wheelspins, and it involves nothing more than a Subaru 22B STI and a simple…
End of content
No more pages to load